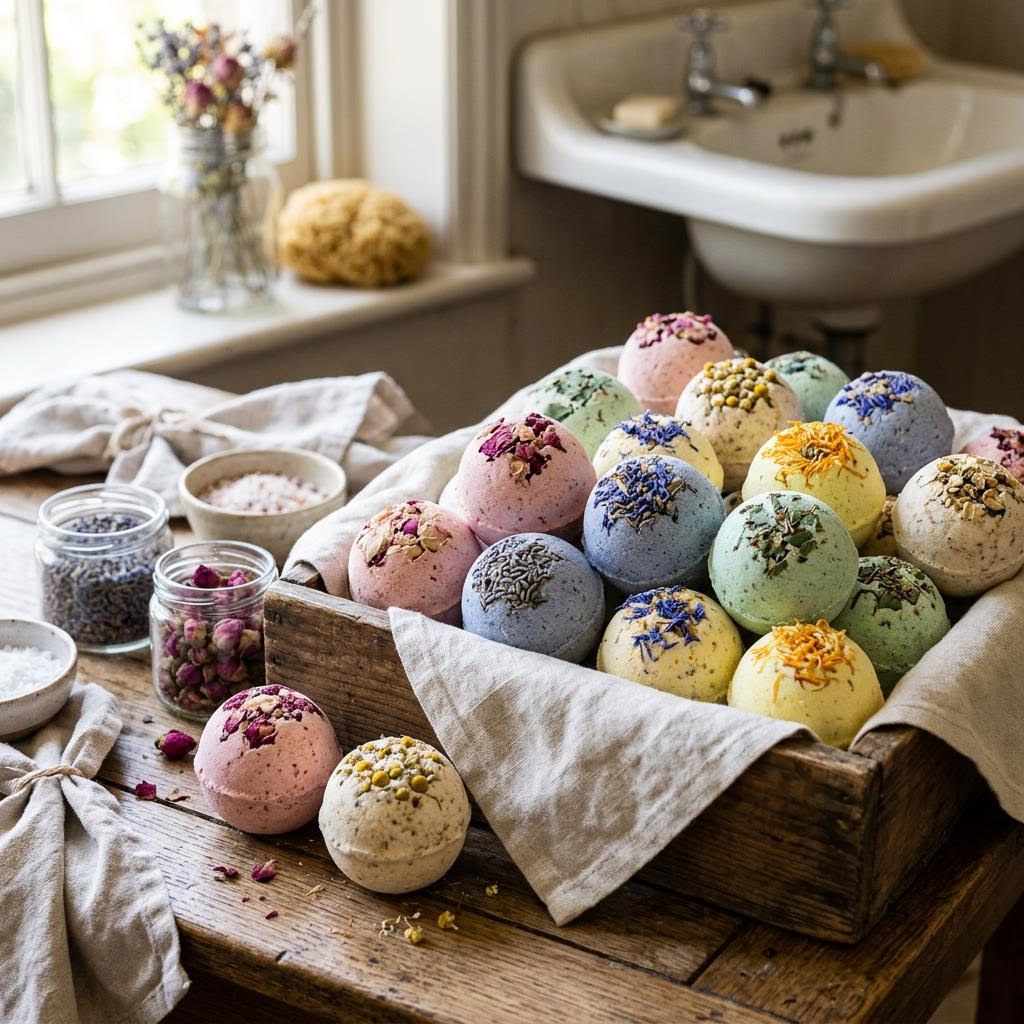
Follow this foolproof recipe for DIY bath bombs that won't crumble.
Bath bombs work through a simple and elegant chemical reaction: sodium bicarbonate (baking soda) and citric acid react in the presence of water to produce carbon dioxide gas — the fizzing — along with sodium citrate and water. The fizzing is exactly the same reaction that makes soda water carbonated, which is why the fizz feels gentle and non-irritating on skin. The carbon dioxide bubbles disperse the other ingredients (oils, colorants, fragrance) throughout the bathwater as they form, turning a plain bath into an aromatic, softening experience.
The ratio of baking soda to citric acid is not arbitrary — it is stoichiometrically determined by the molecular weights of the two compounds. Baking soda (molecular weight 84) and citric acid (molecular weight 192) react in a 3:1 molar ratio, which works out to approximately a 2:1 weight ratio of baking soda to citric acid. Using this ratio ensures complete reaction — all the baking soda reacts with all the citric acid. More baking soda than this produces a bomb that fizzes completely but leaves a slightly alkaline residue; more citric acid produces a slightly acidic residue. The 2:1 ratio is standard across virtually every bath bomb recipe for this reason.
Moisture is the enemy of bath bomb production. The citric acid and baking soda react not only in bath water but also in any ambient moisture — high humidity, a wet measuring spoon, or adding the liquid ingredients too quickly can trigger premature reaction that ruines the mix before molding. Working in a dry environment, working quickly once the wet ingredients are added, and using dry equipment throughout prevents this. Witch hazel, which has a lower water activity than plain water, is the preferred liquid for bath bomb recipes because it disperses more slowly and gives more working time before triggering the reaction.
Fragrance choice significantly affects the bathing experience and requires more care than most beginners apply. Fragrance oils and essential oils are not interchangeable. Essential oils are natural plant extracts with real therapeutic properties — lavender oil genuinely promotes relaxation, eucalyptus genuinely clears airways — but they are also potent skin sensitizers at high concentrations and some (citrus oils, bergamot) cause photosensitivity. Fragrance oils are blended synthetic compounds that produce consistent, long-lasting scent without therapeutic claims, and they are generally safer for skin use. For bath products, using either at 1–3% of the total batch weight is the safe range; higher concentrations increase sensitization risk.
Colorants for bath bombs must be skin-safe and bath-safe. Cosmetic micas (mineral pigments used in makeup) are the most reliable colorant: they are skin-safe, produce vivid colors, and disperse well in bathwater without staining the tub. Lab-certified skin-safe pigments and cosmetic-grade oxides also work well. Standard food coloring works for the bomb but may not disperse cleanly in bathwater, potentially leaving colored water that stains older tubs or grout. Candle dyes, fabric dyes, and craft paints are not skin-safe and should not be used in bath products regardless of whether they produce interesting colors.
The curing and storage environment determines whether your bath bombs survive to the bath. Humidity above 50% causes slow premature reaction during storage — the bombs start fizzing slightly in the air, lose CO2 capacity, and develop a rough, pitted surface (called 'blooming'). Store finished bombs wrapped individually in cling film in a cool, dry location immediately after they have fully hardened. A properly stored bath bomb lasts four to six months without significant degradation. For gifting, wrap individually in cling film first, then in decorative paper — the cling film layer does the protective work while the outer wrap does the aesthetic work.
Materials You'll Need
- Baking soda (1 cup)
- Citric acid (1/2 cup)
- Epsom salt (1/2 cup)
- Cornstarch (1/2 cup)
- Coconut oil or almond oil (2 tsp)
- Essential oils (2 tsp)
- Water in a fine mist spray bottle
- Soap colorant
- Metal or plastic bath bomb molds
Step-by-Step
Whisking the Dry Ingredients
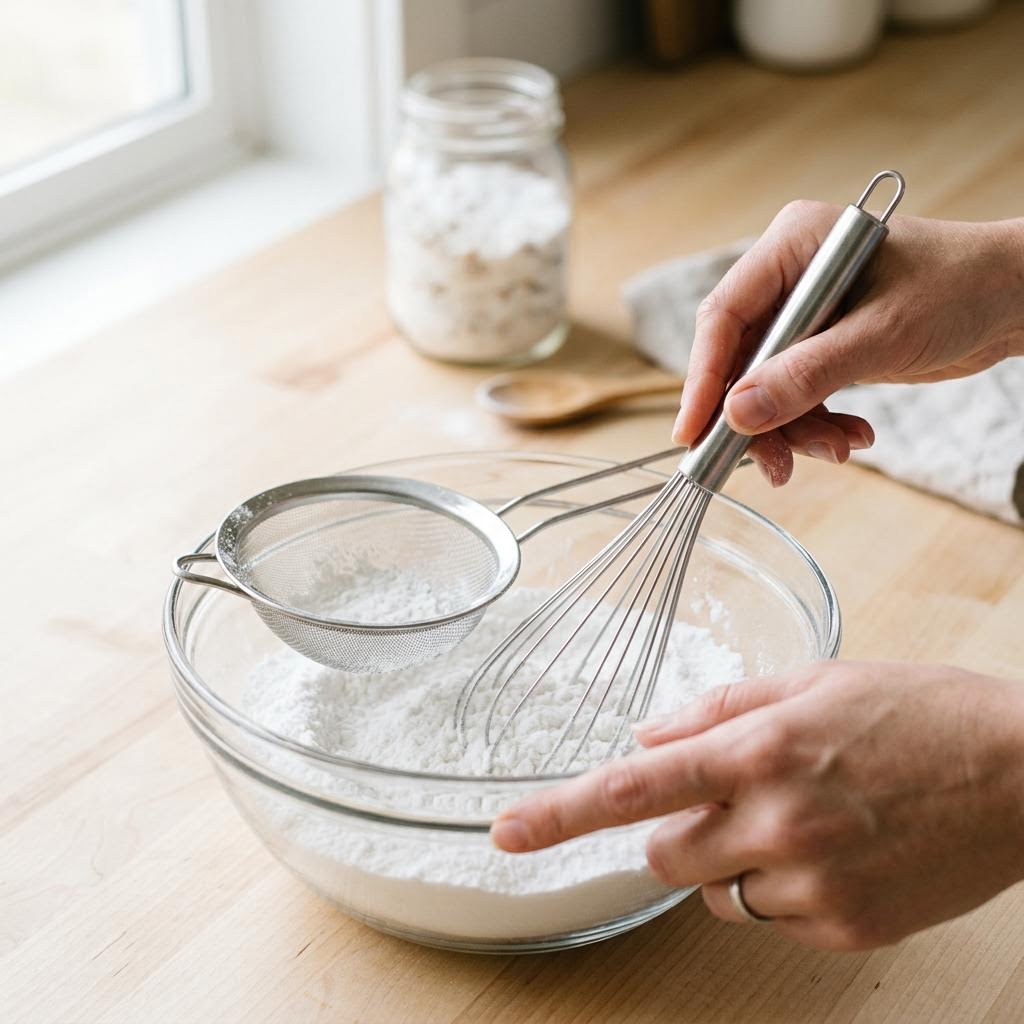
The two main dry ingredients are baking soda (sodium bicarbonate) and citric acid in a 2:1 ratio by weight — two parts baking soda to one part citric acid. When these meet water, they react and fizz. Everything else — coloring, scent, skin-nourishing additions — is secondary. Additional dry ingredients can include corn starch (slows the fizz and makes the bath bomb feel silkier on skin), Epsom salt (adds minerals and a slight detox effect), and powdered clay (adds color and draws toxins). Keep all dry ingredients well-sifted to eliminate lumps before mixing. Whisk the dry ingredients thoroughly in a large bowl — at least twice as large as the volume of ingredients, because the mixture will foam up if the wet ingredients cause a premature reaction. Measure precisely; the 2:1 baking soda to citric acid ratio is important. Too much citric acid and the bath bomb fizzes too aggressively and too quickly in the bath, feeling sharp on skin. Too little and it barely fizzes. Wear gloves if you have sensitive skin — citric acid can be irritating to broken skin in concentrated form.
Mixing the Wet Ingredients
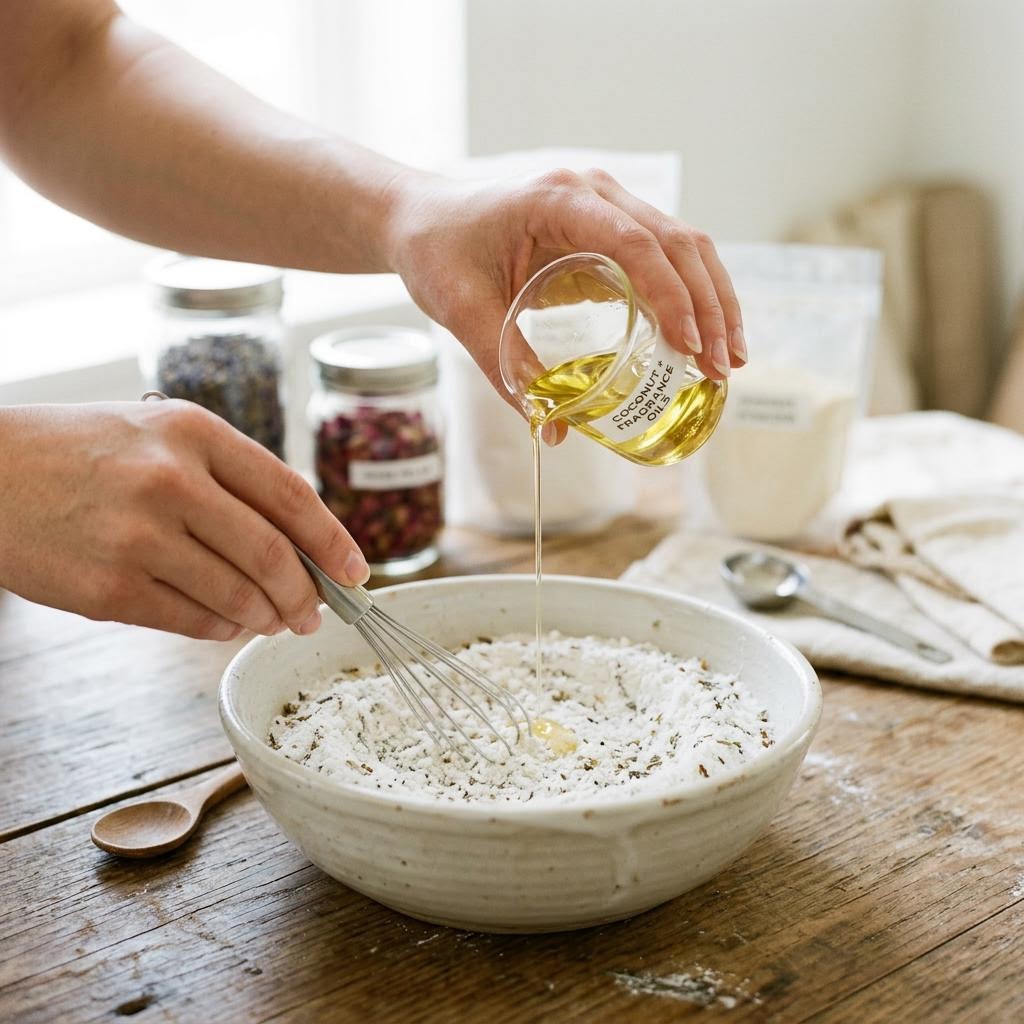
The wet ingredients bind the dry mixture and carry any oil-soluble fragrance or colorants. The base wet mixture is an oil (sweet almond oil, fractionated coconut oil, or sunflower oil all work well — about 2 tablespoons for every 200g of dry mixture) plus a small amount of water or witch hazel (about 1–2 teaspoons). The water activates the binders and gives the finished bomb just enough moisture to hold its shape when pressed. Mix the liquid oils with any fragrance oil and oil-based colorant (if using) in a separate small bowl. The water or witch hazel goes in separately, added very slowly. Witch hazel is preferred over water because it disperses more gently — pure water activates the baking soda/citric acid reaction instantly on contact, which is why you must add liquid so slowly. If you add too much liquid at once or too quickly, the mixture will begin fizzing prematurely and the finished bath bomb will be 'activated' before it ever reaches the bath, resulting in a bath bomb that barely fizzes when it is supposed to.
Combining and Reaching the Right Consistency
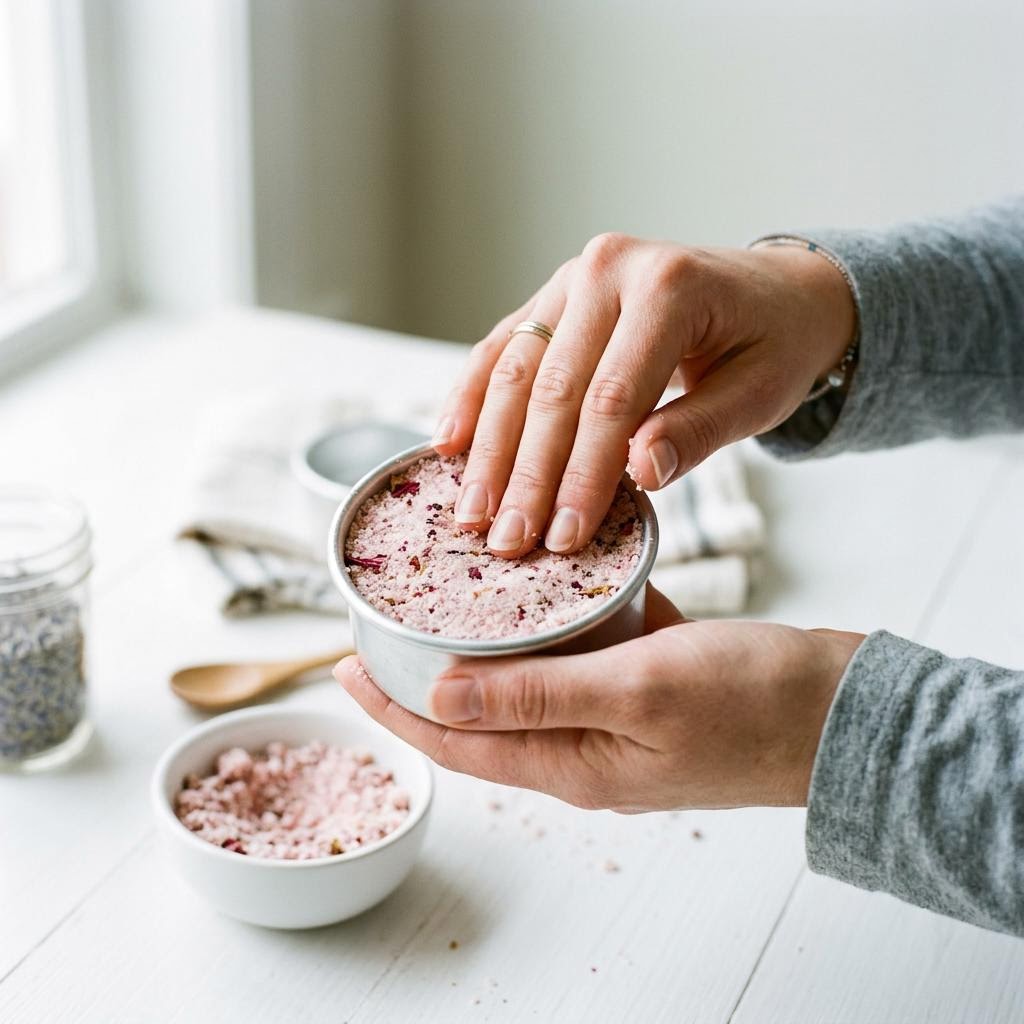
Slowly pour the wet mixture into the dry ingredients in a thin stream while whisking constantly. Whisk as you pour to distribute the liquid evenly without allowing pools to form — any pool of liquid causes an immediate eruption of fizzing. The mixture will want to fizz; you are working against the chemistry to keep it inactive. If it starts fizzing, whisk faster and keep adding dry ingredients (a pinch of baking soda) to buffer the reaction. The correct consistency is like wet sand that just barely holds together when squeezed in your palm: it should form a clump when pressed and hold its shape for five seconds before beginning to fall apart. If it is too dry (does not hold together at all), add a few more sprays of witch hazel from a spray bottle, one spray at a time, whisking vigorously between each spray. Do not add liquid in large amounts. If it is too wet (it holds together but fizzes when squeezed), add a small amount of corn starch or baking soda to absorb excess moisture. The window between too dry and too wet is narrow; err toward drier — a bath bomb that is slightly dry will still work fine in the bath.
Molding and Drying
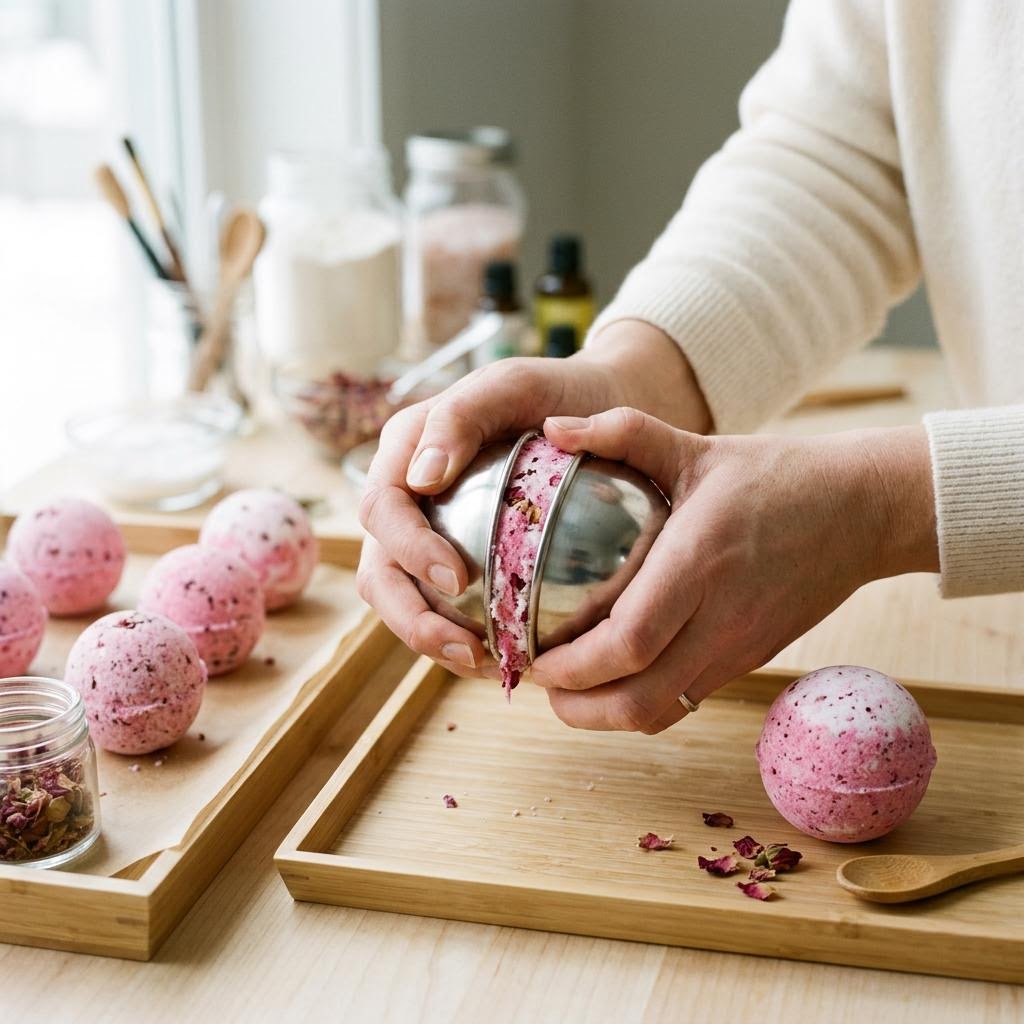
Work quickly once the consistency is right — the mixture dries out as you handle it. Overfill each half of the bath bomb mold, creating a mound of mixture above the rim, then press the two halves together firmly. The excess mixture will squeeze out around the seam — this is correct. Press and hold for thirty seconds. Most molds are held together with a press-fit mechanism or a strap; some can be left to sit on a flat surface with one half balanced on the other. Gently twist and remove one half of the mold after sixty to ninety seconds, leaving the bath bomb sitting in the remaining half-mold while it firms up further. After another two to three minutes, carefully slide the finished bath bomb out of the remaining mold onto a piece of parchment or a drying rack. Do not touch the surface — fingerprints will set permanently. Leave to harden in a dry location (low humidity is essential — humidity triggers slow fizzing during drying, which ruins the bath bomb) for 24–48 hours. A dry, cool room is ideal; avoid the bathroom where steam will activate the citric acid. Once fully hardened, wrap individually in cling film or place in airtight bags to protect from ambient moisture until use.
Written by

Sophie Chen
Bath & Beauty Craft Formulator
Sophie blends cosmetic science with artisan craft. She develops small-batch skincare, soap, and bath product recipes that are safe, effective, and beautiful.