Painted Terracotta Pots: 5 Designs for Your Indoor Jungle
Elevate your plant collection with painted terracotta pots.
Terracotta has been the default material for garden pots for at least 2,500 years, and it earns its longevity. The unglazed fired clay breathes — it allows air and moisture to pass through the walls, which benefits plant roots and prevents the waterlogging that kills many potted plants. The downside is that terracotta fades, salts leach through the walls and leave white mineral deposits, and the natural orange-brown color is limited in its decorating flexibility. Painting solves all the aesthetic limitations while preserving most of the breathability.
The preparation step that most beginners skip — sealing the pot before painting — is the one that makes the biggest difference to finished quality. Raw terracotta is extremely porous. When you apply the first coat of acrylic paint to an unsealed pot, the clay absorbs the paint almost immediately, leaving an uneven, dull, patchy surface that takes four or five coats to build up to decent coverage. A single coat of diluted PVA glue (50:50 with water) or a spray of clear primer seals the surface and lets subsequent paint coats sit on top rather than soak in, reducing the coats needed by half and dramatically improving color vibrancy.
Paint selection matters for durability as much as appearance. Outdoor-grade acrylic paint (often labeled 'multi-surface' or 'all-surface') contains UV inhibitors and slightly more durable binders than standard craft acrylic, which makes a real difference for pots that sit outside in sunlight and rain. Chalk paint gives a beautiful matte finish that photographs beautifully and takes wax or varnish topcoats well, but it is not inherently waterproof and requires sealing even for indoor pots. Spray paint gives the most even base coat but requires outdoor application and proper masking to protect the areas you do not want painted.
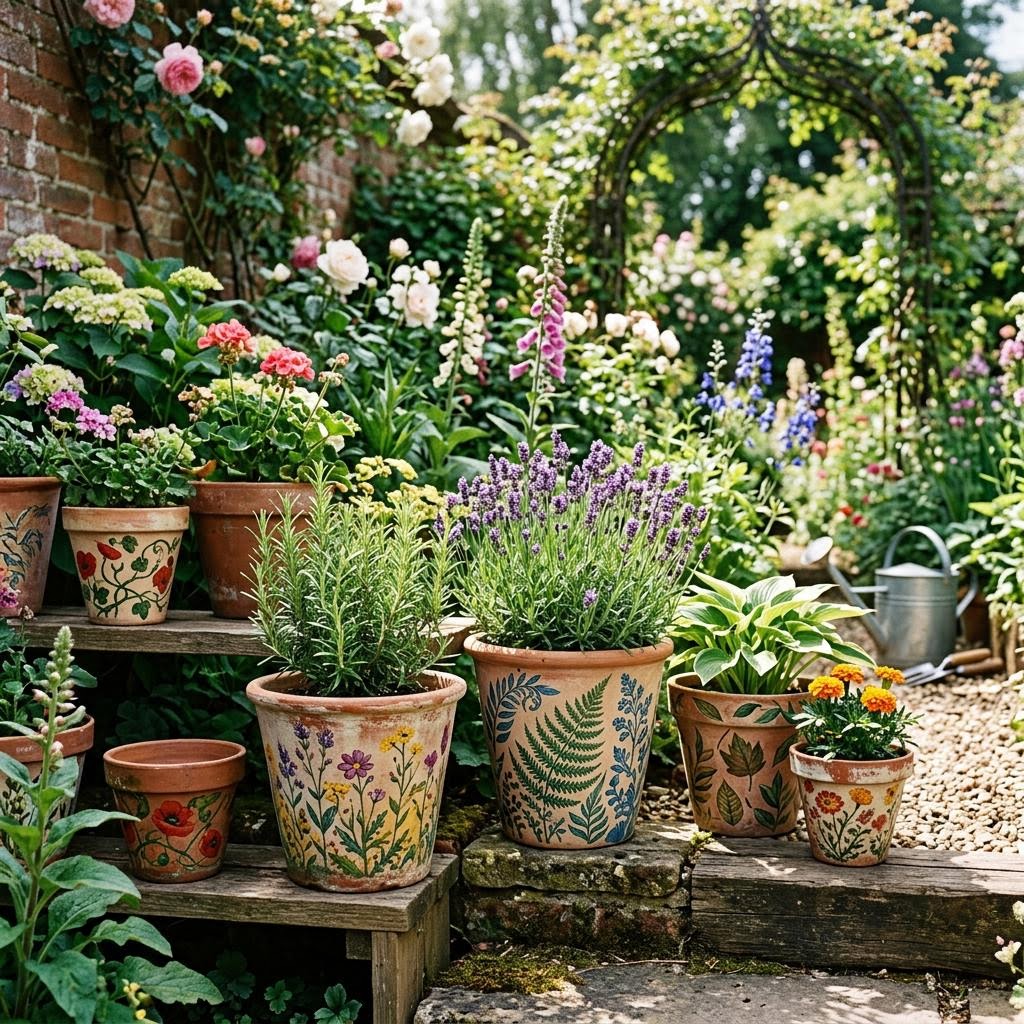
Design ideas span a huge range of skill levels. At the beginner end: solid colors with a contrasting rim, simple stripes using painter's tape, large polka dots made with the handle end of a paintbrush. At the intermediate level: color blocking, simple hand-lettered plant names, geometric patterns using tape and multiple colors. At the advanced level: freehand botanical illustrations, trompe l'oeil effects (painting a pot to look like it is made from another material), and multi-media effects combining paint with gold leaf, texture paste, or embedded objects.
The social media aesthetic around painted pots has been dominated for several years by a specific look: white or cream base with simple black line-drawing botanicals, often with a small amount of terracotta orange left exposed at the rim. This is genuinely beautiful but is also extremely widely replicated, which makes it feel less personal than a more idiosyncratic approach. The best painted pot collections have a coherent visual identity that extends across all the pots — a consistent color palette, a consistent pattern language, a consistent finish — rather than trying one style per pot.
Outdoor durability is the make-or-break factor for painted pots that will actually be used in the garden. The minimum requirement for outdoor durability is a thorough topcoat of exterior-rated varnish — at least two coats — after the paint design is complete. Without this, rain, UV radiation, and the freeze-thaw cycles of cold climates will destroy most paint jobs within one season. Terracotta itself cracks when it freezes if water has been absorbed into the clay walls. In climates with freezing winters, bring painted pots indoors during hard frosts or accept that the pots may crack and the paint peel by spring.
Materials You'll Need
- Plain terracotta pots
- Acrylic craft paint (various colors)
- Primer or white base coat
- Clear acrylic sealer (matte or gloss)
- Assorted paintbrushes
- Painter's tape
- Fine sandpaper
Step-by-Step
Clean and Prep the Pot
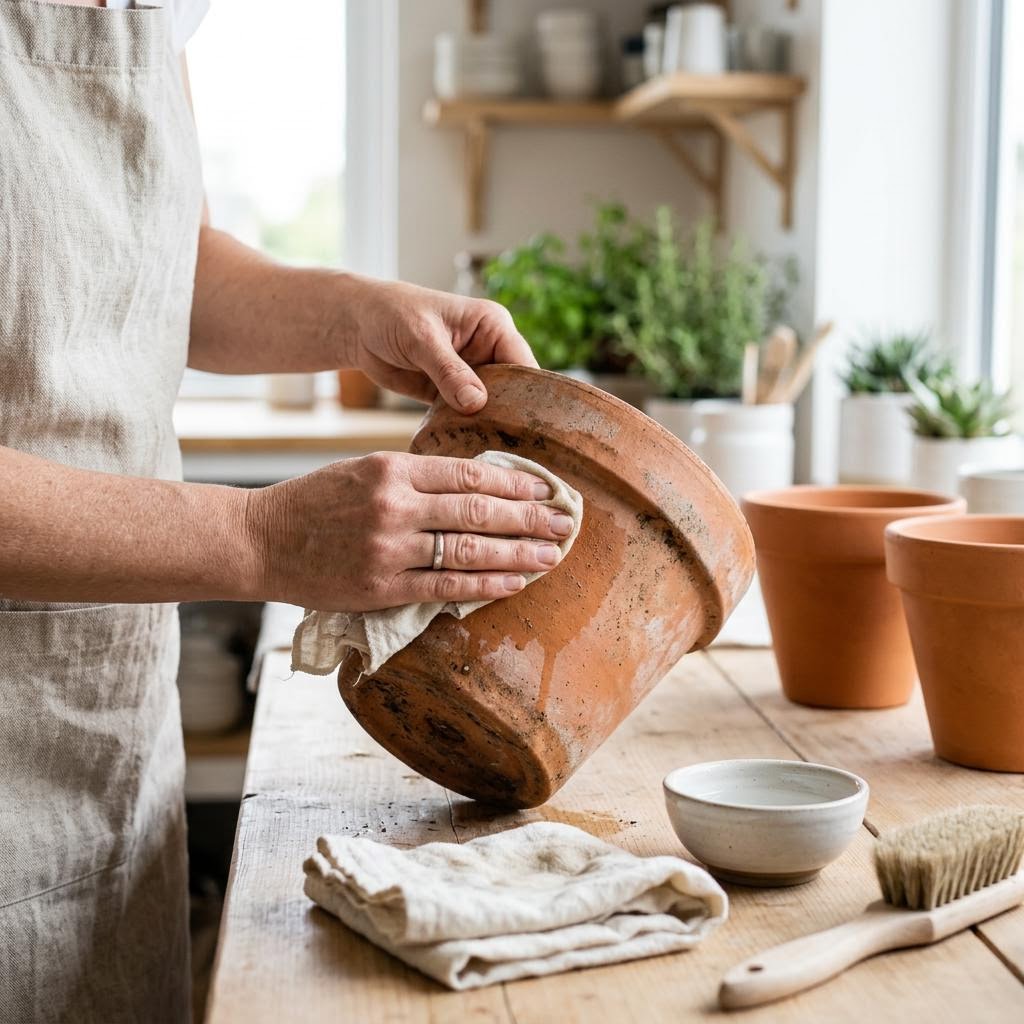
New terracotta pots are dusty from the kiln and fired clay; used pots have soil, mineral deposits, and old fertilizer residue. Wash with warm water and a stiff brush, removing all visible debris. For used pots, soak in a dilute white vinegar solution (1 part vinegar to 4 parts water) for 30 minutes to dissolve mineral salt deposits, then scrub and rinse thoroughly. Let the pot dry completely — painting on damp terracotta causes paint to bubble and peel. Seal the pot before painting if you want vibrant, even colors. Raw terracotta is extremely porous and will absorb the first several coats of paint into the clay, producing uneven, dull coverage. A coat of PVA glue diluted with equal parts water, or a spray of clear acrylic sealer, seals the surface and gives paint a smooth base to sit on. Let the sealer dry fully (usually 30 minutes) before painting. Skipping this step is possible for a deliberately rustic, textured look — the paint soaks in unevenly and creates a naturally aged appearance — but it uses significantly more paint.
Apply the Base Coat
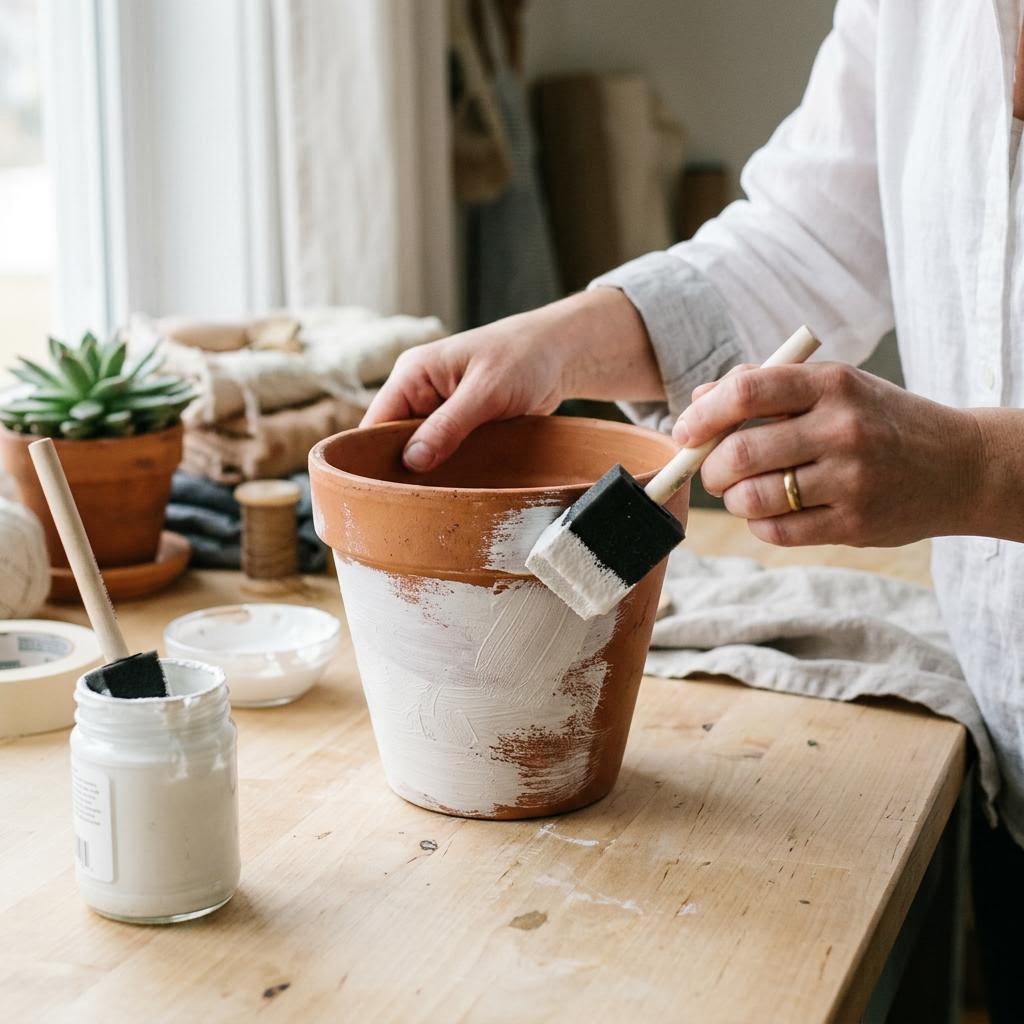
Apply one or two coats of base color with a foam brush or wide flat brush. Foam brushes leave no brush marks and are ideal for flat base coats; bristle brushes leave texture that can be decorative or annoying depending on your design. Apply the base coat to the outside of the pot only — the inside will be filled with soil and is not typically painted. If the design plan has a solid color bottom with a decorated upper section, or a dipped effect, tape off the boundary with painter's tape before applying the base. Acrylic paint is the most practical choice for terracotta: it dries quickly, cleans up with water, comes in unlimited colors, and is waterproof once sealed. Chalk paint produces a beautiful matte finish without needing primer but costs more and requires sealing even more thoroughly because it is not inherently waterproof. Spray paint gives the most even base coat but requires better ventilation and generates overspray. Let each coat dry fully before adding another — usually 20–30 minutes for acrylic in normal conditions.
Create Your Design
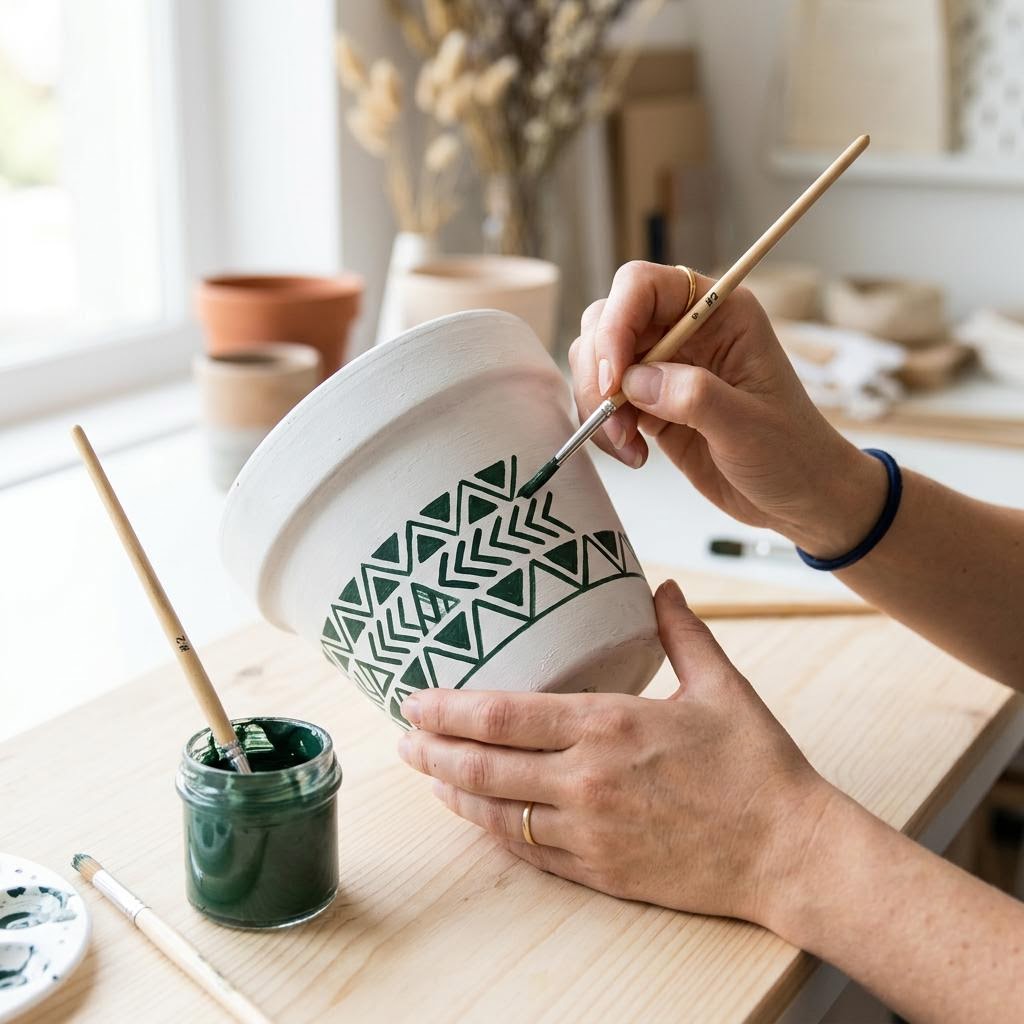
Plan your design before touching the pot. Sketch it on paper, considering how the cylindrical surface will affect the layout — designs that look balanced on flat paper may need adjustment to look right wrapped around a curved surface. Geometric patterns (stripes, dots, triangles, diamonds) are the most beginner-friendly because they repeat and any small inconsistency reads as charm rather than error. Freehand designs (botanicals, animals, abstract shapes) require more confidence but produce the most unique results. For precise geometric designs, use painter's tape to mask straight lines. Press the tape firmly at the edges to prevent paint bleeding underneath — run your fingernail along the tape edge. Apply paint, let it dry for five minutes, then peel the tape while the paint is slightly tacky rather than fully dry — this produces a cleaner edge than waiting until the paint is fully hard. For dots, use the eraser end of a pencil, the handle of a paintbrush, or a dotting tool dipped in paint and applied with consistent light pressure. Vary dot sizes by using different diameter tools. For stamped designs, cut a potato, foam, or linoleum block into your stamp shape.
Seal for Durability
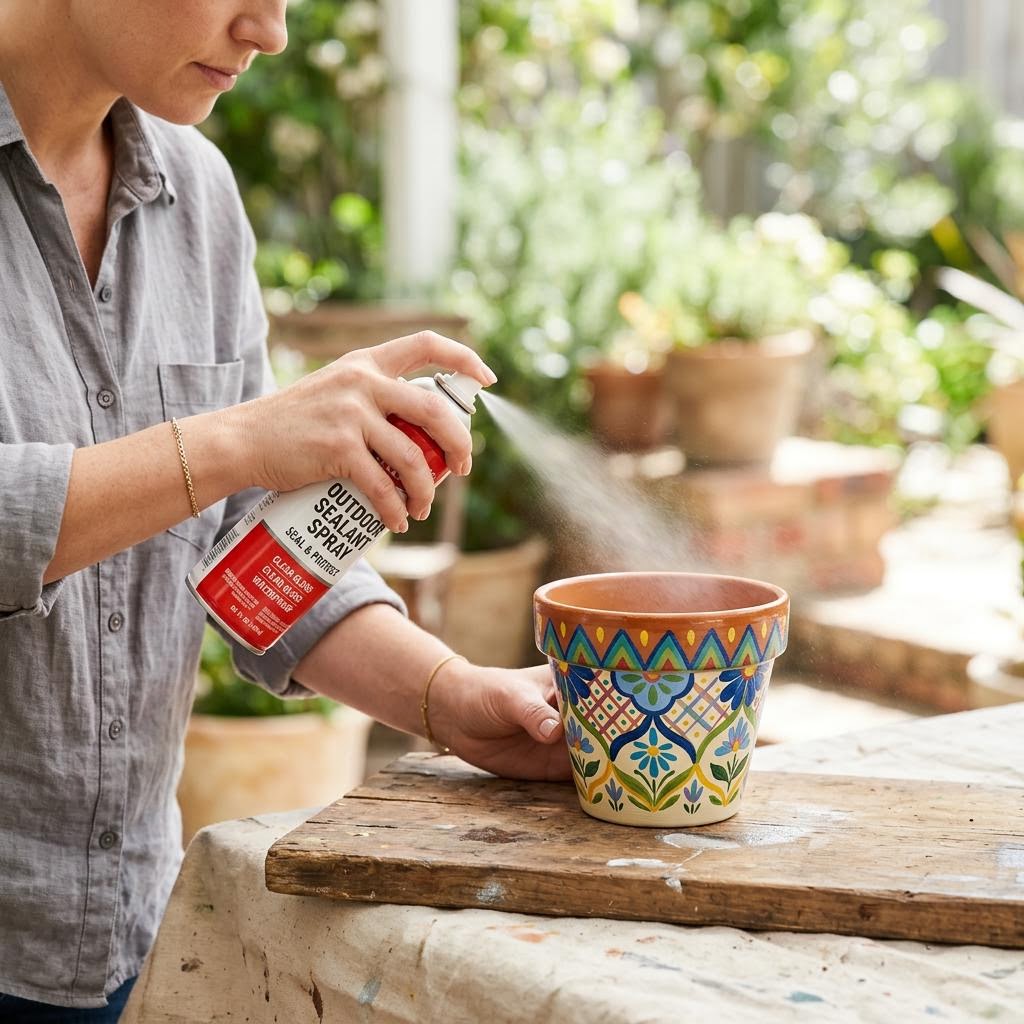
Sealing is not optional for painted pots that will go outdoors or receive regular watering. Without a sealer, water from watering and rain gradually wets the paint from the back (water wicks through terracotta from the inside out) and from the front during watering. This causes paint to lift, bubble, and eventually peel. An outdoor-rated spray sealer or brush-on varnish (polyurethane or acrylic varnish) forms a waterproof barrier that protects the paint layer from both directions. Apply at least two coats of sealer, letting each coat dry fully between applications. Spray sealers should be applied in thin, even passes from about 30cm away to avoid drips — hold the can moving constantly while spraying. Brush-on varnish should be applied in thin layers in one direction, then lightly sanded with 400-grit when dry before the second coat. Allow 48–72 hours of cure time before exposing the pot to water or outdoor conditions. For pots that will sit in direct sunlight, use a UV-resistant sealer to prevent the paint colors from fading.
Written by

Ava Roberts
Jewelry Design & Metalwork Artist
Ava works in silver, copper, and stone. Her handcrafted jewelry practice spans wire wrapping, cold connections, and simple metalsmithing techniques accessible to all skill levels.