Decoupage Furniture Ideas: Transform Old Pieces with Paper
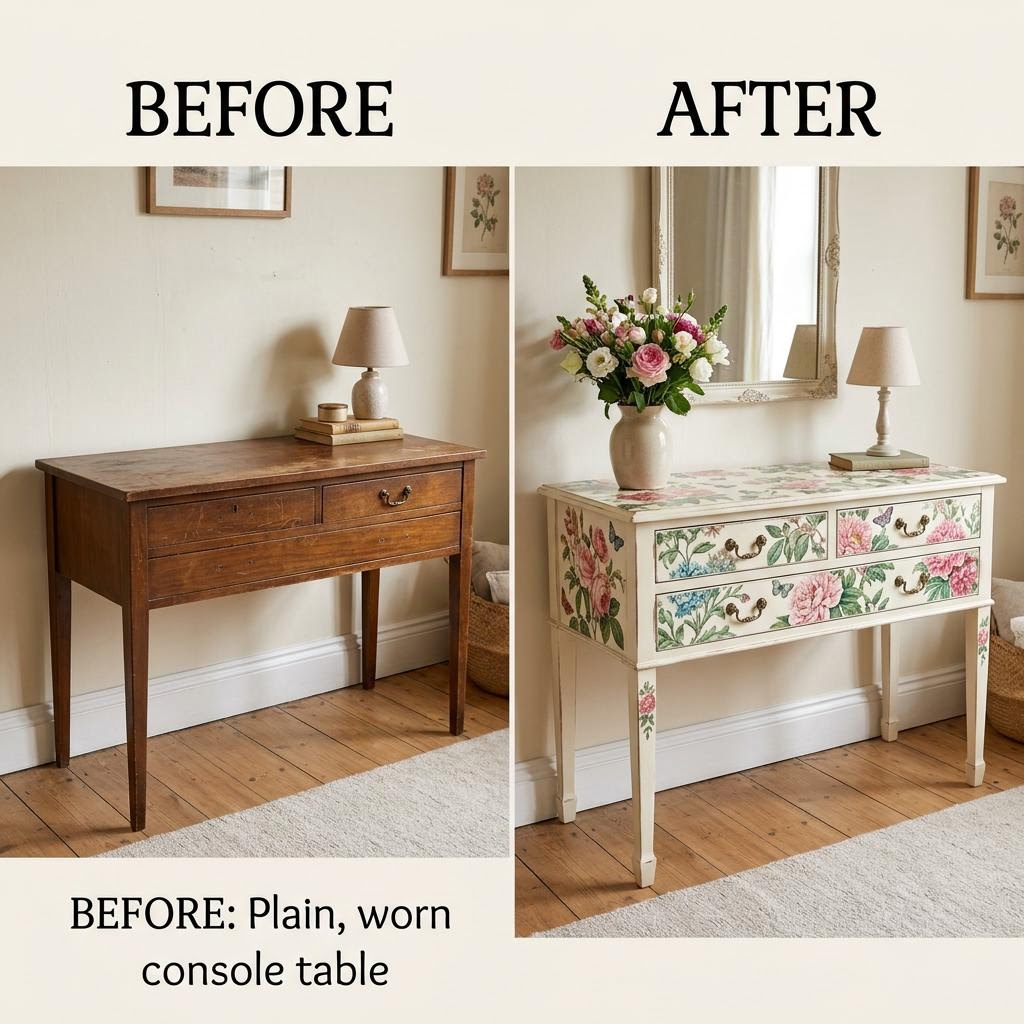
Decoupage furniture ideas can transform any thrift store find.
Decoupage is the craft of decorating surfaces by gluing paper cutouts onto them and sealing the result with layers of varnish. The word comes from the French découper, meaning to cut out, and the craft reached peak popularity in seventeenth century Europe when wealthy households would cut illustrations from expensive lacquerware prints and apply them to their own furniture to simulate the look of Chinese lacquerwork they could not afford. The modern version, popularized in the 1960s by craft stores selling Mod Podge (a combined glue, sealer, and finish), is more democratic — almost any paper on almost any surface produces satisfying results.
Mod Podge is simply PVA glue with a few added ingredients for flexibility and water resistance. You can make a reasonable substitute by diluting white school glue with water in a 3:1 ratio. The branded product is more consistent and comes in useful formulations — Matte, Gloss, Satin, Outdoor, and Fabric — but it is not irreplaceable. What matters is using enough coats to fully seal the paper and build up a protective layer over the design.
Paper selection is the most impactful creative decision in decoupage. Thin papers (tissue, single-ply napkins, tissue paper decoupage papers) apply almost invisibly, embedding into the Mod Podge like a printed design rather than sitting visibly on the surface. Thicker papers (scrapbook paper, book pages, map pages, sheet music) sit more three-dimensionally on the surface and the edge of each piece is noticeable in raking light. Neither is better; they produce fundamentally different aesthetics. Thin paper requires more careful handling when wet; thick paper requires more thorough sealing to prevent edges from lifting.
Surface preparation determines whether your decoupage lasts or peels. On raw wood, a sealing prime coat of diluted Mod Podge prevents the paper from soaking into the wood and bubbling. On glossy surfaces (lacquered furniture, ceramic, glass, plastic), light sanding creates mechanical adhesion — without it, the Mod Podge cannot grip and the whole design peels off as a sheet when it dries. On fabric, use the Fabric formulation and heat-set with an iron after drying. The principle is the same across materials: the surface needs to be clean, dry, and porous enough for the adhesive to grip.
The most common failure mode is applying paper to wet Mod Podge and then trying to reposition it. Once Mod Podge gets tacky (within thirty to sixty seconds), moving paper tears it. Work in small sections, applying Mod Podge only to the area you can cover before it grabs, and have your paper pre-cut and positioned next to the working area so you can place it immediately. Thin papers are especially unforgiving — a tissue paper piece that touches the wrong part of a wet surface will tear when you try to lift it.
Decoupage scales from small personal accessories (phone cases, picture frames, flower pots) to full furniture transformations (chairs, dressers, tabletops, cabinet doors). For outdoor furniture or items that will contact water (trays, planters), use the Outdoor formulation and finish with an exterior-grade varnish — standard Mod Podge will cloud and peel when wet. For furniture that will see regular use, four to six top coats of a hard-wearing varnish is not excessive. The decoupage itself is permanent; it is the topcoat that protects it.
Materials You'll Need
- Small furniture piece (cleaned and sanded)
- Decorative paper or napkins
- Mod Podge (Matte or Gloss)
- Foam brush or wide flat brush
- Fine-grit sandpaper
- Clear acrylic sealer
- Scissors or craft knife
Step-by-Step
Prepare the Surface
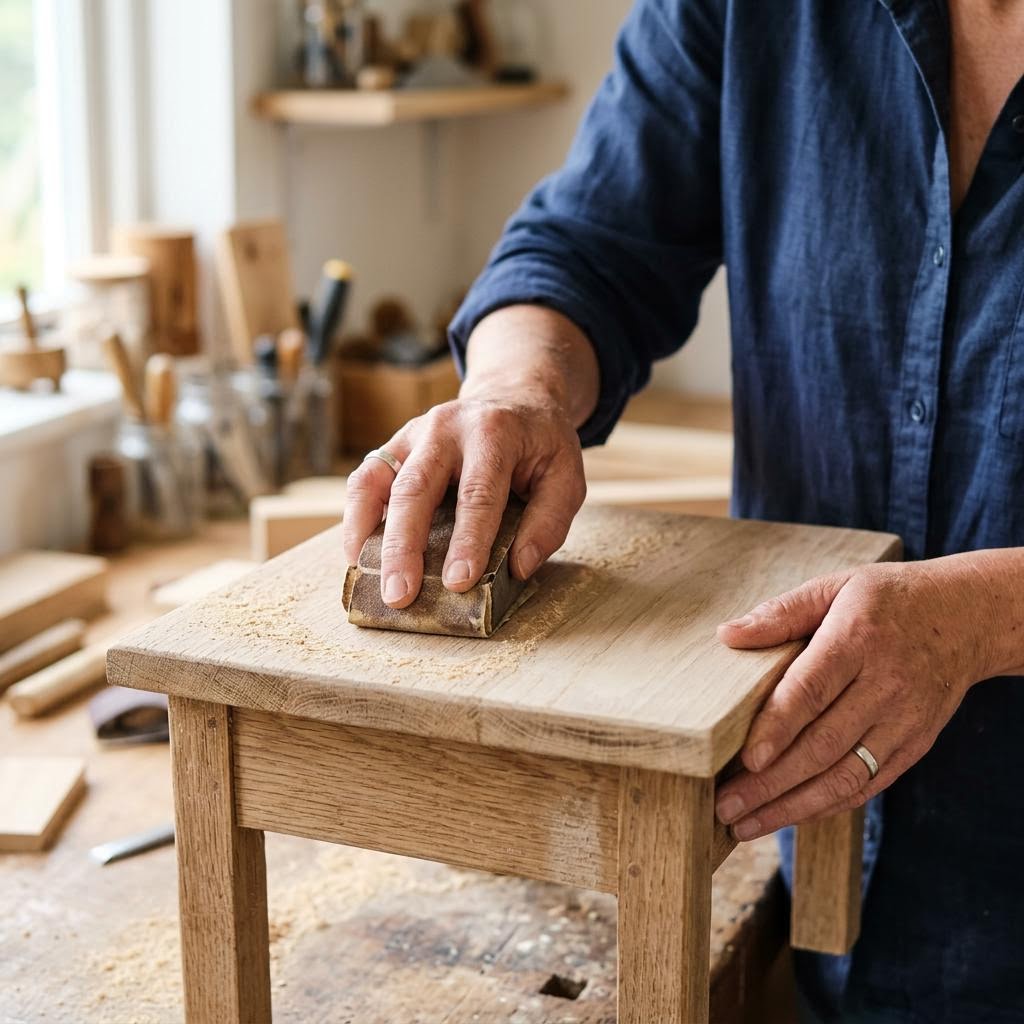
Sand the furniture piece lightly with 120-grit sandpaper to scuff the surface and give the Mod Podge something to grip. This is especially important on glossy or varnished surfaces — Mod Podge applied directly to a shiny finish will peel rather than bond. Wipe away all sanding dust with a damp cloth and let the surface dry completely. If the piece has any loose paint, chipping veneer, or structural damage, repair those before decoupaging — the paper layers will not hide underlying damage and will eventually separate along those fault lines. If you are painting a base color, do so now and let it dry fully before adding paper. A painted base color shows through the gaps between paper pieces and fills the inevitable small spaces at edges — matching it to the dominant tone of your paper creates a seamless finish. Prime raw or porous wood with a coat of diluted Mod Podge (one part Mod Podge to one part water) first, which seals the wood and prevents it from absorbing all the moisture from subsequent coats and causing the paper to bubble.
Cut and Arrange Your Paper
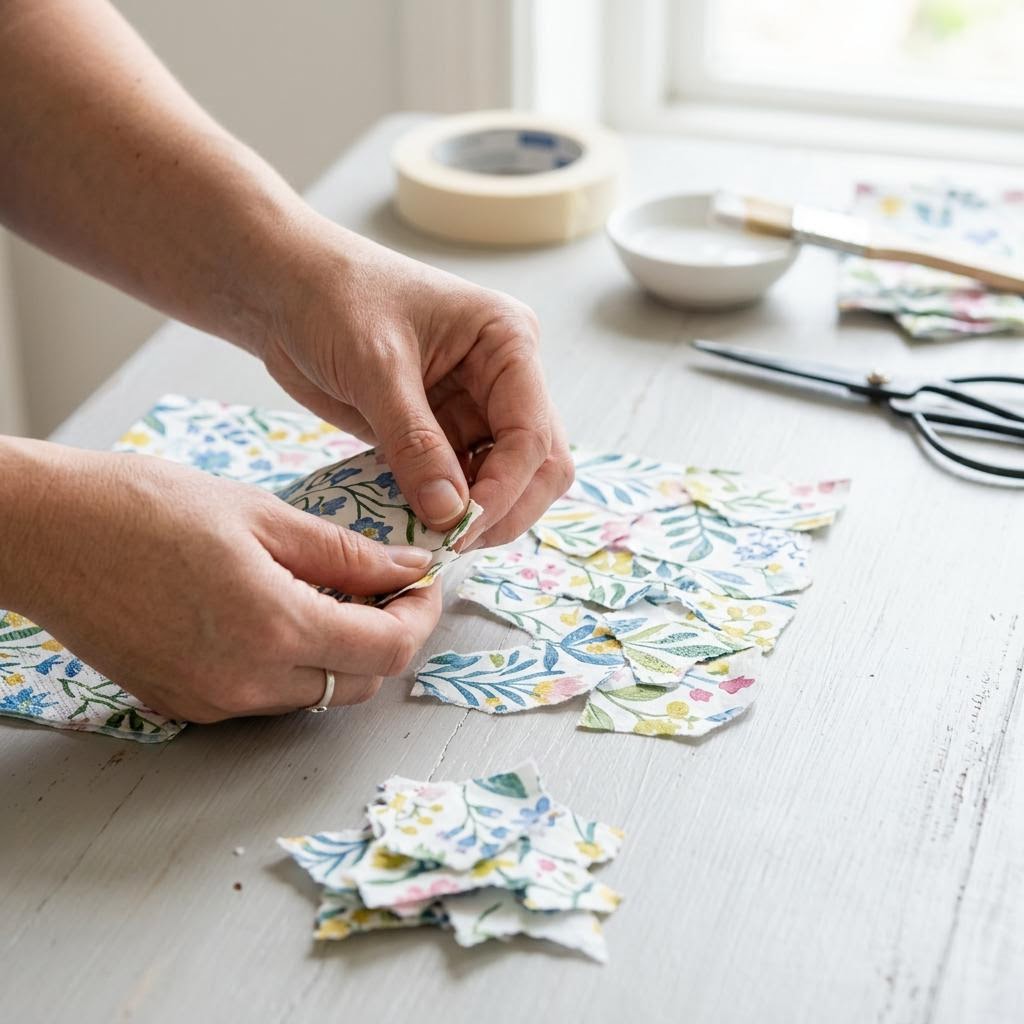
The paper type determines the final look dramatically. Tissue paper creates a transparent, barely-there effect where the base color shows through. Napkins (split into single-ply layers) produce vivid, fine-detail patterns that are extremely thin when applied. Scrapbook paper and book pages give opaque, textured results with more dimensional presence. Thin papers like tissue and single-ply napkins are hardest to handle when wet — they tear easily — but produce the flattest, smoothest results when applied correctly. Tear edges rather than cutting them when you want invisible, blended joins. Torn paper creates a feathered edge where the layers gradually thin, making the transition invisible once Mod Podge dries. Cut edges produce a visible line, which works well for geometric or graphic designs but shows obviously in organic or random arrangements. Dry-assemble your full design on the furniture surface before applying any glue — move pieces around until you are satisfied with the arrangement. Take a photo of the finished dry layout to reference during gluing.
Apply the Decoupage Medium
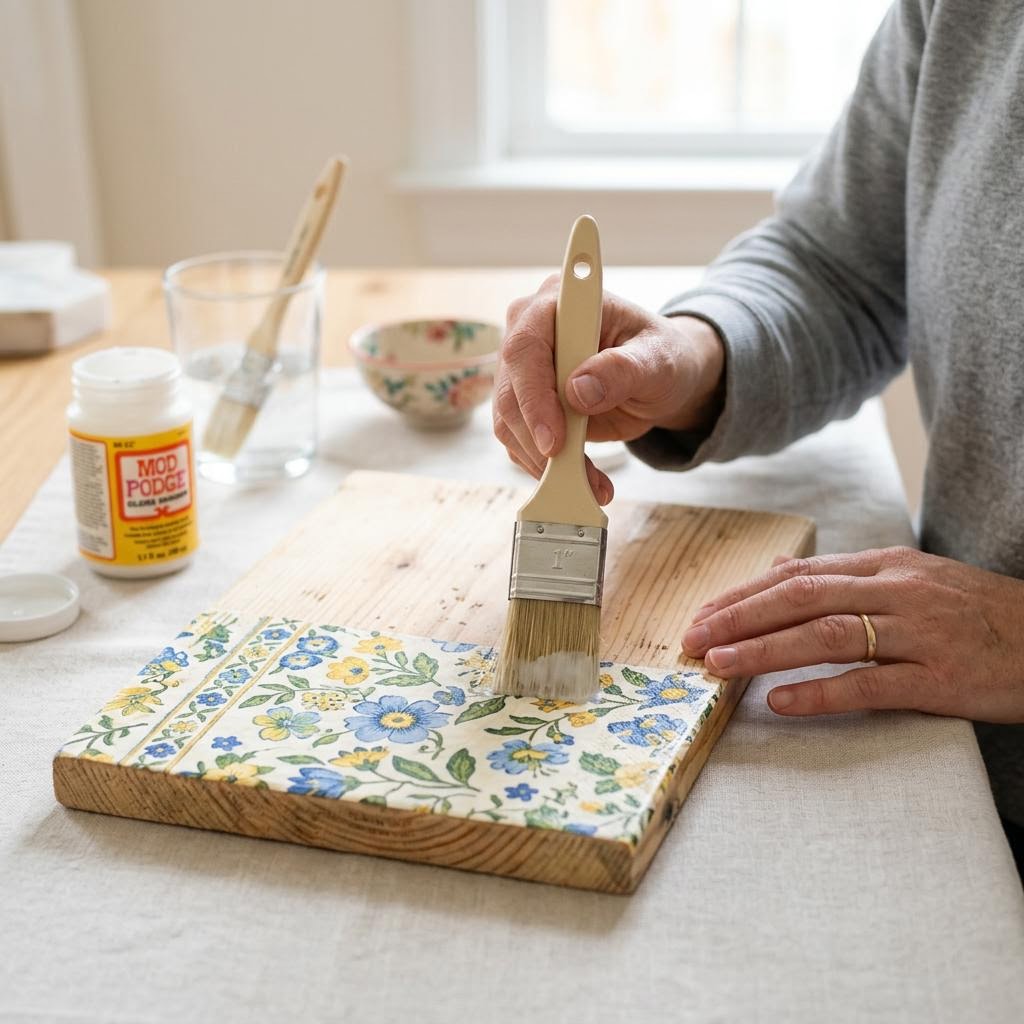
Apply a thin, even coat of Mod Podge to the surface, not to the paper. Place the paper onto the wet surface and immediately smooth it outward from the center using your fingers or a soft brayer, pushing out any air bubbles. Work quickly — Mod Podge begins to get tacky within thirty seconds and if you slide paper across a surface that is already partially set, you risk tearing it. Apply only as much Mod Podge as you can cover before it starts to grab. Once the paper is positioned and smoothed, apply a coat of Mod Podge over the top of the paper immediately. This top coat seals the paper and prevents it from lifting at the edges as it dries. Use a soft foam brush and work in one direction to avoid dragging the wet paper. With thin papers like tissue or napkin layers, use extremely gentle strokes — back-and-forth scrubbing motion with a stiff brush will tear wet tissue paper instantly. Let each layer dry for at least twenty minutes before applying the next piece or the next coat.
Seal and Protect
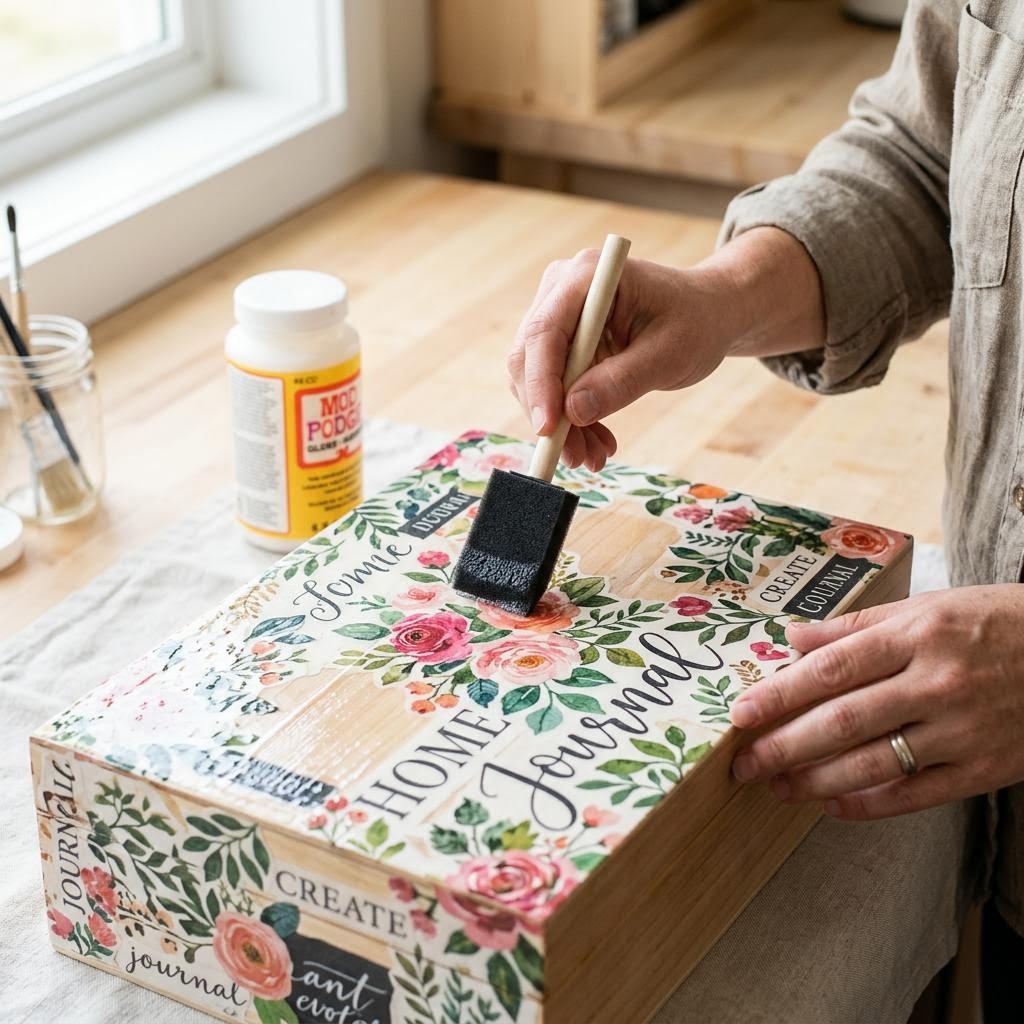
Apply three to four top coats of Mod Podge over the fully dried decoupage, letting each coat dry completely before adding the next. Multiple thin coats produce a stronger, more even finish than fewer thick coats. Thick coats stay tacky longer, drip, and can trap bubbles. Sand lightly between coats with 400-grit sandpaper for an ultra-smooth finish — this removes any dried brush marks or texture from the paper edges and produces a more polished result. For furniture that will receive regular use (tabletops, drawer fronts), the final protective coat should be a dedicated furniture varnish or a hard-wearing Mod Podge formulation like Mod Podge Hard Coat rather than the standard formula. Standard Mod Podge remains slightly water-soluble when dry and will get tacky and white if a wet glass sits on it. A proper varnish topcoat solves this completely. Apply two coats of varnish in the same thin, even manner as the Mod Podge coats, and leave the piece to cure for 72 hours before putting it into regular use.
Written by

Sophie Chen
Bath & Beauty Craft Formulator
Sophie blends cosmetic science with artisan craft. She develops small-batch skincare, soap, and bath product recipes that are safe, effective, and beautiful.