How to Make a Macramé Wall Hanging: Complete Beginner's Guide
Learn how to make a stunning macramé wall hanging with this complete beginner's guide.
Macramé sounds intimidating until you realize the whole craft boils down to two things: hanging cords on a stick and tying knots. The word itself comes from the Arabic miqrama, meaning fringe, and sailors were knotting rope into functional and decorative objects centuries before it became a social media staple. Today's macramé wall hanging revival is about more than aesthetics — it is a tactile, screen-free hobby that produces something genuinely beautiful you can hang in your home the same afternoon you make it.
The single biggest advantage macramé has over most fiber crafts is that mistakes unravel. Unlike knitting or crochet where a dropped stitch can cascade through rows, a badly tied square knot simply needs to be loosened and retied. This forgiveness makes it the ideal first craft. You do not need to invest in a loom, a sewing machine, or expensive equipment — just a wooden dowel, some cotton cord, scissors, and a free afternoon. The learning curve is steep for the first thirty minutes and gentle for everything after.
Cord selection makes a bigger difference than most beginners expect. Single-strand twisted cotton in 5mm weight is the sweet spot for wall hangings: chunky enough to show knots clearly, soft enough to work with for hours, and it untwists beautifully into fluffy fringe. Three-ply braided cord is stronger but harder to fringe. Jute has a rustic look but is rough on hands during long sessions. Nylon holds knots tightly but has a synthetic sheen. For your first project, stick with natural cotton — it photographs beautifully and is forgiving of beginner tension inconsistencies.
The square knot is the workhorse of macramé. It is made with four cords: two outer working cords and two inner filler cords. Cross the left working cord over the fillers and under the right, then bring the right under the fillers and up through the left loop. Pull snug — that is the first half. Reverse the direction for the second half and you have a complete square knot. Repeat only the first direction twice and you get a spiral twist instead, which adds visual variety without learning anything new. These two moves, plus the lark's head knot used to mount cords on the dowel, are all you need for this project.
The most common beginner mistake is cutting cords too short. A finished 40cm wall hanging typically requires cords cut to at least 160cm — four times the finished length is the standard rule, more if your pattern is dense. Running out of cord mid-project is frustrating and any splice will show. The second most common mistake is inconsistent tension: if some knots are tight and others loose, the pattern looks messy even if every knot is technically correct. Anchor your dowel at eye level and work standing — gravity helps maintain even tension in a way that working flat on a table never does.
Once you have finished one wall hanging, the natural next steps are a macramé plant hanger (same square knot, worked in the round) and experimenting with color by knotting in dyed cords or weaving in yarn tassels. Framing your work with driftwood instead of a wooden dowel adds an organic, nature-found feel. Outdoor-rated polypropylene cord lets you hang pieces on a porch without weather damage. The structural logic of macramé scales beautifully — the same knots that make a 30cm wall piece also make a room divider or a hammock. The hobby grows exactly as fast as your ambition.
Materials You'll Need
- 5mm cotton macramé cord (50 meters)
- Wooden dowel (30cm)
- Scissors
- Measuring tape
- Comb for fringing
Step-by-Step
Prepare Your Workspace
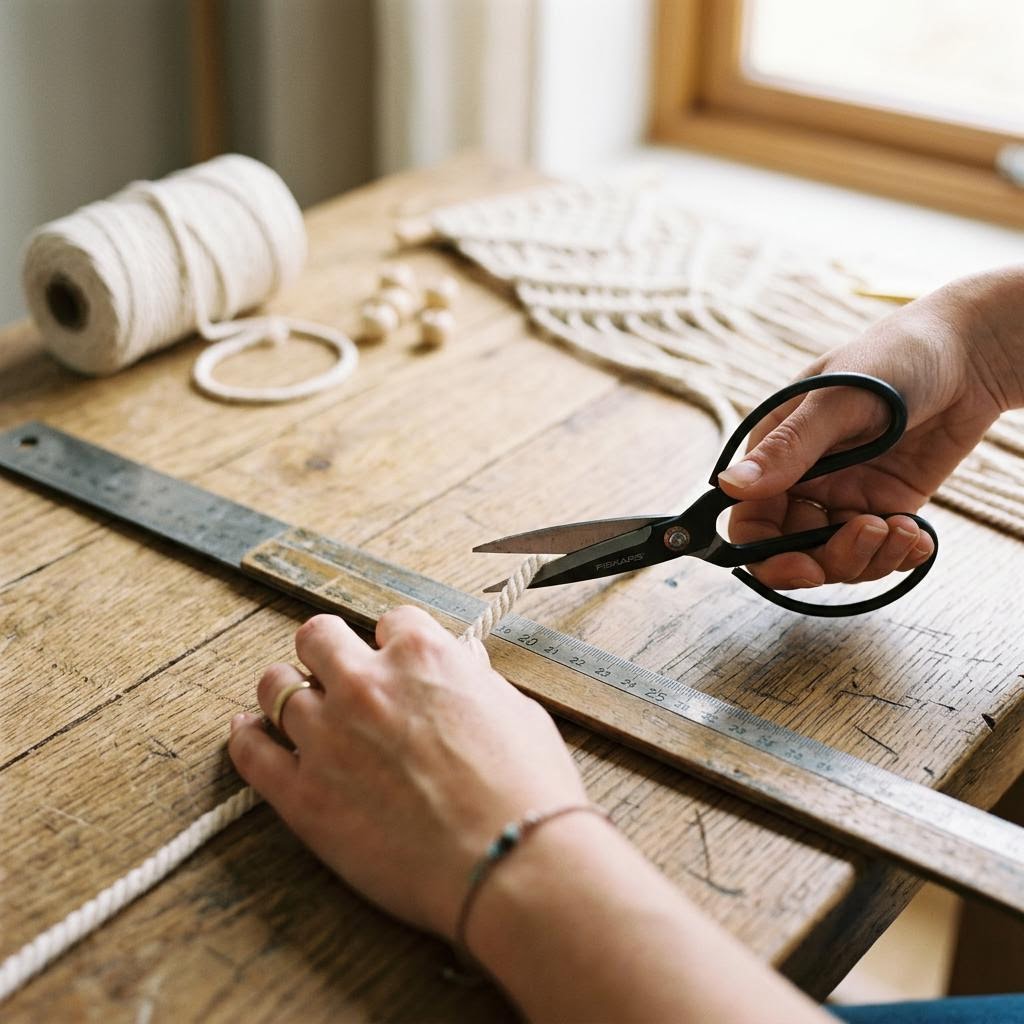
Hang your dowel at eye level from a clothing rail, curtain rod, or a sturdy command hook — working vertically rather than flat on a table gives you far better tension control and lets gravity do some of the work. Before touching a single knot, cut and count all your cords. For a 30cm wide hanging, cut 16 cords each 3 meters long. Measure twice, cut once: running out of cord mid-project because you cut short is one of the most frustrating beginner mistakes and it is entirely avoidable. Mount each cord on the dowel using a lark's head knot: fold the cord in half, drape the folded loop over the dowel from front to back, then pull both tail ends down through that loop and tighten. Work across the dowel spacing cords evenly apart. You will end up with 32 working strands hanging down. Run your fingers through them to smooth and separate, then check that no two cords are twisted around each other — a tangle at this stage will compound into a knot you cannot fix later.
Master the Square Knot
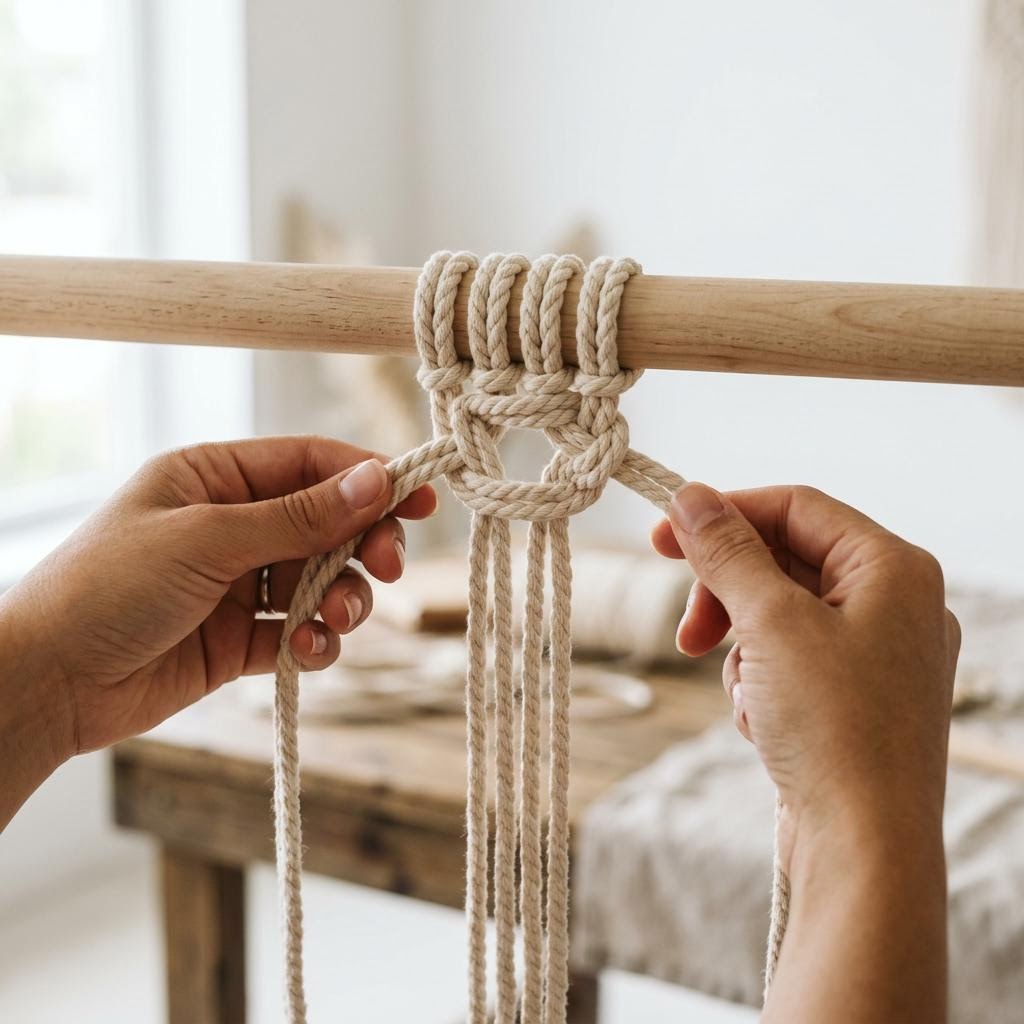
Pick up four adjacent cords. The two outer ones are your working cords; the two inner ones are filler cords that just sit there. Take the left working cord, cross it over the two fillers, then pass it under the right working cord. Take the right working cord, bring it under the fillers, and pull it up through the loop the left cord made. Pull both outer cords firmly and evenly outward — not downward. You have just made the first half of a square knot. To complete it, start from the right this time: right cord crosses over the fillers, left cord goes under the fillers and up through the right loop. Pull snug. You should see the characteristic X pattern lock into place. If both halves look the same and the knot feels secure without being strangled, your tension is right. Practice five or six knots on scrap cord before working on your actual project — the muscle memory builds quickly and you will feel the difference immediately.
Create the Pattern
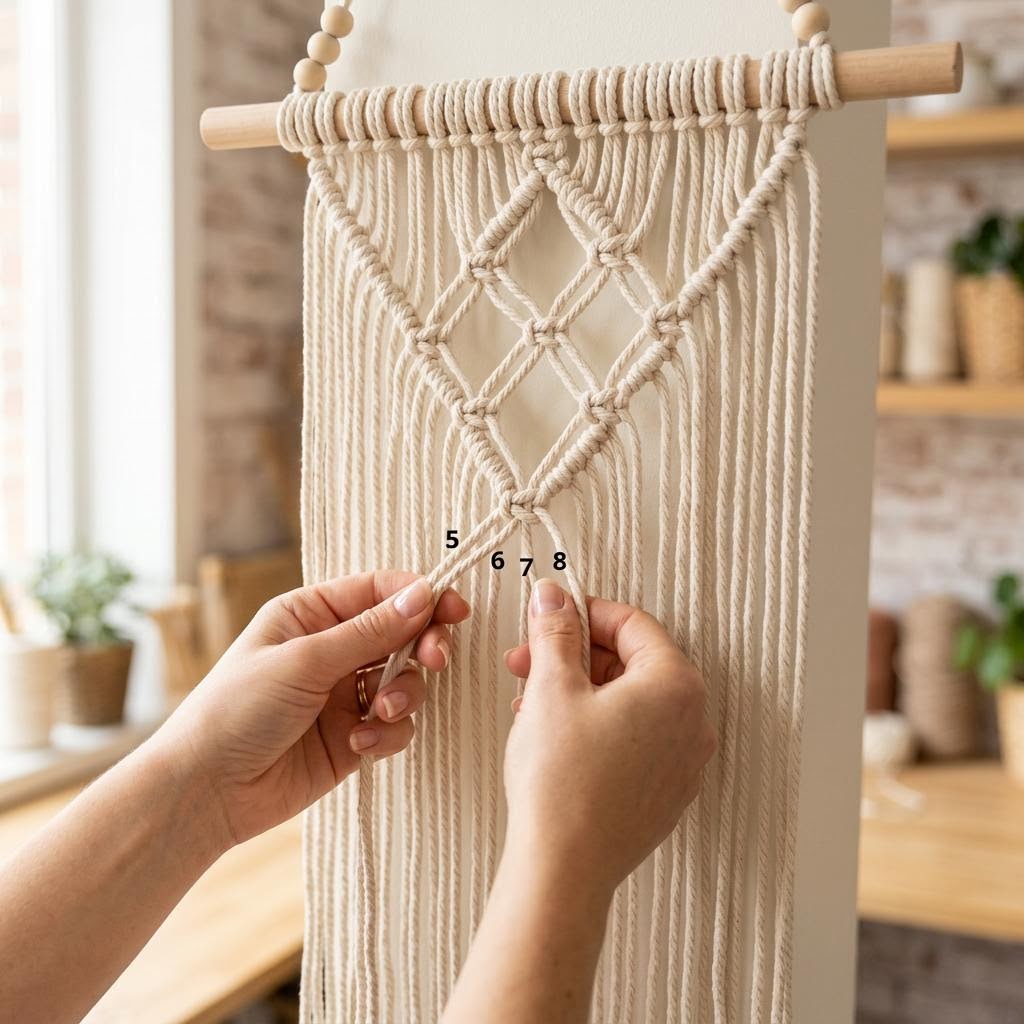
Work in rows of alternating square knots. In your first row, tie knots using cord groups 1–4, 5–8, 9–12, and so on across. In your second row, shift one group over: use cords 3–6, 7–10, 11–14 — leaving the first two and last two cords free at the edges. This offset structure creates the classic diamond lattice pattern macramé is known for. Use a ruler or a piece of tape stuck to the wall to keep rows at a consistent height — even a 1cm drift in one row throws the whole grid off. Leave a deliberate gap between rows rather than pushing each row tight against the last. Around 3–4cm of space between rows gives the hanging an open, airy feel. Step back from your work frequently — your eye catches wonky rows much faster from a meter away than from 20cm. If a section looks off, count your cords before assuming a mistake: it is usually a simple pairing error that can be corrected by undoing just one row.
Add Fringe and Finish
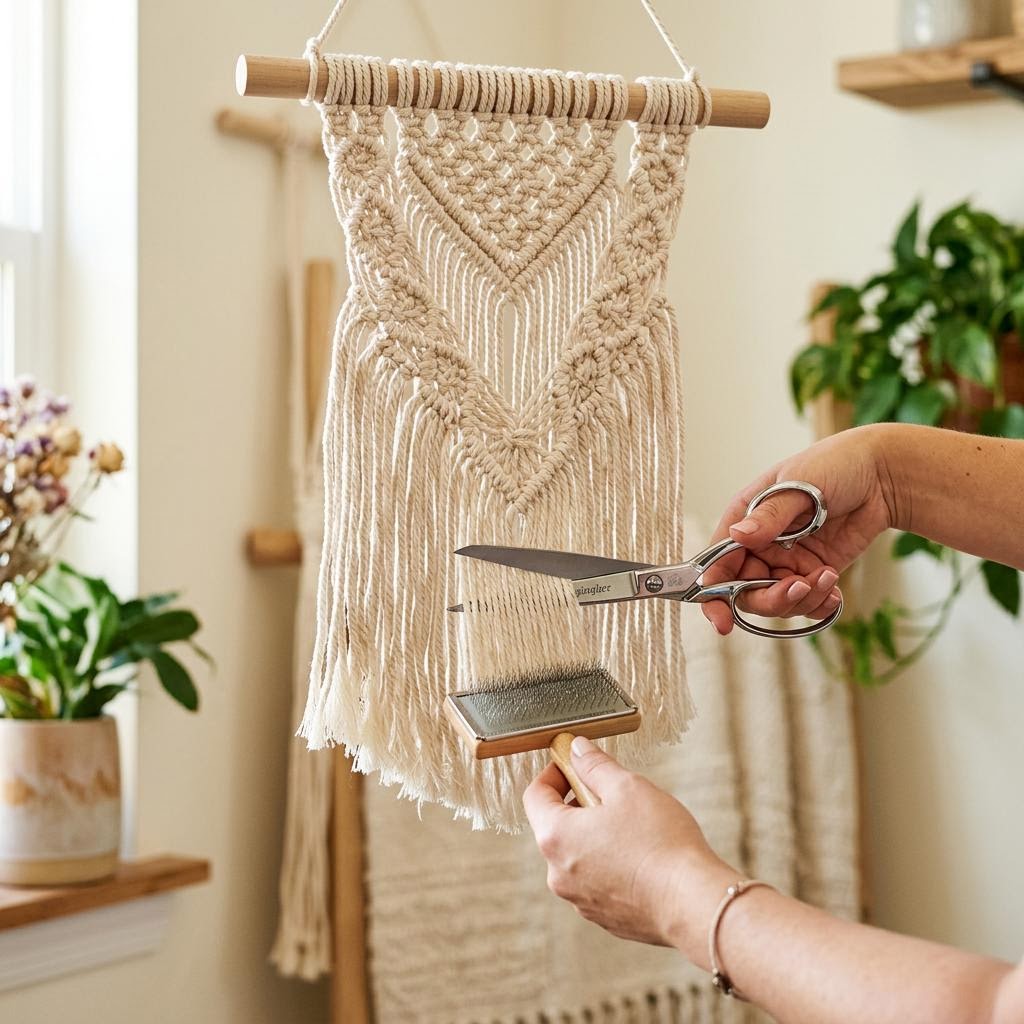
For the fringe section at the bottom, leave the remaining cord lengths unknotted and unravel them. If you are using twisted cotton cord, untwist each strand between your fingers and then brush vigorously with a wide-tooth comb or a pet slicker brush. Work from the tip upward in short strokes — brushing from the top down causes tangles. The individual cotton fibers will separate into a soft, fluffy fringe that is the signature finish of this style. Trim the fringe to your preferred length using sharp fabric scissors. Cutting straight across is clean and modern; cutting in a V-shape or a soft arc adds movement. Hold a ruler or a strip of tape across the fringe as a cutting guide to keep the line even. To hang, tie a spare length of cord to each end of the dowel, or rest the dowel across two wall nails. Keep the finished piece away from direct sunlight — sustained UV exposure yellows natural cotton within a few months.
Written by

Sarah Mitchell
Fiber Arts & Macramé Expert
Sarah has been knotting, weaving, and stitching for over a decade. Her work blends traditional fiber techniques with modern minimalist aesthetics.