How to Knit a Scarf: The Ultimate Beginner's Project
Learn how to knit a scarf with our detailed, step-by-step guide.
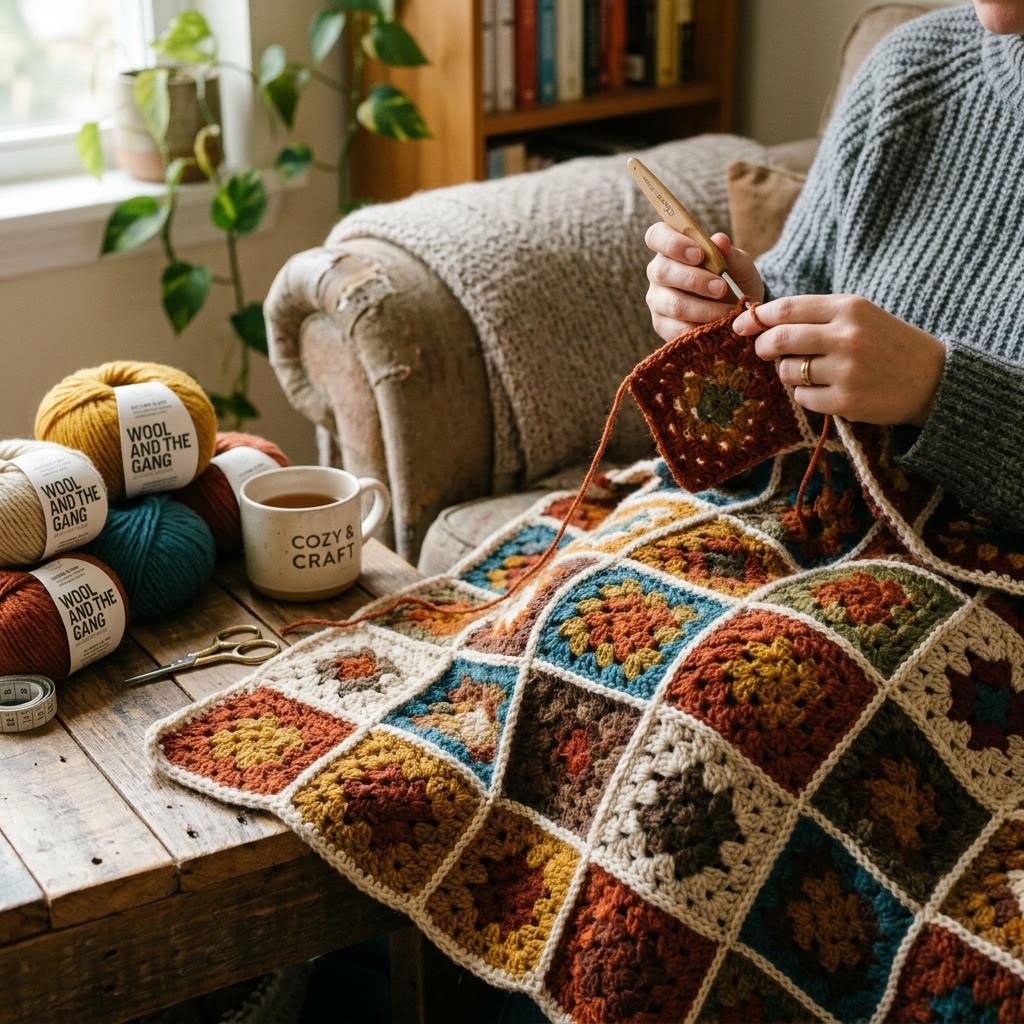
Knitting and crochet are often grouped together as 'yarn crafts', but they work on completely different mechanical principles and produce fabrics with different properties. Knitting uses two or more needles and keeps many live loops active simultaneously — dropping a stitch causes it to unravel down the fabric in a 'ladder'. Crochet uses a single hook and keeps only one loop active at a time — dropped stitches just sit where they land. For beginners, this makes crochet marginally more forgiving of distraction. But knitting produces a fabric with a beautiful stretch and drape that crochet rarely matches, which is why nearly all commercial knitwear (sweaters, socks, fine scarves) is knitted rather than crocheted.
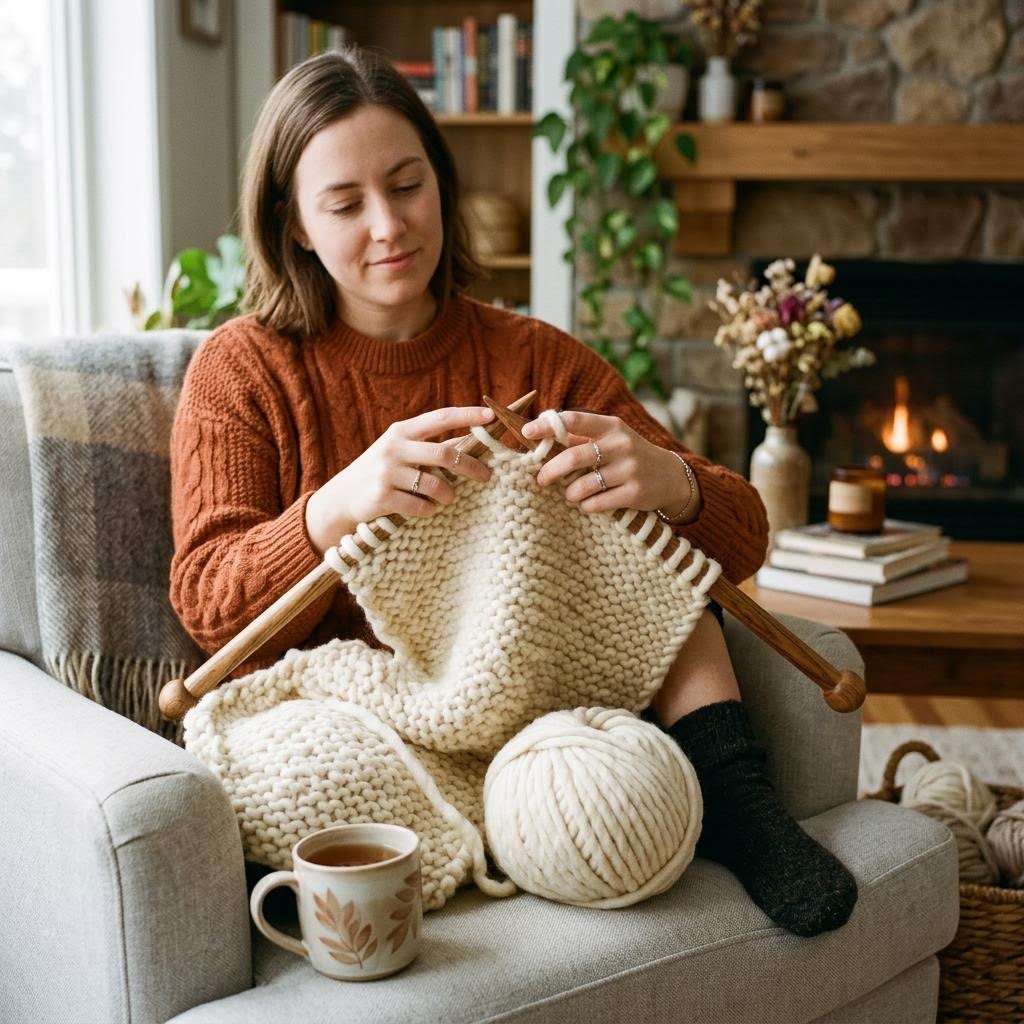
A scarf is the canonical first knitting project because it has no shaping, no tricky seaming, and tolerates wide variations in tension without becoming unwearable. Where a fitted garment becomes too small or too large if your tension is slightly off, a scarf that is two centimeters narrower or wider than intended is still a perfectly good scarf. The only commitment is time — a beginner knitting a 150cm scarf in worsted weight yarn on 5mm needles should expect twelve to twenty hours of knitting spread over several weeks.
Garter stitch (knit every stitch on every row) is the beginner standard because it requires only one stitch type, produces a reversible fabric, and lies naturally flat — unlike stockinette (alternating knit and purl rows), which curls at the edges until blocked. The resulting fabric has horizontal ridges on both sides, a pleasant texture, and good elasticity. Ribbing (alternating knit and purl stitches in the same row) is another excellent beginner option that produces a fabric with more stretch and a finer appearance — though it requires learning the purl stitch, which is simply the knit stitch in reverse.
Blocking transforms finished knitting from lumpy and uneven to smooth and professional-looking. The process is simple: soak the knitted piece in cool water until fully saturated, gently press (not wring) excess water out in a towel, then pin the piece to its correct dimensions on a foam mat and leave to dry. Blocking relaxes the stitches, evens out tension variations, and can increase the dimensions of the piece by ten to twenty percent. A blocked scarf looks like a different object from an unblocked one — it is the step that makes hand-knitting look intentional and deliberate rather than homemade.
Yarn weight and needle size determine the character of the finished fabric more than any other factor. Chunky yarn on 10mm needles produces a thick, quick-growing fabric that is warm and substantial — a chunky scarf takes perhaps four to six hours total. Lace weight yarn on 3.5mm needles produces an extremely fine, delicate fabric that takes fifteen times as long to cover the same area. For a first project, worsted weight (also called aran weight) on 5mm needles is the sweet spot: fast enough to stay interesting, refined enough to look good.
Left-twist versus right-twist yarns create slight aesthetic differences in garter stitch that are invisible in most finished fabric. What does matter is choosing a yarn that is smooth and consistent, with a twist that holds the plies together securely. Loosely plied yarns (where the individual strands separate easily) are difficult for beginners because the needle tends to split the plies rather than entering the stitch cleanly. Wool and wool-blend yarns are more elastic and forgiving of tension inconsistencies than cotton, which has no give. Save cotton for your second or third project.
Materials You'll Need
- Chunky weight yarn (2-3 skeins)
- Knitting needles (size US 11 / 8.0mm)
- Tapestry needle
- Scissors
- Measuring tape
Step-by-Step
Casting On
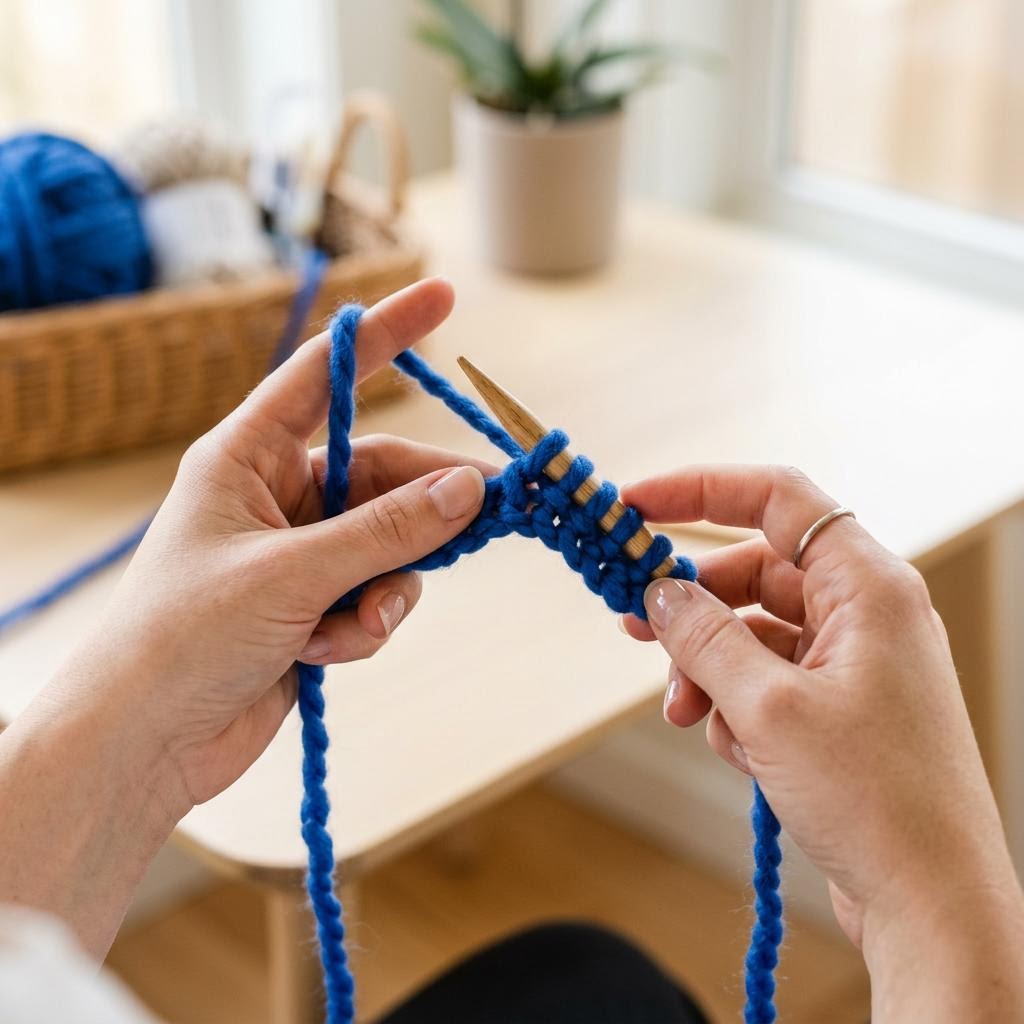
The long-tail cast-on is the best method for most beginners: it produces a flexible, even edge that sits comfortably against skin and does not require a crochet hook or other tool. Start by measuring out a tail about three times the width of your planned scarf (for a 20cm-wide scarf, pull out 60cm of yarn before your slip knot). Make a slip knot at this point and place it on the needle. Hold the needle in your right hand, drape the tail over your left thumb and the working yarn over your left index finger. Insert the needle tip upward through the loop on your thumb, sweep it over and catch the yarn on your index finger, and pull it through the thumb loop to form a stitch. Drop the thumb loop and re-tension the tail over your thumb to set the stitch snug but not tight against the needle. Repeat until you have the number of stitches required. For a beginner scarf in worsted weight yarn on 5mm needles, 30 stitches gives you approximately a 16cm-wide scarf — a good portable width. Count your stitches after casting on; recount again before knitting your first row.
The Garter Stitch (Knit Stitch)
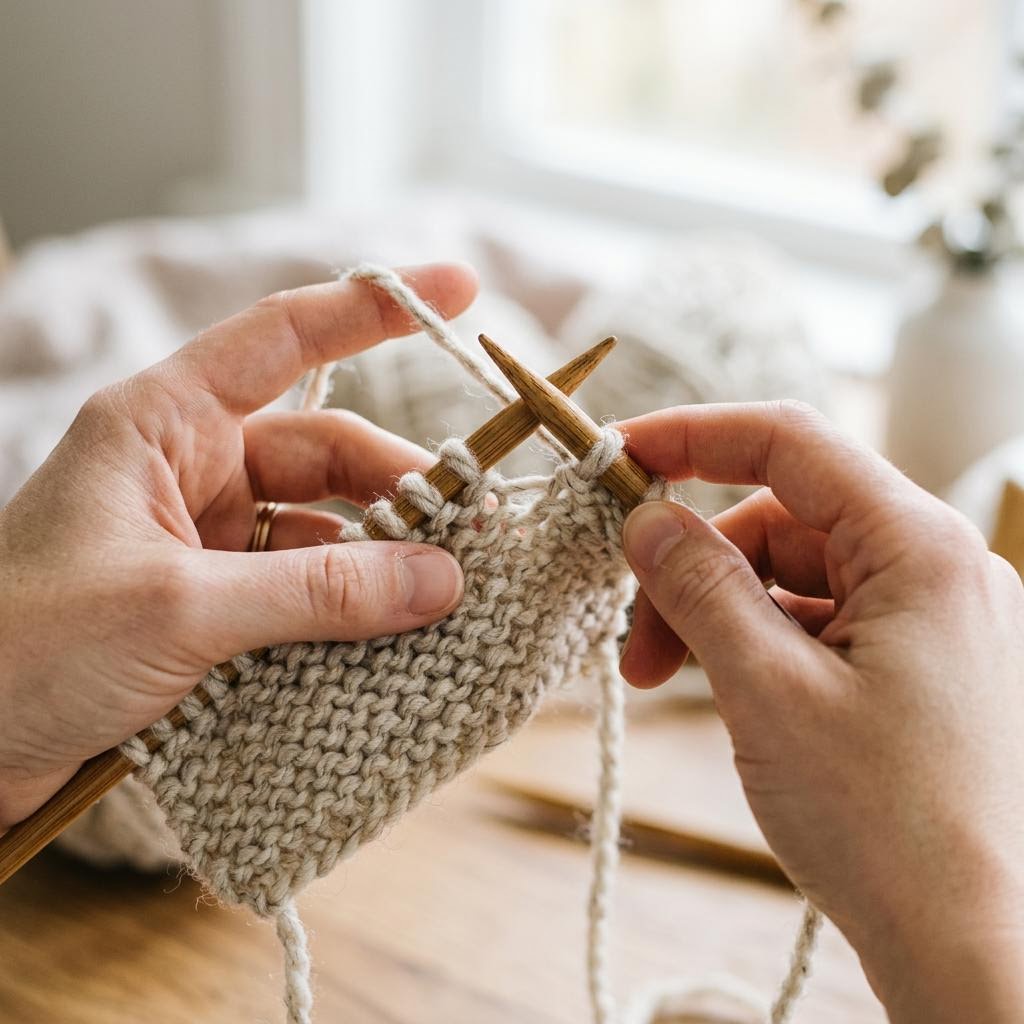
The knit stitch is four movements: insert the right needle into the front of the left-needle stitch from left to right, wrap the working yarn counterclockwise around the right needle, pull a new loop through, and slide the old stitch off the left needle. Four movements, one new stitch. The abbreviation in all knitting patterns is 'k'. Garter stitch fabric is produced by knitting every stitch on every row — no purling required, which makes it ideal for beginners. It creates a ridged, reversible fabric that lies flat without curling at the edges. Hold the needles so they feel balanced — too far out and your hands get tired, too close and you restrict movement. Most beginners grip the needles too tightly; a relaxed grip produces faster, more even knitting. Work through ten to fifteen stitches and stop to check: are all the stitches the same size? Are they sliding smoothly along the needle? If stitches are difficult to slide, your tension is too tight — consciously relax your grip and try to knit into the middle of each stitch rather than the tip. If stitches are very loose and floppy, try working closer to the tips of the needles where you have more control.
Maintaining Even Tension
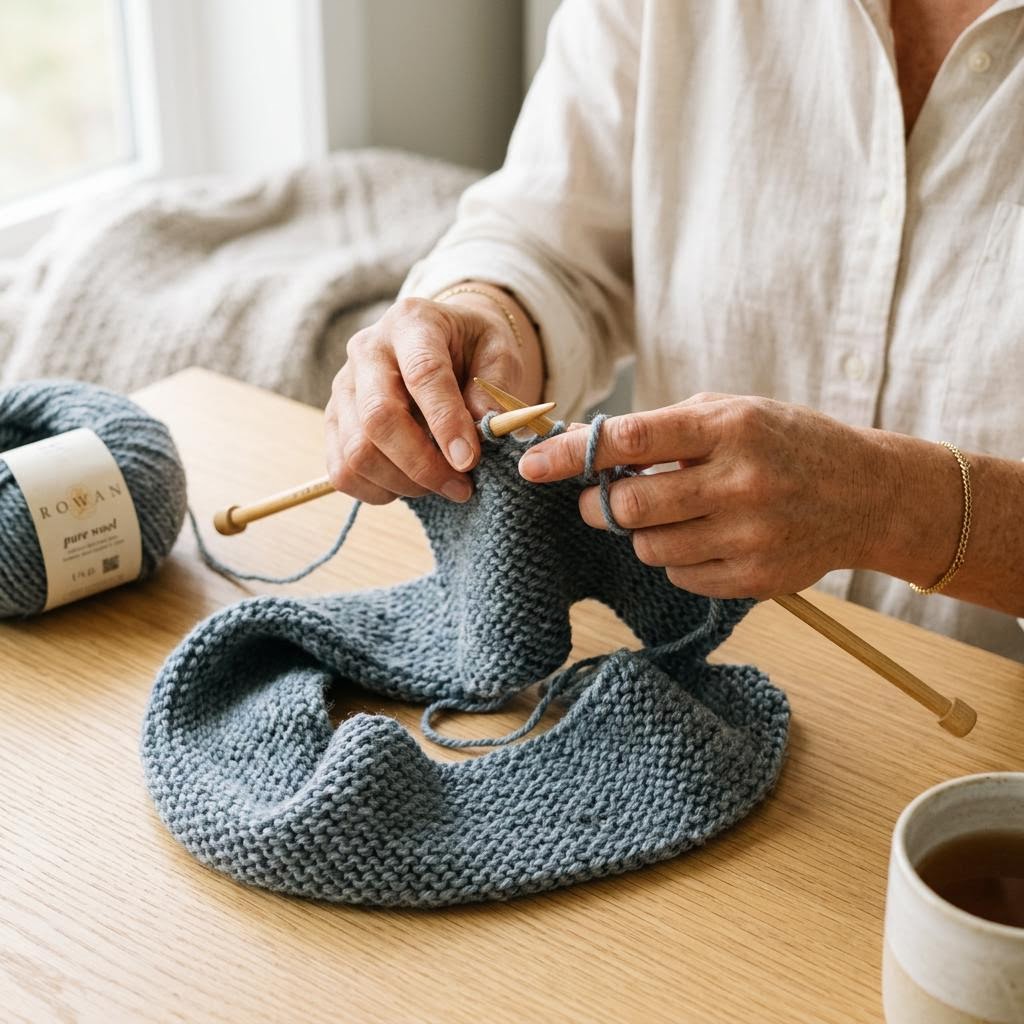
Tension (gauge in American terminology) describes how many stitches and rows fit into a 10cm square. Every knitting pattern is written for a specific gauge, and if your gauge differs from the pattern's, your finished dimensions will differ too. For a scarf where exact dimensions are less critical than a fitted garment, tension matters mainly for width and drape. But the principle of even tension — consistent stitch size throughout the piece — matters for appearance. Uneven tension shows as rippling, loose rows interspersed with tight rows, or a fabric that looks different in different sections. The most common cause is tension changing when you stop and restart: some people knit tighter when they are fresh and looser when they are tired, or vice versa. To even out your tension over time, start each knitting session with ten practice stitches, and try to knit for at least fifteen minutes at a stretch rather than stopping and starting every few stitches. Ripping back (unraveling) rows with visible tension problems is better than living with them in the finished piece — once blocked, minor variations will relax, but major ones remain visible.
Binding Off and Weaving in Ends
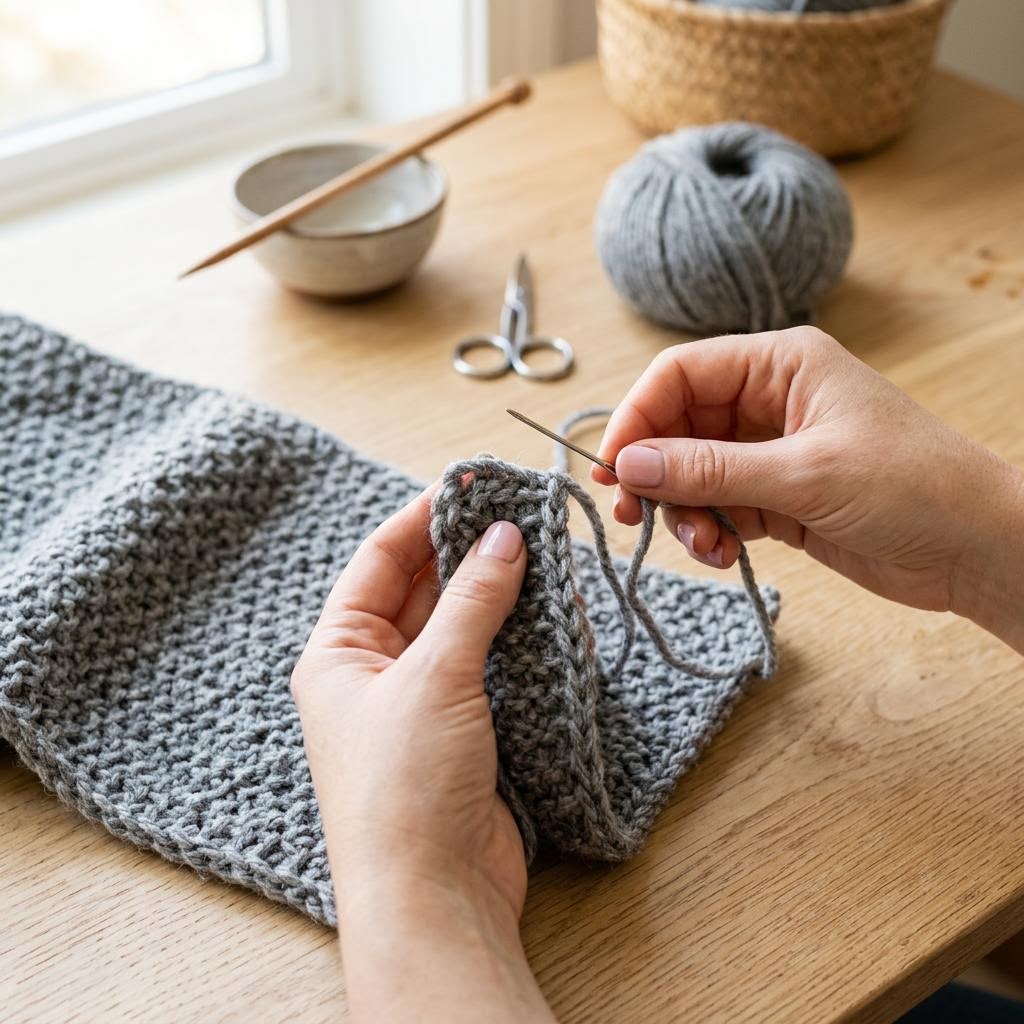
The standard bind-off (cast-off) secures stitches so they cannot unravel. Knit two stitches onto the right needle, then insert the left needle tip into the FIRST stitch from left to right, lift it over the second stitch and off the needle — one stitch bound off. Knit one more stitch, lift the previous one over again. Repeat until one stitch remains, then cut the yarn leaving a 15cm tail and pull the tail through the last loop to secure. The key is keeping the bind-off loose — binding off too tightly creates a stiff, puckered edge that pulls inward. If your bind-offs are consistently too tight, try going up one needle size for the bind-off row only. Weaving in ends is the final step and the most tedious, but neglecting it means loose ends that tangle and undo over time. Thread each tail onto a tapestry needle and weave it through stitches on the wrong side — go horizontally along a row for 3–4cm, then back the opposite direction for another 2cm, forming a Z-shape. This prevents the end from pulling back through. For garter stitch fabric, weave into the ridges rather than the rows for the most invisible result. Block the finished scarf by soaking in cool water, gently pressing (not wringing) out the water, and pinning to the correct dimensions on a foam mat to dry.
Written by
Hannah Williams
Upcycling & Sustainable Craft Advocate
Hannah makes beautiful things from things other people throw away. Her upcycling projects champion sustainability without ever sacrificing style.