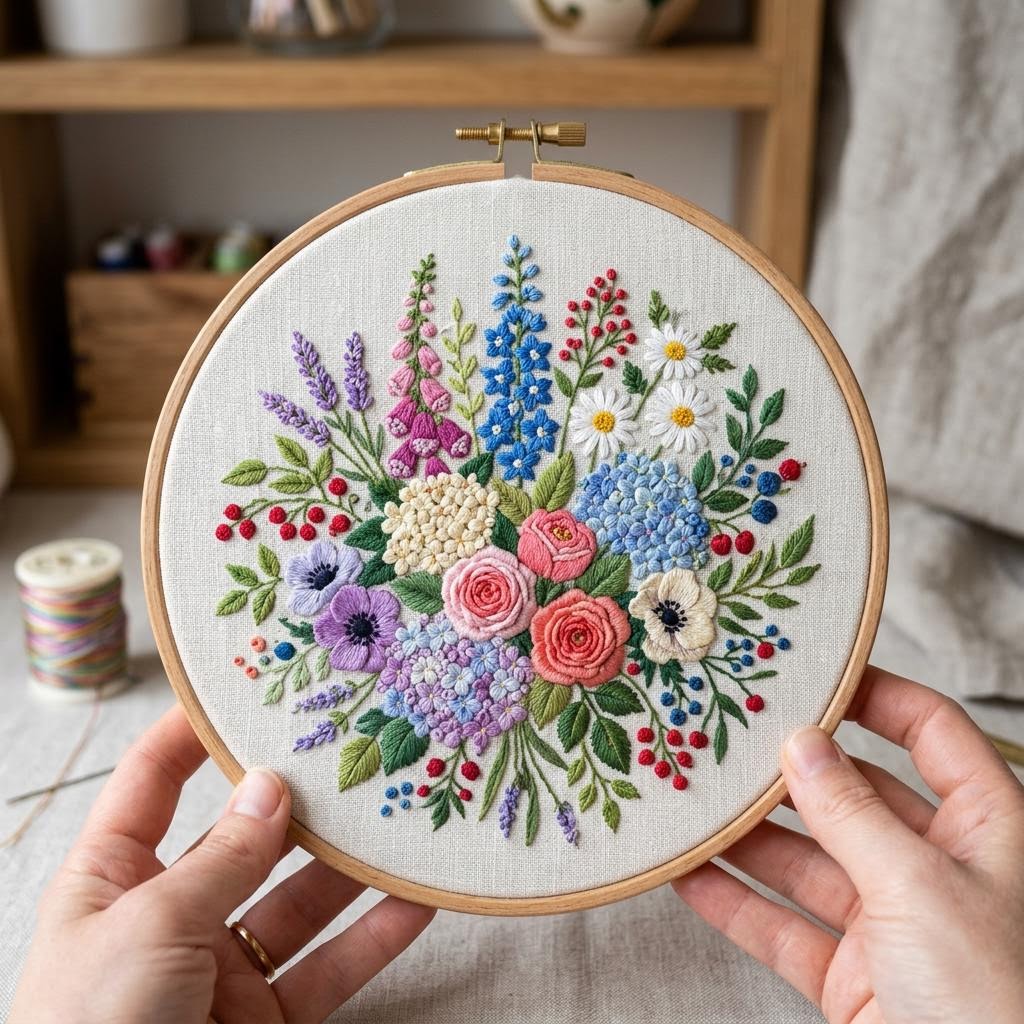
Create a textured woven wall hanging using a simple cardboard loom.
Weaving is one of the oldest textile technologies — woven cloth fragments survive from at least 8,000 BCE, and the principles of interlacing warp and weft threads have not changed since. What has changed is the scale. Industrial looms can produce hundreds of meters of fabric per hour, perfectly consistent, operated by a single person. Hand weaving produces something fundamentally different: a textile with slight variations in tension, color, and texture that are the physical record of a human hand making decisions. The wall hanging as an art form celebrates these variations rather than trying to eliminate them.
The warp-and-weft structure of weaving is elegantly simple: vertical threads (warp) are held under tension on the loom while horizontal threads (weft) are passed alternately over and under the warp threads. Each weft thread locks the previous one in place. The resulting interlocked grid is what gives woven fabric its strength and its characteristic texture. Changing the color of the weft creates horizontal stripes; changing the pattern of over-under interlacement creates texture; cutting the weft loops to create loops or fringe adds a three-dimensional element.
The cardboard loom is a perfectly legitimate tool for small woven wall hangings. It is not a compromise or a beginner approximation — it is appropriate technology for the scale of work it is used for. Professional tapestry weavers use frame looms that are structurally similar to a sophisticated cardboard loom, just built from stronger materials to handle larger scale and higher tension. The transition from cardboard to a wood frame loom is worthwhile when your weavings grow beyond what the cardboard can hold flat under tension, or when you want to weave wider than a single piece of cardboard.
Yarn selection in weaving is more consequential than in knitting or crochet because the warp and weft serve different structural roles. Warp yarn must be strong, non-elastic, and consistent — it will be under sustained tension throughout the weaving process. Stretchy yarn used as warp creates a loom that never holds consistent tension. Smooth, tightly twisted cotton or linen twine is traditional and works well. Weft yarn is unconstrained in its choices — any fiber, any weight, any texture — because it is not under tension. This is where the creative freedom lives: chunky roving, fine metallic thread, strips of t-shirt fabric, braided leather, and cut fabric strips can all be used as weft.
Materials You'll Need
- Sturdy cardboard (8x10 inches)
- Cotton warp thread
- Assorted yarns (various weights and textures)
- Tapestry needle
- Fork or comb (for beating down yarn)
- Scissors
- Wooden dowel or stick
Step-by-Step
Making a Cardboard Loom
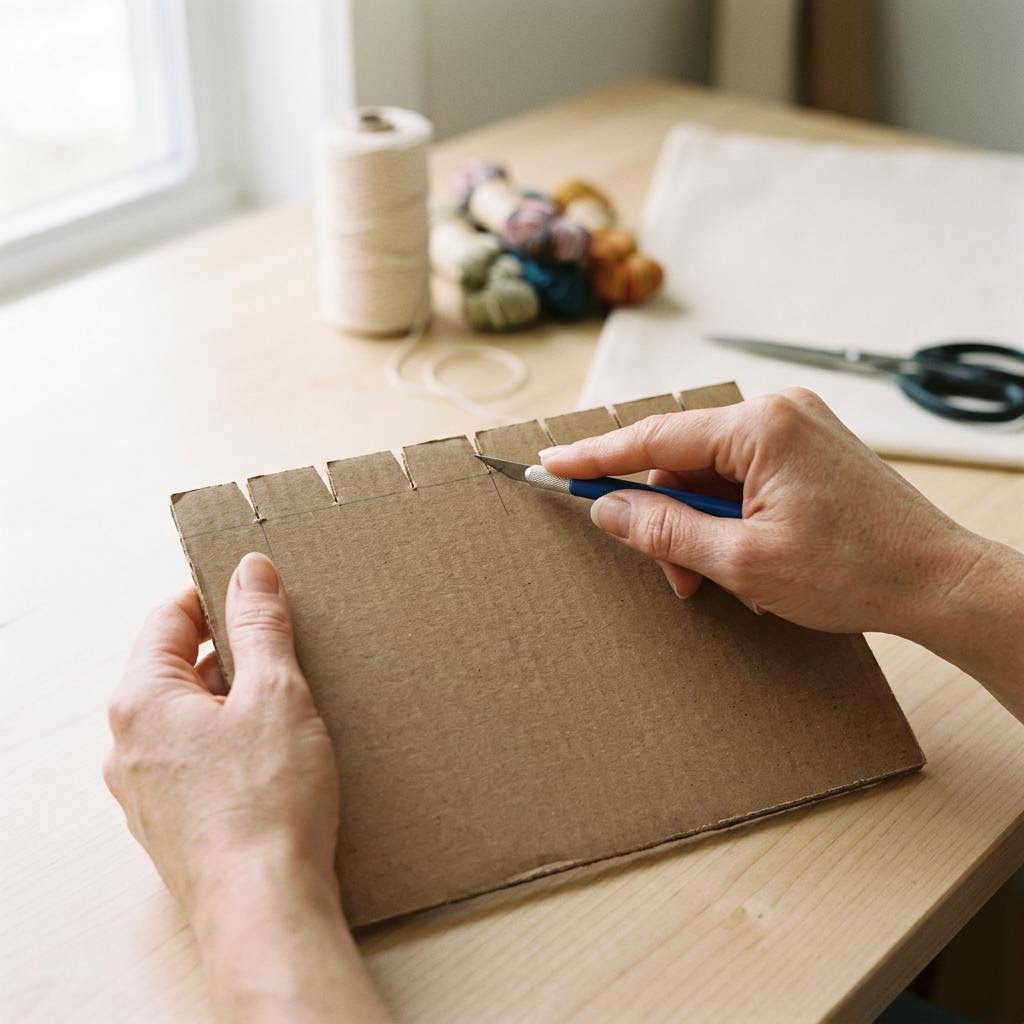
Cut a piece of stiff corrugated cardboard to your desired weaving size — for a first hanging, 20cm wide by 30cm tall is manageable. Using a ruler and pencil, mark notches along the top and bottom edges at 1cm intervals (or 0.5cm for a tighter weave). Cut notches about 1cm deep at each mark with scissors. These notches hold the warp threads in place and keep them evenly spaced — even spacing is what keeps the weaving width consistent as you work. The cardboard loom is genuinely sufficient for wall hangings up to about 40cm wide. For larger weavings or if you find yourself wanting to weave regularly, a simple wooden frame loom (four pieces of lumber screwed together with nails at the top and bottom for warp spacing) produces more consistent tension and lasts indefinitely. But the cardboard version costs nothing, takes ten minutes to make, and teaches you everything you need to know about loom weaving before you invest in more equipment. Many accomplished weavers still keep cardboard looms for sampling and testing new yarns.
Warping the Loom
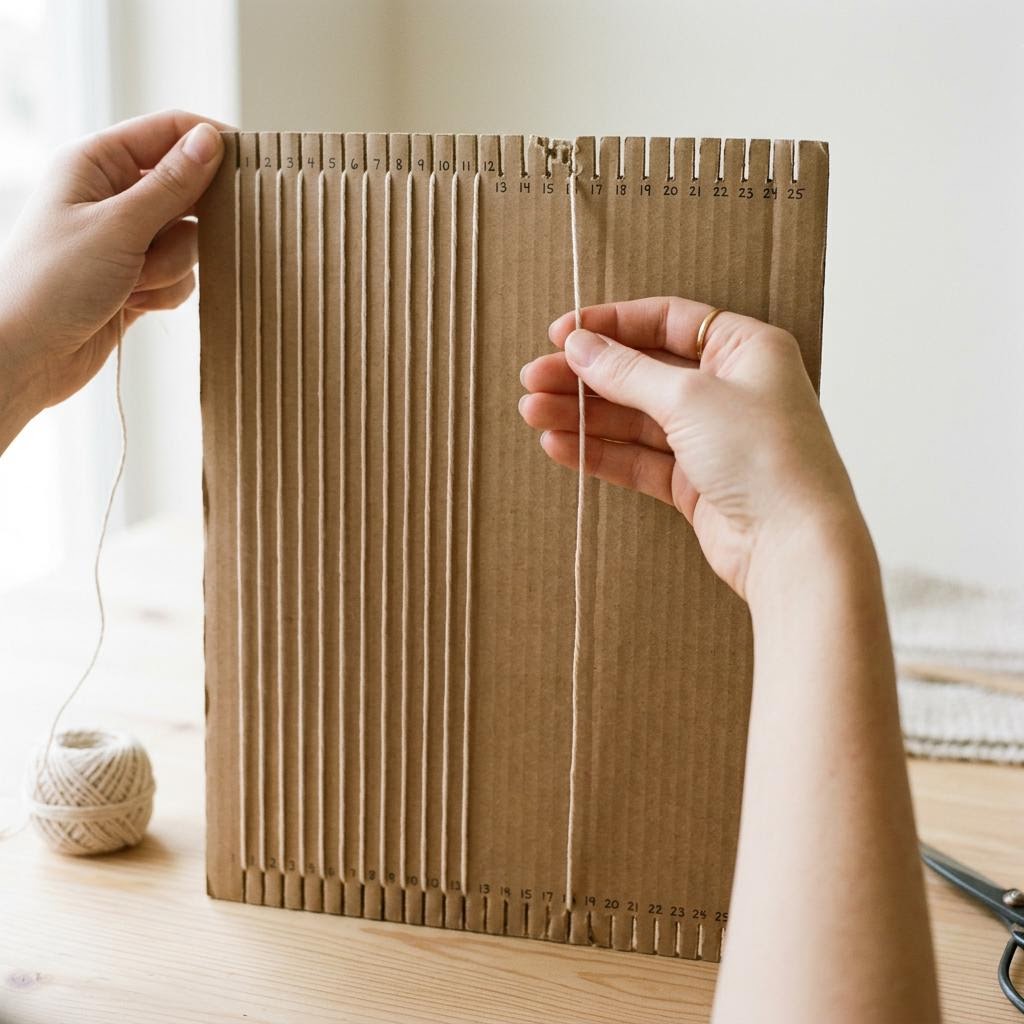
Warping means threading the vertical threads that run the full length of the loom — these are the warp threads that the weaving (weft) will pass through. Use a smooth, strong thread for warp: cotton string, linen thread, or non-stretch yarn. Avoid stretchy yarn for warp as it will not maintain consistent tension. Tie the warp thread to the first notch at the top, pull it straight down to the corresponding bottom notch, loop around, come back up to the second top notch, and continue across in a continuous thread. Keep warp tension consistent and firm — loose warp threads allow the weaving to slide and produce uneven fabric. Test tension by plucking the threads like guitar strings; they should all feel equally taut. All warp threads should be parallel, vertical, and evenly spaced. When you reach the last notch, tie off the warp thread securely. A simple warp for a 20cm wide loom with 1cm spacing will have twenty warp threads — count them before beginning to weave. Uneven warp spacing shows immediately in the finished piece as uneven sections.
The Tabby Weave and Soumak Technique
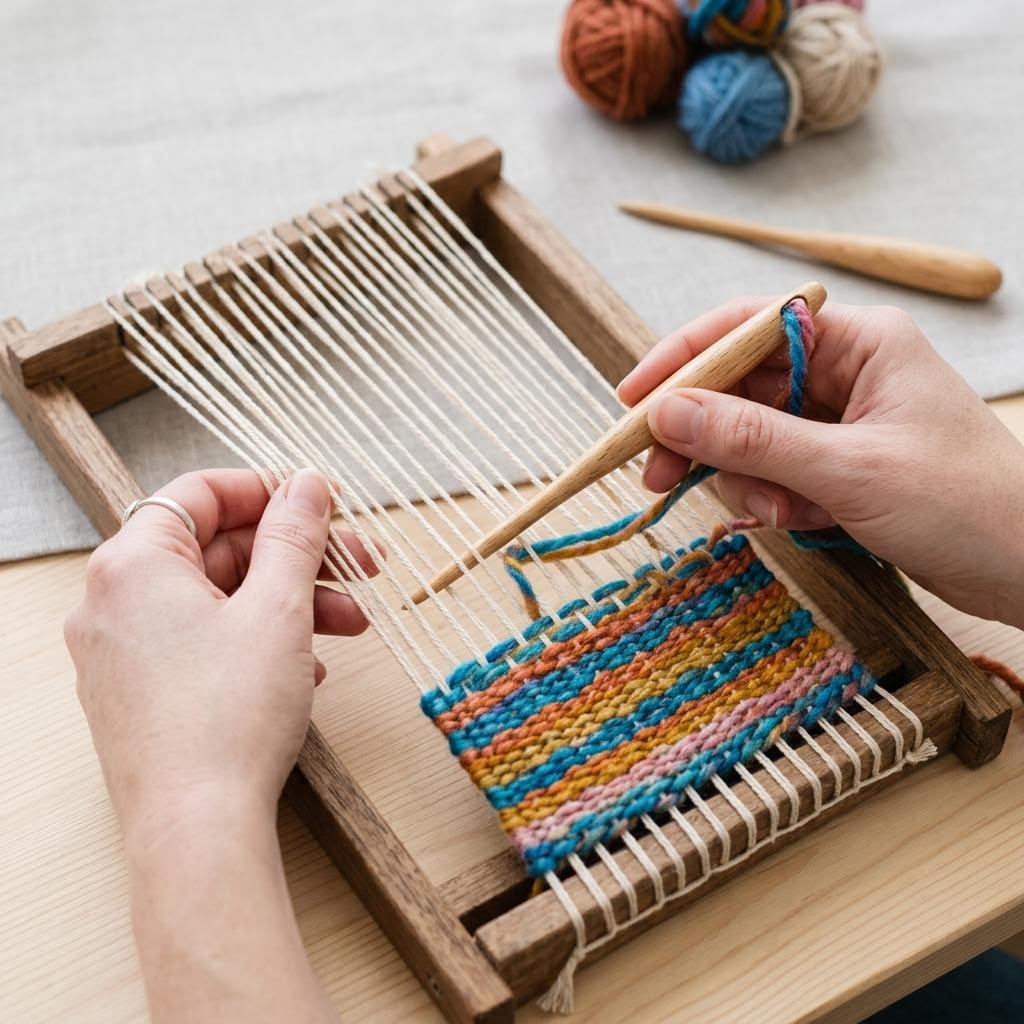
The tabby weave (also called plain weave) is the foundation of all weaving: pass the weft thread over one warp thread, under the next, over, under, alternating all the way across. On the return row, the over-under pattern reverses: where you went over, now go under, and vice versa. This interlocking creates the basic woven structure. Use a tapestry needle threaded with your weft yarn, or loop the yarn around a small piece of cardboard as a shuttle. The soumak technique adds textural interest and creates rows with a rope-like appearance. Instead of passing over-under alternately, wrap the weft around each warp thread by going forward over two warps, then back under one (a 2-and-1 soumak). This forward-and-back wrapping creates a diagonal texture across the weft row. Alternate tabby rows between soumak rows to lock the soumak in place. Rya knots (tied around pairs of warp threads and left loose at the ends to create a fringe or fluffy texture) add another dimension — pile several knots on adjacent pairs of warps and cut the loops after removal from the loom for a shaggy effect.
Removing from the Loom and Hanging
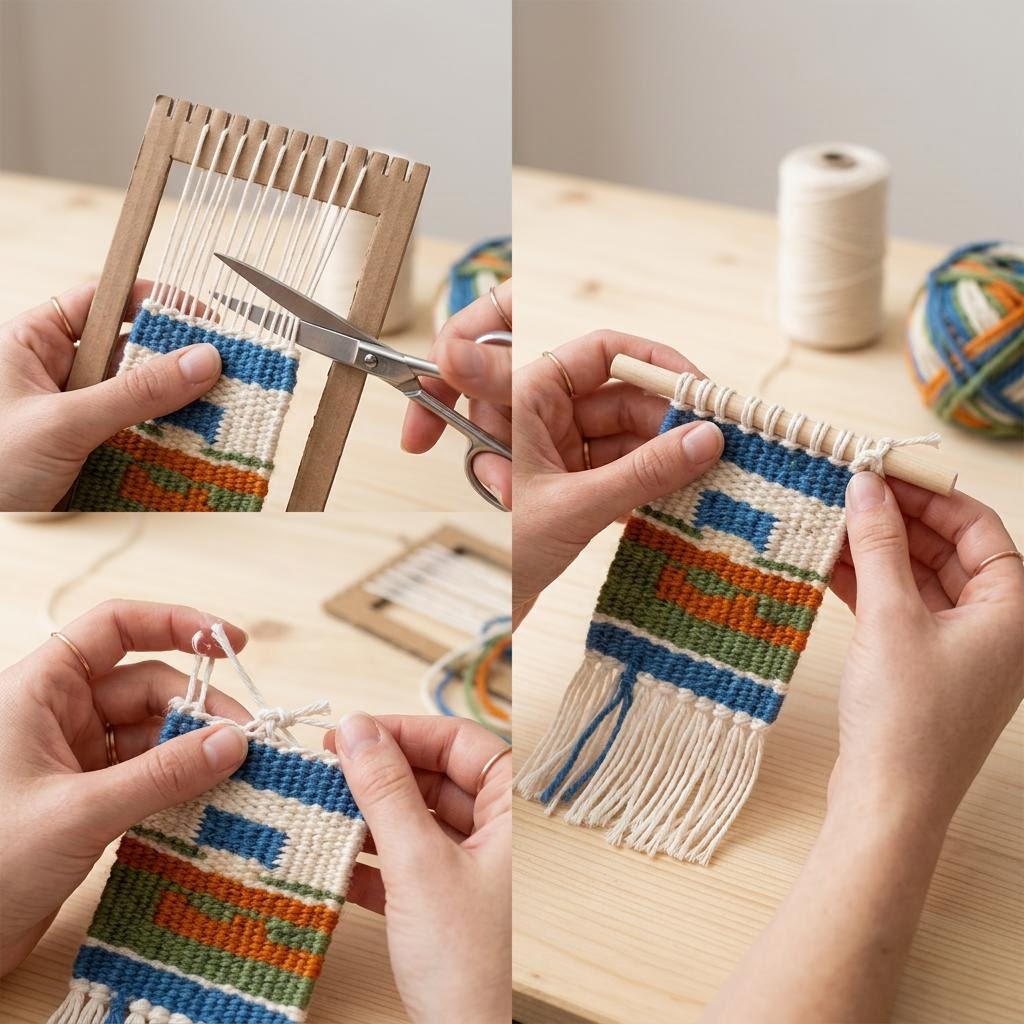
When your weaving is complete, cut each warp thread at the back of the loom, leaving at least 7cm of tail on each thread. These tails will be tied off in pairs to secure the weaving. Remove from the loom by carefully pulling the warp threads out of the notches — the weaving should stay intact as you do this. Working on a flat surface, tie adjacent warp threads together in pairs with overhand knots, pulling each knot up firmly against the edge of the weaving. Trim the tails to 2–3cm once knotted, or weave them back into the piece with a tapestry needle for a cleaner finish. For hanging, thread a dowel or branch through the top row of warp loops before removing from the loom — this is the simplest and most common mounting method. Alternatively, attach a dowel by threading the top warp tails over it and tying them onto the rod at even intervals. Cut a piece of string, leather cord, or twine and tie it between the two ends of the dowel as a hanging cord. Trim the bottom warp fringe to an even length or cut it into a decorative pointed or curved shape. The finished wall hanging should lay flat — if it is pulling inward on the sides, the weft tension was too tight during weaving.
Written by

Sarah Mitchell
Fiber Arts & Macramé Expert
Sarah has been knotting, weaving, and stitching for over a decade. Her work blends traditional fiber techniques with modern minimalist aesthetics.