Origami for Beginners: 15 Easy Paper Folds to Master
Origami for beginners starts with two fundamental folds.
Origami means paper folding in Japanese, and while Japan refined and formalized it into an art form, the craft has parallel traditions in China, Spain, and Germany wherever paper was available and cheap enough to play with. Modern origami as we know it was largely systematized in the twentieth century, when mathematicians and artists began developing a notation system — diagrams with standardized symbols for valley folds, mountain folds, and the various bases — that made it possible to share complex models precisely. That notation is why you can follow instructions for a model created in Tokyo and reproduce it accurately in Toronto without ever speaking to the designer.
Paper choice matters more than most beginners realize. Standard copy paper is too thick and stiff for complex models — it resists folding, creates bulky layers, and cracks along crease lines under repeated folding. Kami, the thin colored origami paper sold in packs, is designed specifically for the craft: it folds cleanly, holds a crease well, and is light enough that layering many folds does not create unmanageable bulk. Washi, traditional Japanese paper made from plant fibers, is stronger and more forgiving but harder to source and significantly more expensive.
The base folds — preliminary base, bird base, fish base, frog base, water bomb base — are the intermediate structures that most intermediate and advanced models begin from. Learning to make these bases fluently, without consulting diagrams, is the threshold between beginner and intermediate folder. Each base is a compact, multi-layered structure that the designer then works outward from to create the final form. Understanding which base a model uses tells you immediately how complex it will be and what family of forms it belongs to.
Precision at the beginning of a model determines everything that follows. A single fold that is two millimeters off in a ten-step model may be invisible; in a forty-step model, that same error compounds through every subsequent fold until the finished piece does not close properly or a wing points the wrong direction. The habit of aligning edges precisely before creasing — using both hands to position paper rather than estimating and folding quickly — is the single most useful thing you can develop as a beginner.
Origami's influence has spread well beyond craft: mathematicians study the geometry of folding for applications in space telescope lens deployment, medical stent design, and airbag engineering. The Miura fold — a folding pattern that allows a flat sheet to be deployed from a single pull and collapsed from a single push — was developed for solar panel arrays on satellites. Robert Lang, one of the world's foremost origami designers, develops models using a computer algorithm he created that calculates the optimal crease pattern for any three-dimensional form from a flat sheet.
For most people, the appeal is simpler: paper, hands, and a diagram, and thirty minutes later you have made something that did not exist before. The tactile satisfaction of a well-folded crane or a mathematically precise modular sphere is real and immediate. Origami scales from a child folding a paper boat to a master designer spending months developing a new insect with a hundred legs, and almost every level in between is accessible with patience and practice.
Materials You'll Need
- Origami paper (15x15cm squares)
- Bone folder (optional but recommended)
- Ruler for scoring
- Flat, clean surface
Step-by-Step
Learn the Basic Folds
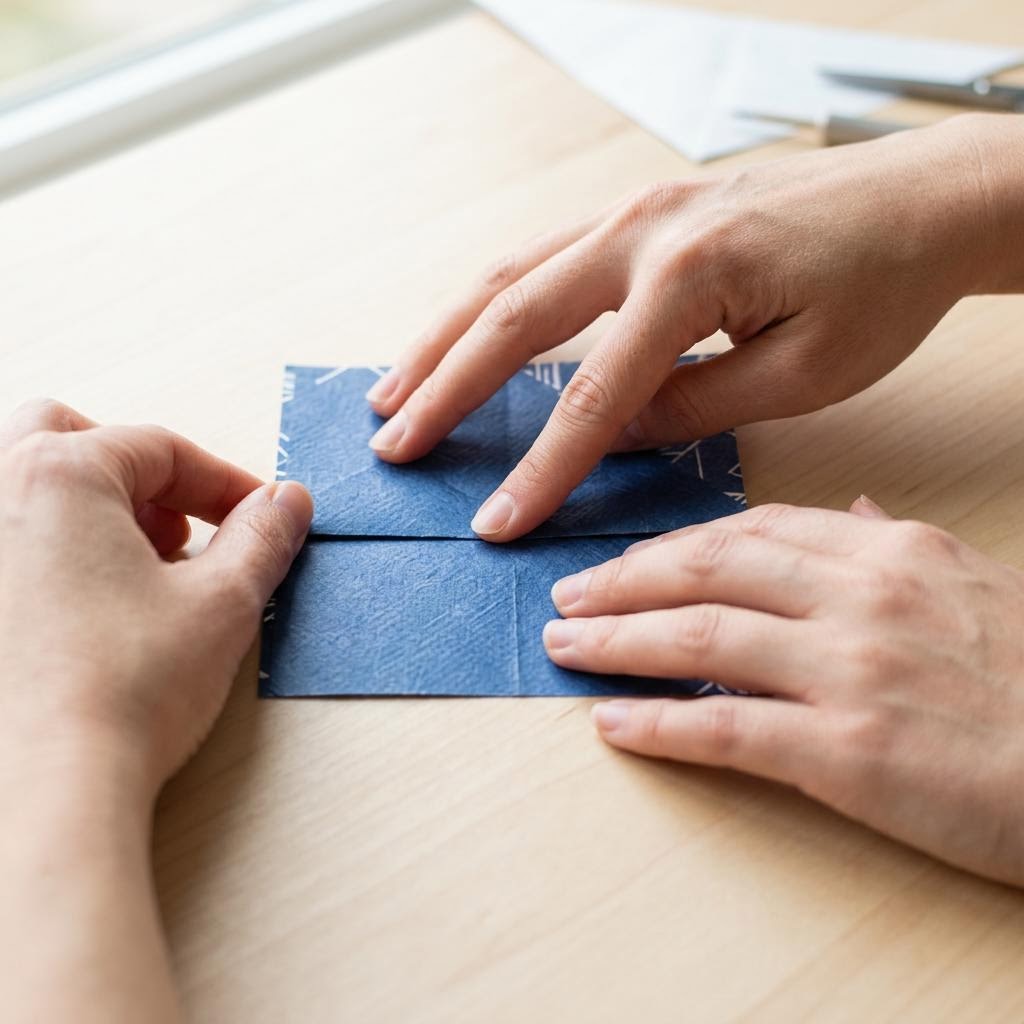
Every origami model is built from a small vocabulary of folds. The valley fold is the most common: the paper folds toward you, creating a valley crease on the top face. The mountain fold is the opposite: the paper folds away from you. These two folds, in their dozens of combinations, produce every origami form in existence. Crease every fold sharply — use a bone folder, the back of a fingernail, or the flat edge of a ruler to run along the fold line after making it. A crisp crease holds the model's structure; a soft crease lets the paper spring back. Start with a perfectly square piece of paper. Most beginner errors begin with a slightly off-square sheet — the model will refuse to lie flat and angles will not align correctly at critical steps. If you are cutting paper to size, use a metal ruler and a craft knife rather than scissors, and verify the square with a set square before you begin. Origami paper (kami) is thin, crisp, and colored on one side — this asymmetry matters for models where inside and outside faces show different colors. For pure practice, standard copy paper cut to 15cm square works perfectly.
Make the Traditional Crane
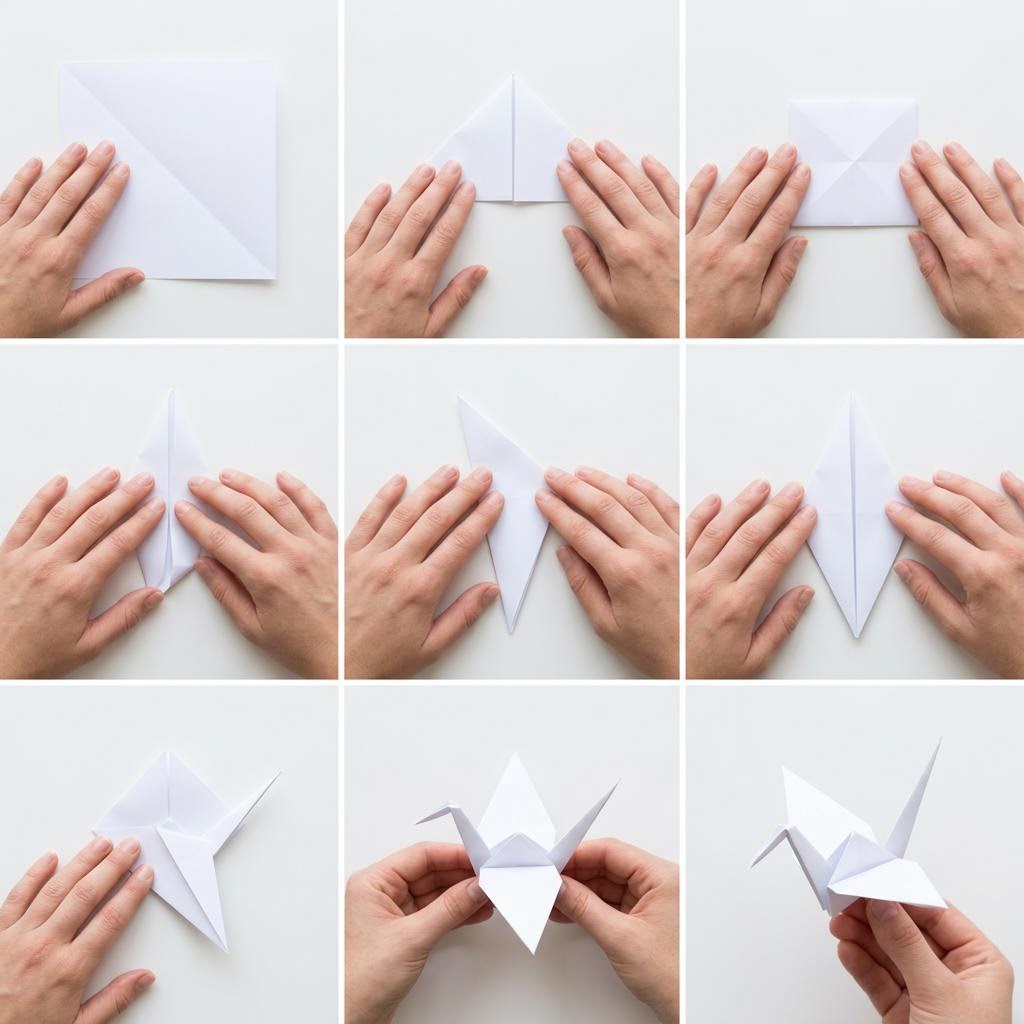
The crane begins with a preliminary base: fold the square in half diagonally both ways and horizontally both ways, creating eight crease lines that all meet at the center. Collapse the square into a smaller square by bringing all four corners to the bottom point — this is called the preliminary base and it is the starting point for many origami models. Fold the top layers' right and left edges to the center vertical crease, then fold the top triangle down and unfold everything. Lift the bottom point of the top layer and open it, folding down while bringing the sides inward — this petal fold creates the bird base. Repeat the petal fold on the back. You now have a four-pointed form with two narrow points at the bottom (the neck and tail) and two wide flaps (the wings). Thin the neck by folding the inner edges to the center on both front and back, then narrow the tail the same way. Reverse-fold the neck tip outward to form the head. Pull the wings apart gently to open the body and flatten the base. The crane is one of the few origami models that improves significantly with practice — your twentieth crane will look genuinely different from your first.
Simple Animals: Frog and Dog
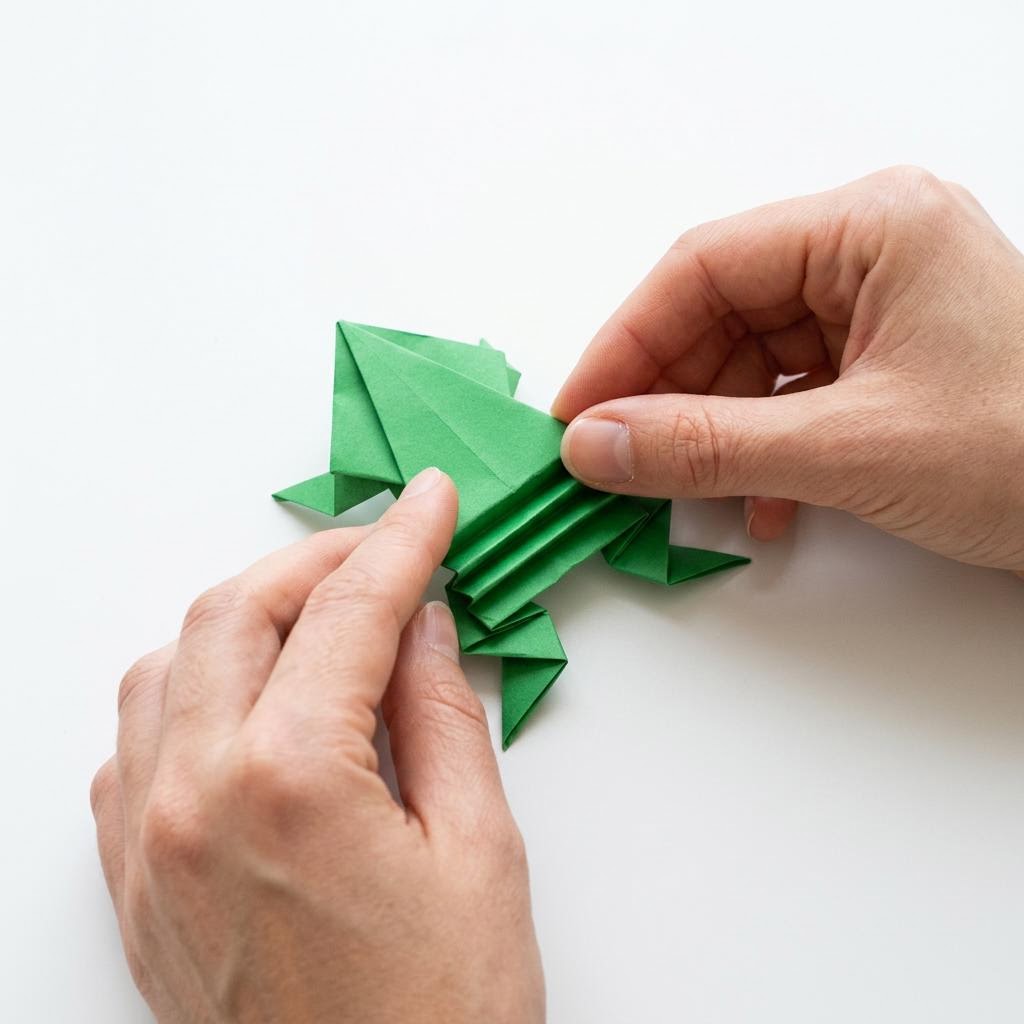
The jumping frog is one of origami's most satisfying beginner projects because it actually does something — pressed from behind, it jumps. Start with a rectangular piece of paper (index card size works well). Fold in half lengthwise, unfold. Fold the top edge down to meet the fold you just made, crease, unfold. Fold the top corners down to the center crease to make a triangle at the top. Fold the sides of the lower rectangle to the center, then fold the lower portion up to meet the triangle base. Fold down and then fold the front legs up to create the distinctive frog shape, and the jumping mechanism forms at the back when you fold the lower section. The origami dog is simpler: start with a square, fold diagonally. Fold the top two corners of the triangle down to create ears. Fold the bottom point up slightly to create a chin. Draw or score two dots for eyes and a small circle for a nose. The simplicity is the point — the dog face takes under two minutes and demonstrates how a few folds create immediate recognition. Making it well with crisp, aligned folds is much harder than making it roughly, and that gap between rough and crisp is where skill development lives in origami.
Display and Preserve Your Work
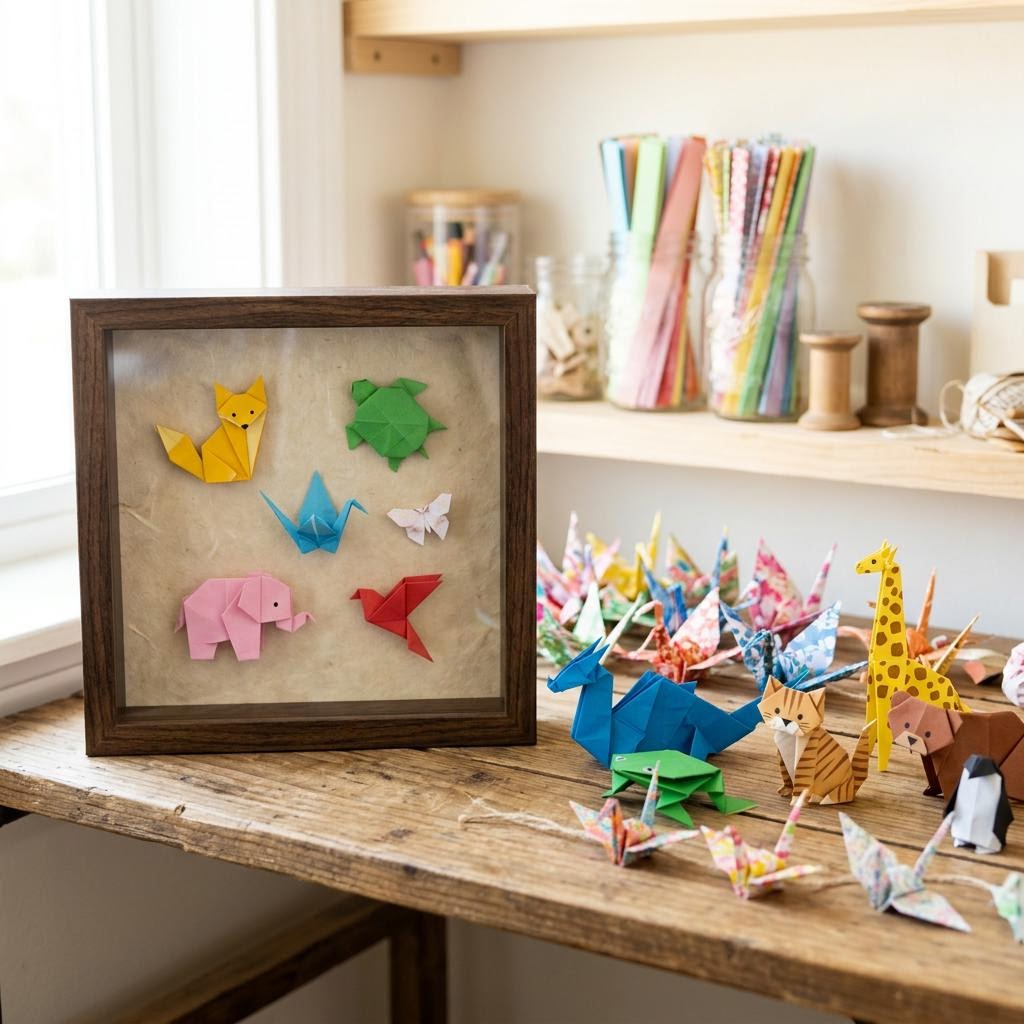
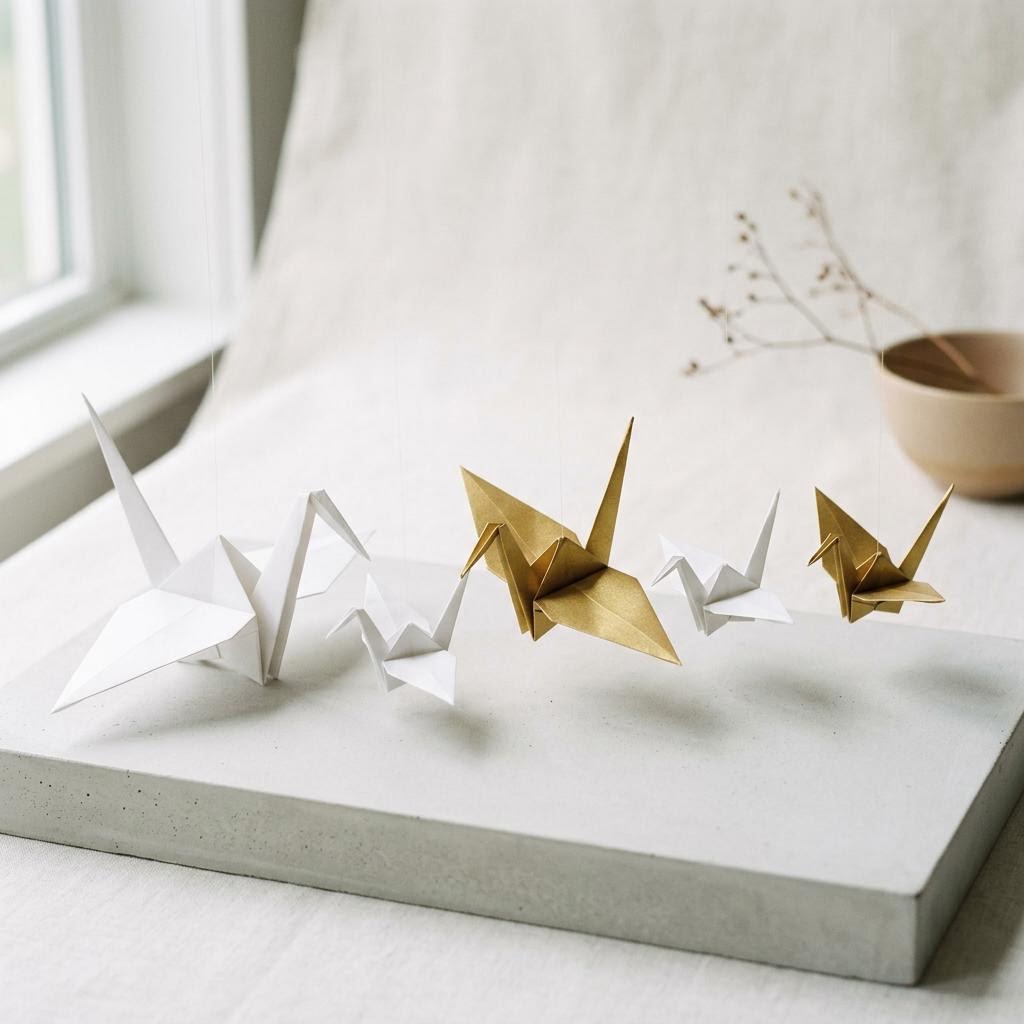
Finished origami models are surprisingly fragile against humidity — paper softens and loses its crisp structure in moist environments. Display models away from kitchens and bathrooms, and avoid placing them on windowsills where condensation can collect. A light spray of clear acrylic sealer can stiffen and protect models you want to keep long-term, though it changes the paper's texture and sheen. Alternatively, making models from washi paper or heavier cardstock from the start produces pieces that are inherently more durable without any sealing. For display, shadow boxes and glass domes protect models from dust without enclosing them in a way that traps moisture. A series of cranes in graduated sizes strung on invisible thread makes a striking mobile. Origami kusudamas — spherical modular forms made from multiple identical units — photograph beautifully and hold their shape well when made from stiff paper. If you plan to give origami as a gift, carry it in a rigid box rather than a bag: even gentle compression collapses the internal structure and a compressed origami model often cannot be fully restored.
Written by

Maya Suzuki
Japanese Craft & Washi Art Expert
Maya bridges Japanese craft heritage and contemporary design. She specializes in washi paper art, shibori dyeing, and traditional Japanese textile techniques.