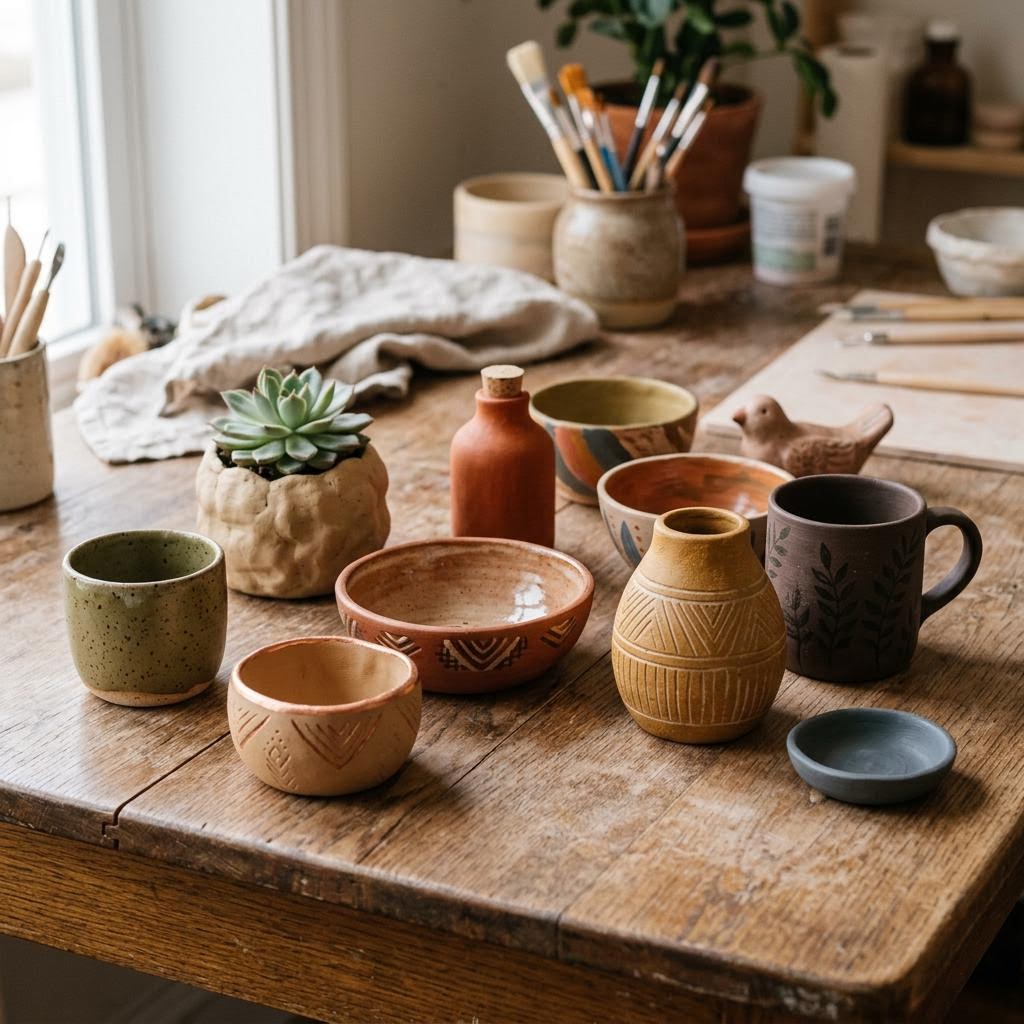
Explore air dry clay ideas to make beautiful pottery at home.
Air-dry clay is a category name covering several chemically different products that share one characteristic: they harden at room temperature without needing a kiln. The material most commonly sold under this name is a water-based clay compound that dries through evaporation — the water in the clay gradually leaves, causing the clay particles to pack together and harden. This is fundamentally different from kiln-fired ceramic clay, which undergoes a chemical transformation called sintering where clay particles fuse at high temperature. Air-dry clay produces a lighter, more porous result that cannot be made food-safe and is not as structurally strong as fired ceramic.
Within the air-dry category, there are meaningful differences between products. Standard air-dry clay (Das, Crayola) is heavy, dense, and relatively affordable — good for hand-building solid forms and large pieces. Paper clay (clay with added paper pulp) is lighter, has better tensile strength in thin sections, and is less likely to crack — better for delicate forms and thin-walled pieces. Polymer clay (Fimo, Sculpey) is technically different — it is oil-based rather than water-based — and hardens by baking at low oven temperature rather than air drying. Polymer clay produces a stronger, non-porous result and is the preferred material for jewelry and miniature work.
The score-and-slip joining technique is the most important technical skill in clay work and is frequently skipped by beginners who just press pieces together. When two pieces of clay are simply pressed together without scoring and slip, they form a mechanical bond that looks secure when wet but separates completely when dry — the two pieces shrink at slightly different rates and the joint opens up. Scoring (creating a rough surface) and slip (liquid clay) create a chemical bond between the two clay bodies that holds through drying and is as strong as the surrounding clay.
Controlled drying is the other technique that separates successful pieces from cracked ones. The impulse is to let clay dry as fast as possible so you can see the finished result — but fast drying causes cracking. The surface dries faster than the interior, creating differential shrinkage stress that resolves as cracks. Slowing surface drying by covering with plastic wrap, rotating the piece regularly, and paying special attention to thin sections (which dry faster than thick ones) prevents the differential that causes cracking. A piece that took four hours to make can be ruined by two hours of improper drying.
Surface treatment after drying dramatically affects the final appearance. Unsanded air-dry clay has a slightly rough, chalky surface with visible fingerprints and texture from handling. Sanding with progressively finer grades (120-grit to 400-grit) produces a smooth surface that paint adheres to evenly and that looks more refined. A base coat of white gesso or white acrylic before applying design colors gives consistent coverage and helps colors appear vibrant rather than muddy against the grey or terracotta base color of the raw clay.
Sealing is not optional for air-dry clay that will be used or handled. Unsealed air-dry clay is hygroscopic — it absorbs atmospheric moisture, which softens it and eventually causes structural failure. In a very humid room, an unsealed piece can reabsorb enough moisture to warp or crack over weeks. Two to three coats of clear acrylic varnish or Mod Podge seals the surface, protects the paint, and stabilizes the piece against humidity changes. For pieces that will be handled regularly (jewelry, desk accessories, decorative objects), the sealing step extends functional life from weeks to years.
Materials You'll Need
- Air dry clay (DAS or Crayola)
- Rolling pin
- Small bowl of water
- Clay carving tools or butter knife
- Sandpaper
- Acrylic paint and clear varnish
Step-by-Step
Conditioning and Forming
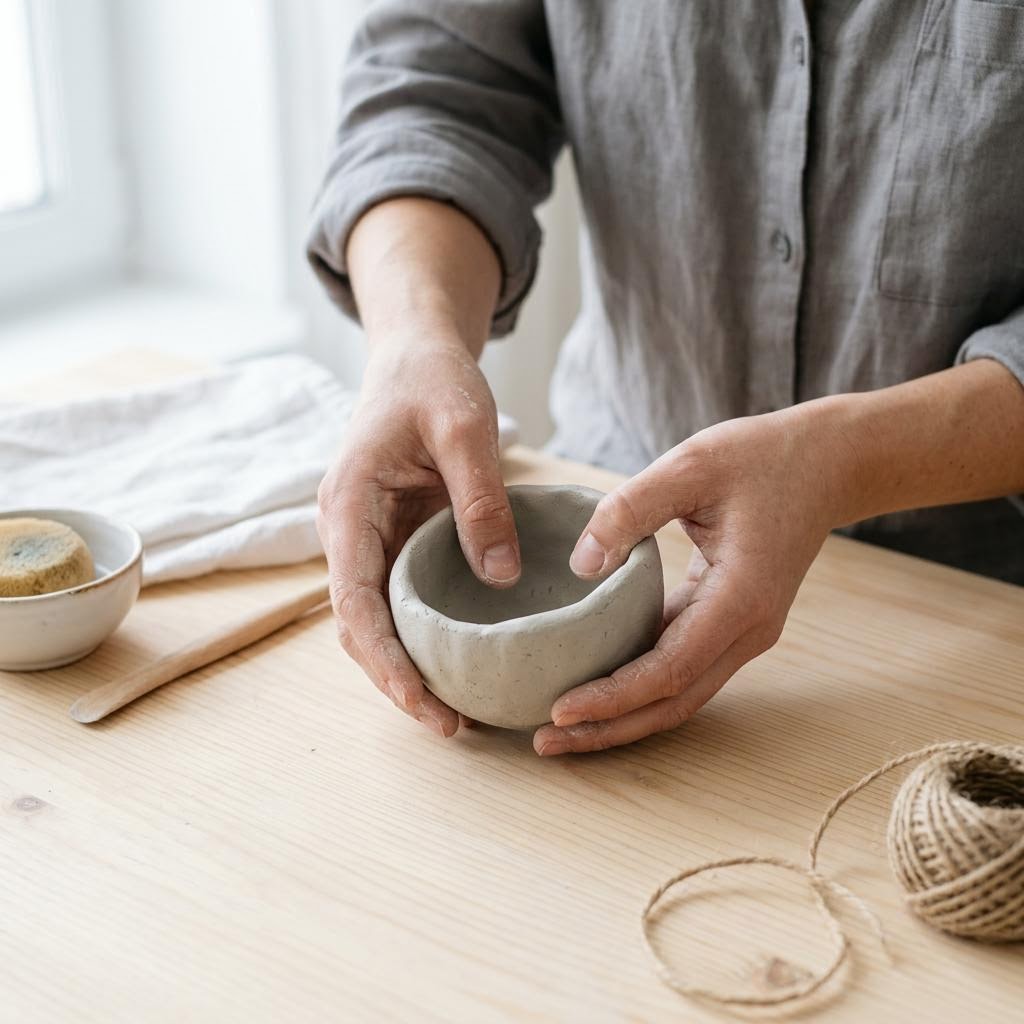
Air-dry clay must be conditioned before shaping — kneading it for two to three minutes warms it, distributes moisture evenly, and removes air pockets. Air pockets in clay explode during kiln firing (a problem with kiln-fired clay) and cause cracking in air-dry clay. Knead by folding the clay repeatedly, pressing with the heel of your hand and rotating a quarter turn between each press. If the clay feels sticky, let it rest uncovered for five minutes. If it feels dry and cracking at the edges, moisten your hands slightly or wrap in a damp towel for ten minutes. Work quickly — air-dry clay begins drying from the moment it is exposed. Cover sections you are not actively working with plastic wrap or a damp cloth. Begin with your largest, main form and add details progressively. For pinch pot method: push your thumb into the center of a ball of clay and pinch outward evenly to form the walls. For slab method: roll clay between two wooden guides (to ensure even thickness) and cut shapes with a knife or cookie cutters. Keep wall thickness consistent — thin walls dry faster than thick ones, causing uneven drying and cracks at the transition.
Joining Pieces (Score and Slip)
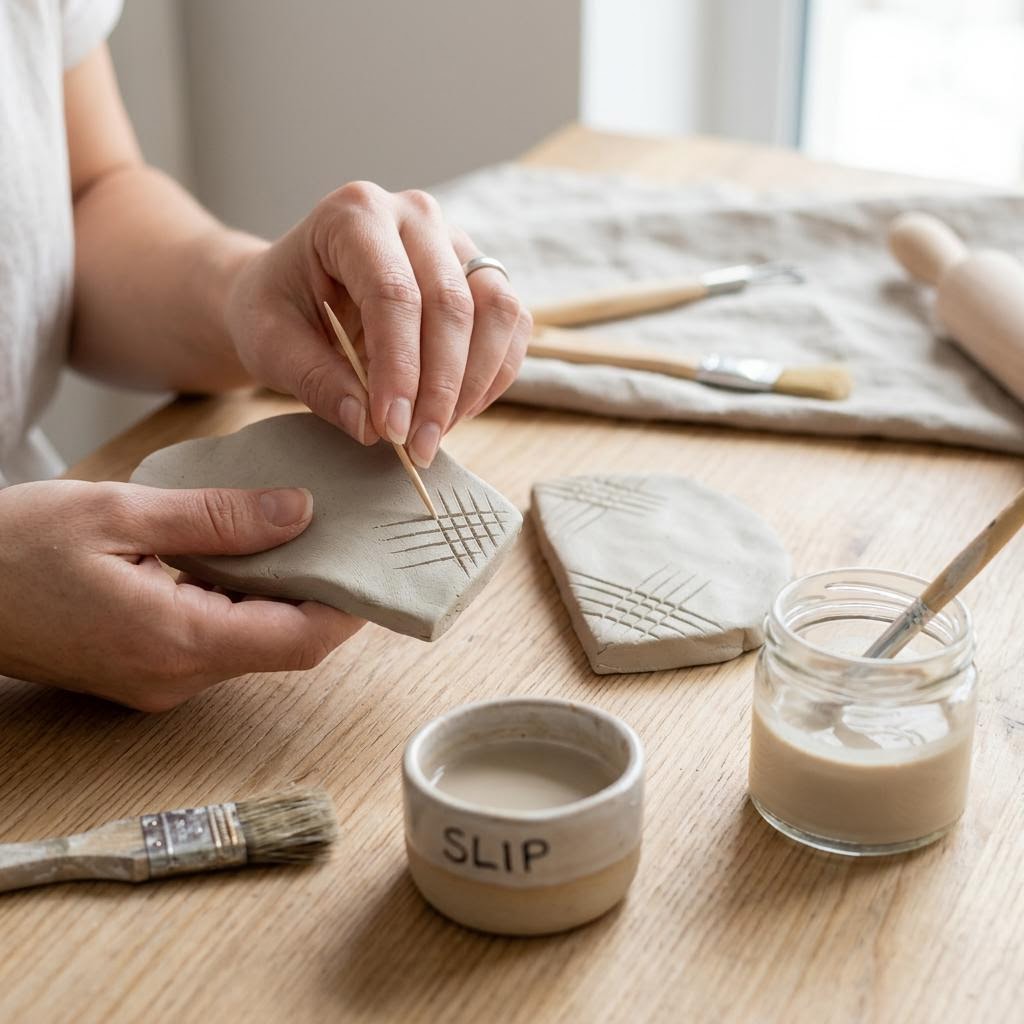
Joining two separate pieces of clay requires scoring and slipping — just pressing two pieces together produces a weak joint that will separate as the clay dries and the surfaces shrink. Score both surfaces to be joined by scratching them with a fork, toothpick, or needle tool in a crosshatch pattern. Apply a small amount of slip (clay mixed with water to a thick paste consistency — you can make your own by mixing small clay scraps with water until it reaches a thick cream texture) to both scored surfaces. Press the two pieces firmly together and smooth the exterior of the joint with your finger or a clay tool, blending the surfaces together. The interior of a joint (inside a vessel or behind a handle) should also be smoothed and blended if accessible. Properly joined clay pieces will not separate; they dry as a single piece. Improperly joined pieces — where slip or scoring was skipped — create fault lines that crack during drying. After joining, the joint area will be slightly wetter than the surrounding clay; let this equalize before handling the piece further.
Drying Properly to Avoid Cracks
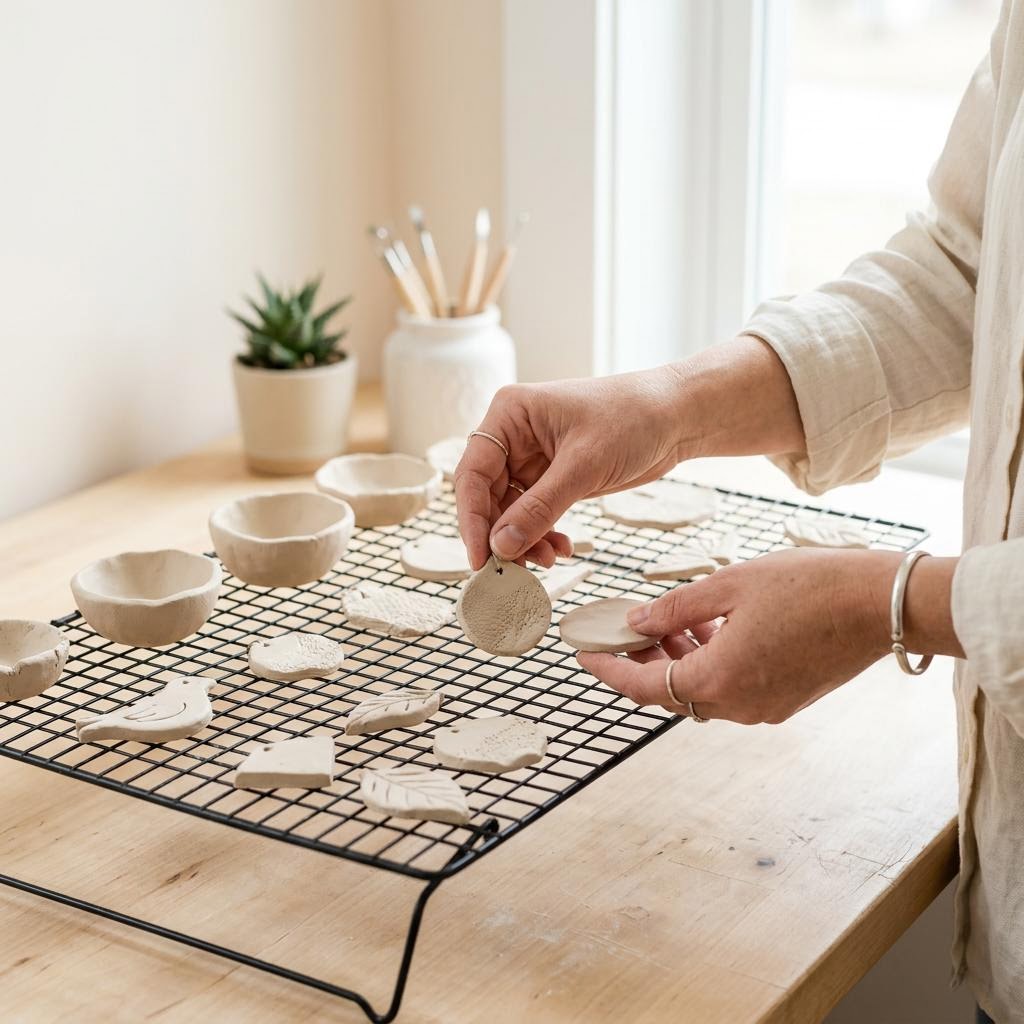
Cracking during drying is the most frustrating air-dry clay problem, and it is almost entirely preventable through controlled drying. Dry clay slowly and evenly. Place the piece on a surface that allows airflow (a wire rack, or a board you can rotate) and cover loosely with a plastic bag or tent of cling film for the first 24–48 hours. The plastic traps moisture in the air around the piece, slowing evaporation and allowing the clay to dry at a uniform rate. After the initial slow-dry period, remove the plastic and let the piece continue drying in normal room air. Rotate it every 12 hours so all surfaces dry at the same rate — a piece that dries faster on one side than the other will crack at the differential. Thin areas and protruding elements (handles, feet, flower petals) dry faster than thick areas; this differential is the most common cause of cracks. For pieces with handles or attachments, tuck a small piece of damp tissue around the attachment point to slow its drying relative to the main body. Total drying time is 24–72 hours for small pieces and up to a week for large or thick pieces.
Sanding, Painting, and Sealing
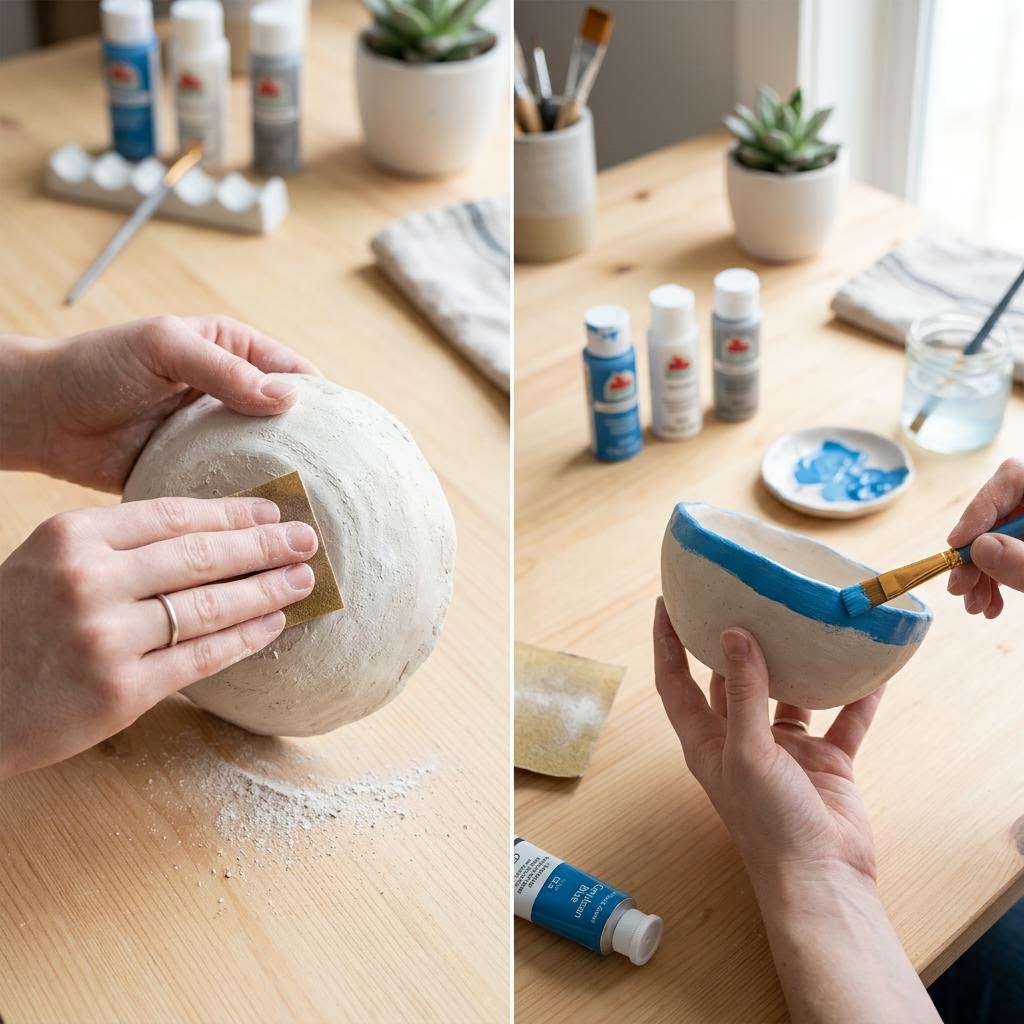
Once completely dry, sand the piece with progressively finer sandpapers — start with 120-grit to remove any rough edges, fingerprints, or ridges, then finish with 220-grit or finer for a smooth painting surface. Wipe away sanding dust with a barely damp cloth and let it dry before painting. Unsanded air-dry clay has a slightly chalky, rough surface; sanded clay has a smooth, even surface that takes paint uniformly. Apply a base coat of white acrylic paint before adding colors — this gives a consistent base and makes colors appear brighter and more true. Let the base coat dry fully, then paint your design in layers from light to dark, letting each layer dry between applications. Fine details go on last over the dry base color. For sealing, apply two to three coats of clear acrylic varnish or Mod Podge, letting each coat dry between applications. Sealing is essential — air-dry clay is water-soluble when unfinished and will soften and collapse if it gets wet. A thoroughly sealed piece is waterproof for occasional contact but should not be submerged.
Written by

Natalie Brooks
Paper Craft & Origami Designer
Natalie transforms paper into architecture. From intricate origami to large-scale paper installations, her work explores geometry, patience, and the beauty of a single fold.