Resin Art for Beginners: Your Complete Getting-Started Guide
Resin art for beginners is surprisingly accessible once you understand the basic principles.
Resin art for beginners has a reputation for being either impossibly technical or alarmingly toxic — and neither is quite true. Modern beginner-grade epoxy is safe to use with basic precautions, and the core process has fewer steps than most baking recipes. You mix two liquids, add color, pour into a mold, wait a day, and you have something that looks like it came from a boutique jewelry store. That said, there is a short list of things that genuinely matter, and skipping them is why most first attempts go wrong.
Epoxy resin works through a chemical reaction between two components — the resin (Part A) and the hardener (Part B). When they combine in the correct ratio, they generate heat and gradually solidify into a hard, glass-like material. The key word is ratio. Most beginner kits use equal volumes of each part, and being off by even 10% leaves you with a result that stays sticky for days or never fully hardens. A kitchen measuring cup is not accurate enough — use the graduated cups that come with the kit, or buy small plastic measuring cups meant for resin.
Temperature is the other variable beginners routinely underestimate. Resin cures poorly below 18°C: the result comes out cloudy, flexible, or permanently tacky. If your workspace is cold, warm both bottles in a bowl of warm tap water for ten minutes before you measure. Conversely, working above 28°C shortens your open time dramatically and can cause the resin to cure with a yellowish tint. The sweet spot is a room-temperature space between 21°C and 24°C — the same conditions a bottle of wine is happy in.
Colorant choices matter more than most guides admit. Alcohol inks and resin-specific pigment powders work beautifully. Acrylic paint contains water, which disrupts the cure and causes cloudy zones. Food coloring is water-based and has the same problem. Resin-compatible colorants are cheap and a small bottle lasts for dozens of projects. Keep your colorant under 6% of the total resin volume — exceeding this threshold is one of the most reliable ways to produce a soft, undercured result even when the ratio was perfect.
Bubbles are the main cosmetic enemy of resin beginners, and they are defeated with heat. A small butane torch passed in slow circles about 15cm above the surface pops surface bubbles within seconds. A heat gun works too but is less precise. The CO2 in your breath also pops bubbles in a pinch — a slow exhale across the surface is a surprisingly effective emergency technique. Stir your resin slowly rather than vigorously during mixing to minimize bubble introduction in the first place, and let the mixed resin sit for a minute before you add color or pour.
The best molds for beginners are silicone — cured resin pops out cleanly without any release agent. Plastic molds work but often require a light coat of mold release spray. Wood and cardboard are permanent bonds — resin will stick to them as part of the finished object. Once you have mastered simple pours, you can move into layering (adding inclusions between pours of clear resin), creating geode effects with metallic pigments, and coating surfaces like coasters, artwork, or furniture in a high-gloss resin topcoat. Each project builds on the same fundamental skill: measure accurately, mix thoroughly, work warm, and be patient.
Materials You'll Need
- Epoxy resin kit (2-part)
- Silicone molds
- Nitrile gloves
- Safety glasses
- Alcohol inks or pigment powders
- Measuring cups
- Mixing sticks
- Heat gun or torch
Step-by-Step
Safety First: Setting Up Your Workspace
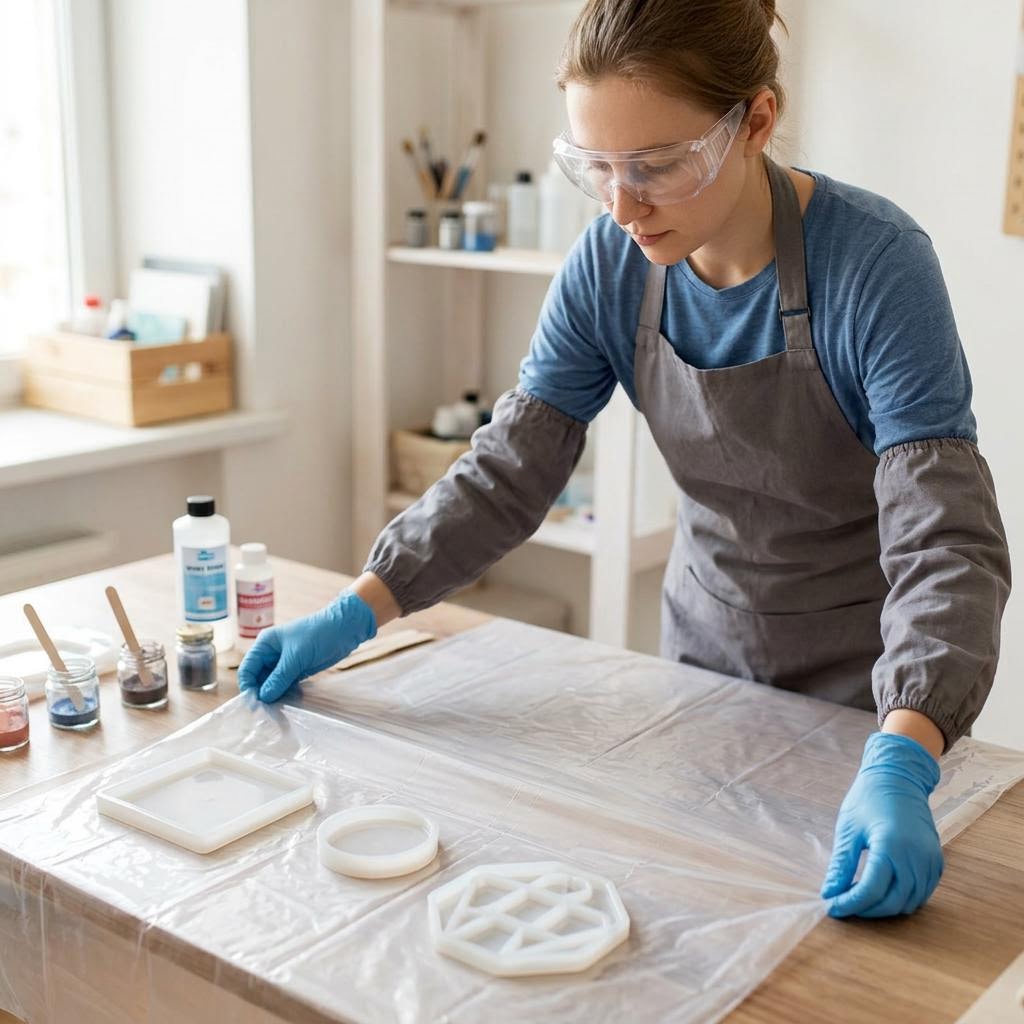
Epoxy resin fumes are no joke. Work in a well-ventilated room with the windows open, or wear a respirator rated for organic vapors — not just a dust mask. Nitrile gloves are essential; latex gloves are too thin and some people are allergic. Safety glasses protect against splashes when pouring. Cover your work surface with a silicone mat, a sheet of plastic, or some parchment paper — cured resin peels cleanly off silicone but bonds permanently to wood, fabric, and most plastics. Set the temperature in your workspace between 21°C and 24°C before you begin. Resin cures through a chemical reaction that is strongly affected by temperature: below 18°C the resin may cure cloudy or remain permanently tacky; above 30°C it can cure too fast and crack. If your workspace is cold, gently warm the resin bottles in a bowl of warm (not hot) water for ten minutes before measuring. Lay out all your tools before you open anything — once you start mixing, the clock is running.
Mixing the Resin
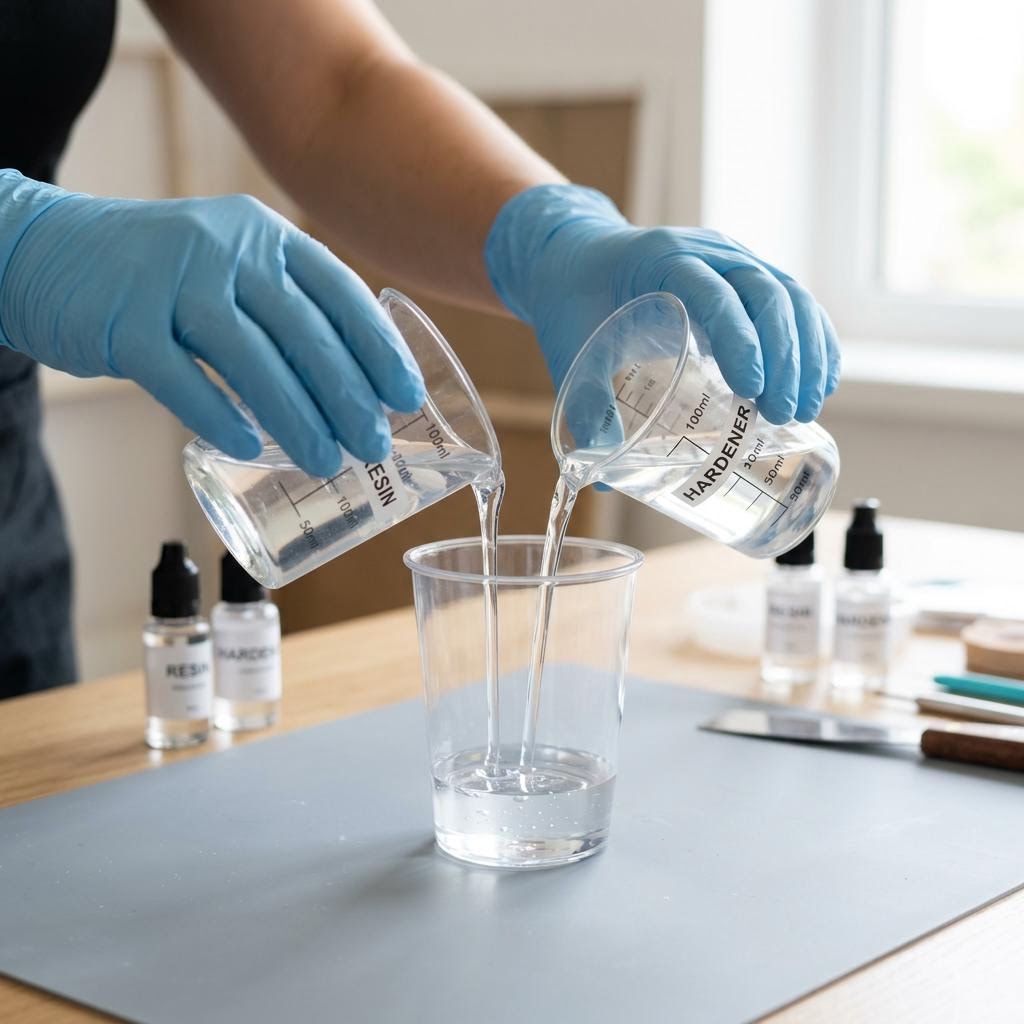
Most beginner epoxy kits use a 1:1 ratio by volume — equal parts resin (Part A) and hardener (Part B). Measure into two separate cups first, then combine into a third mixing cup. Never eyeball it: being even 10% off the ratio leaves you with a result that is either permanently sticky or brittle. Pour Part A first, then Part B on top, and stir slowly with a craft stick for a full three to four minutes, scraping the sides and bottom of the cup continuously. Fast stirring introduces bubbles; slow and thorough stirring avoids them. When the mixture looks completely uniform with no streaks, let it rest in the cup for sixty seconds. This short wait allows many of the micro-bubbles you introduced during mixing to rise and pop on their own before you add colorant or pour. The mixture will start to feel slightly warm in your hands — that is the exothermic reaction beginning, and it is normal. You have a working time of roughly 30–45 minutes with most beginner resins before it becomes too thick to manipulate, so move deliberately but without panicking.
Adding Color and Effects
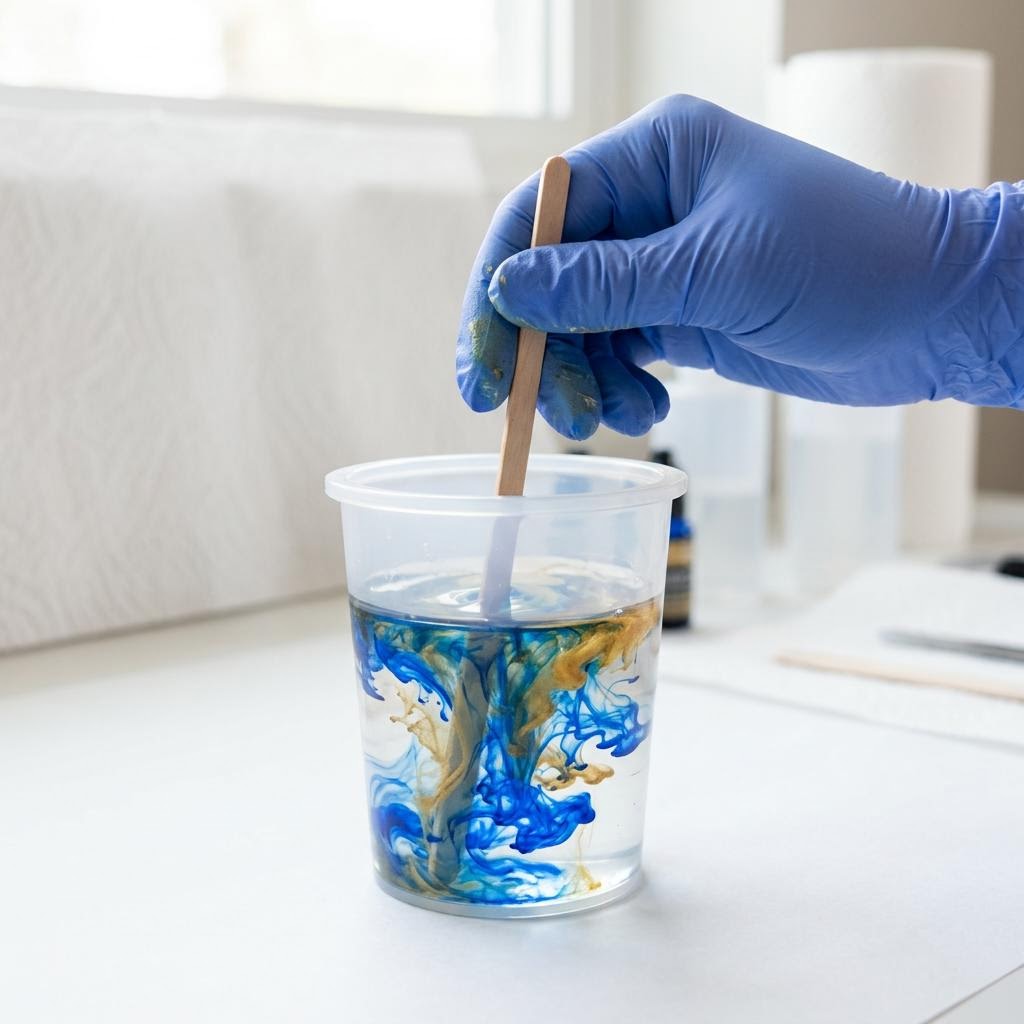
Divide your mixed resin into smaller cups before adding color — one cup per color. Use resin-specific pigment powders or alcohol inks, not acrylic paint or food coloring. Water-based colorants introduce moisture that can inhibit the cure and leave cloudy patches. Keep your colorant below 6% of the total volume; adding too much pigment is one of the top reasons resin stays soft. A little goes a very long way — start with a toothpick-tip amount of powder or two drops of alcohol ink and stir fully before adding more. For marbled or ocean-style effects, pour your colored resin portions into the mold separately rather than mixing them together, then swirl gently with a toothpick or skewer. Dragging the tool in figure-eights creates organic blending without muddying the colors. Mica powder poured directly on top of wet resin creates metallic veins. Dried flowers, glitter, and small objects can be pressed into the surface or suspended in layers — add them after the first thin pour has begun to gel, so they sit in the middle rather than sinking to the bottom.
Pouring and Curing
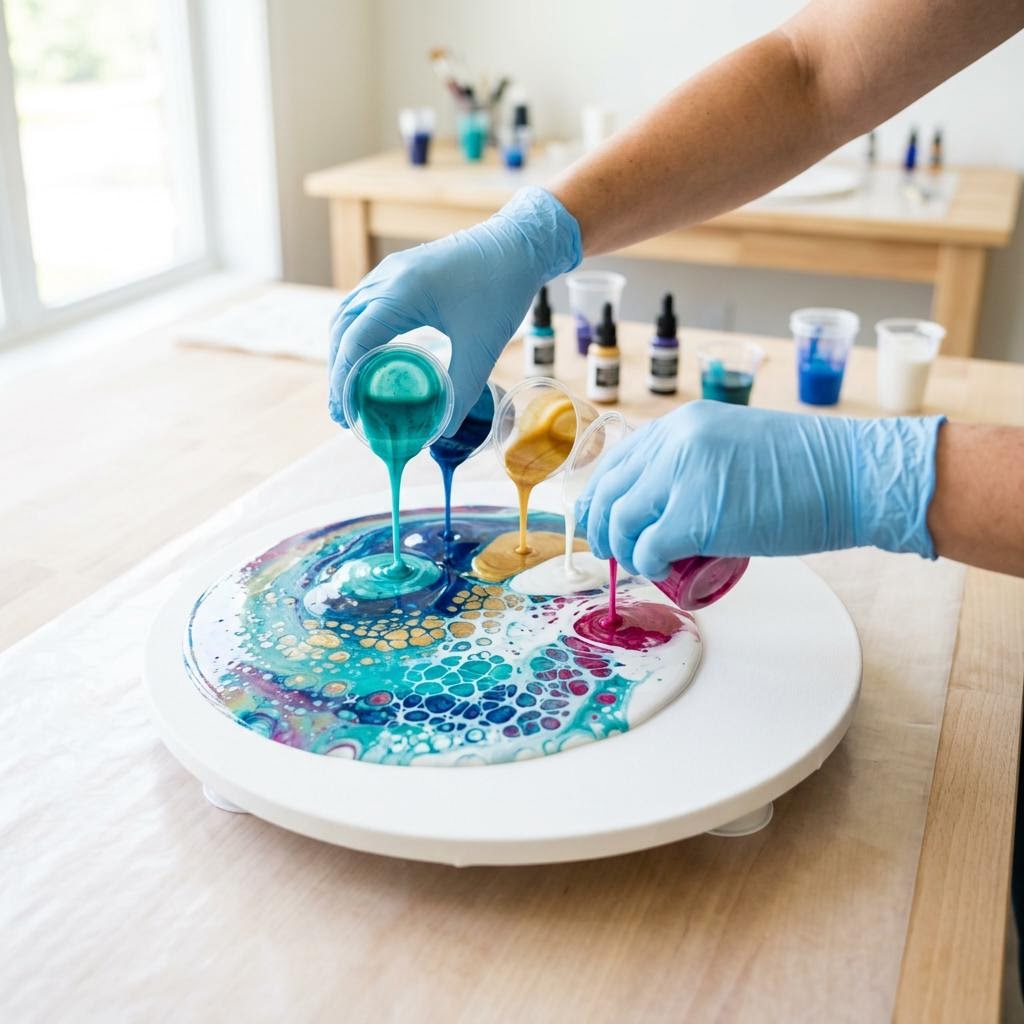
Pour resin from a low height — close to the mold surface — to minimize splash bubbles. Once poured, pass a butane torch or heat gun over the surface in slow circular passes, holding it about 15cm above the resin. The heat causes surface tension to drop and bubbles pop visibly. Do not hold the flame in one spot; keep it moving to avoid scorching. A second pass thirty seconds later catches any bubbles that rose after the first. In a pinch, gently exhaling across the surface works — the CO2 in your breath pops bubbles, though it is less effective than heat. Cover the mold with a cardboard box or a plastic dome to keep dust off the surface while it cures — any particle that lands on wet resin will be there permanently. Leave it undisturbed at room temperature for 24 hours before demoulding from silicone molds. The piece will feel firm but may still have some flex; full hardness takes 72 hours. Do not try to speed-cure resin in an oven — the heat can cause yellowing, cracking, or uneven cure. Sand any rough edges with wet-and-dry sandpaper starting at 400 grit, working up to 2000 grit for a polished edge.
Written by

Emma Clarke
Mixed Media & Resin Art Specialist
Emma merges science and art in her mixed media practice. She specializes in resin pouring, alcohol inks, and unconventional material combinations.