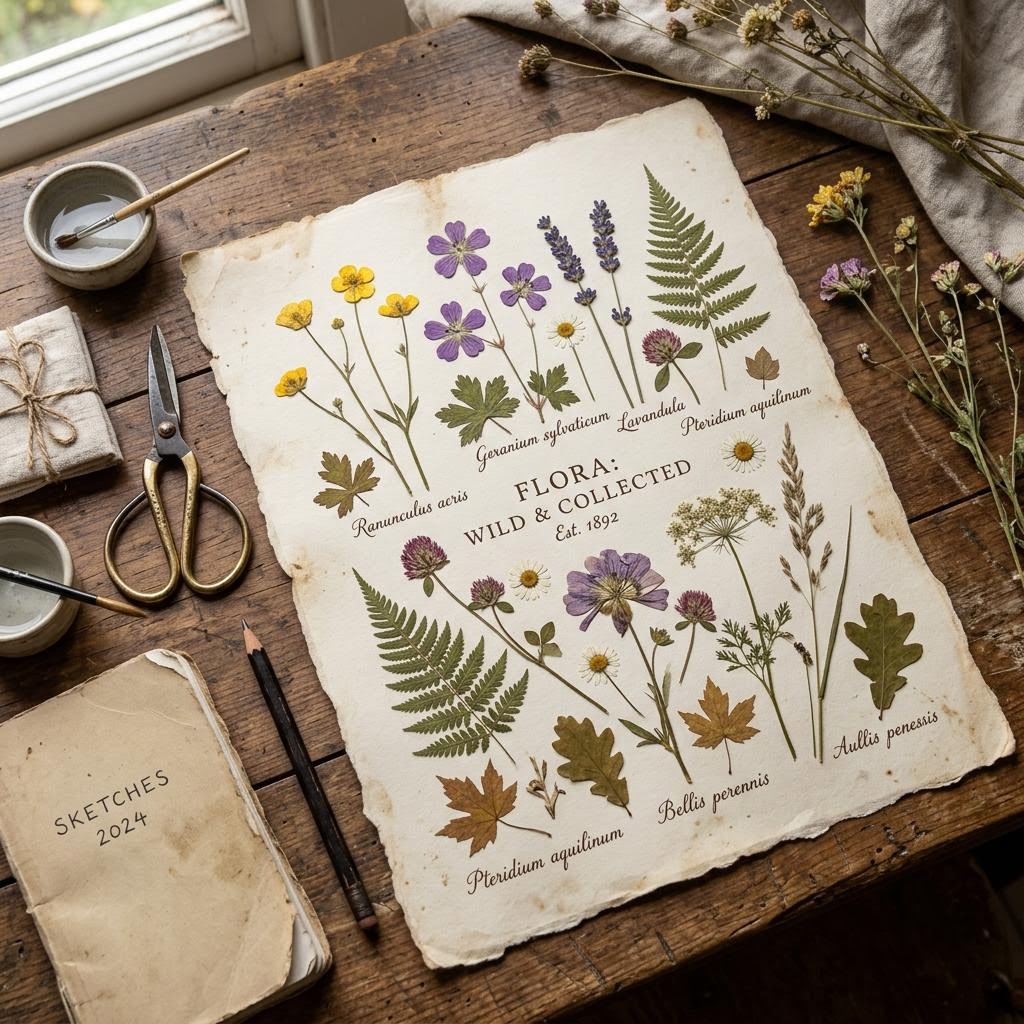
The Delicate Art of Pressed Flowers: Methods and Projects
Learn how to press flowers and create beautiful botanical art.
There's a particular kind of satisfaction in pressed flowers that almost nothing else gives you: you pick something from a garden or a hedgerow, flatten it between pages, wait three weeks, and emerge with a piece of botanical art that looks like it should be in a museum case. The Victorians were absolutely right about this one. Pressing flowers is slow, but slow in the best way — the kind of slow that forces you to pay attention to what's around you.
The basic principle is simple: remove moisture from the plant as quickly as possible while holding it flat. Slow drying causes mold and color loss; fast drying preserves both structure and pigment. Blotting paper is the ideal pressing material because it absorbs moisture quickly and doesn't leave texture on the petals. Newspaper works but can transfer ink. Coffee filters are a decent emergency substitute.
Not all flowers press equally well. The easiest to press are flat or naturally flattened flowers: violas, pansies, cosmos, daisies, Queen Anne's lace, ferns, and individual petals from larger flowers like roses. Bulky flowers — roses, tulips, anything three-dimensional — press poorly as a whole but beautifully when dissected into individual petals or cross-sections. Experiment with both.
Color retention varies wildly by species. Yellow and orange flowers (sunflowers, marigolds, coreopsis) press brilliantly and stay vibrant for years. Purple flowers fade most dramatically — lavender often turns grey-brown within months even in a sealed frame. Blue flowers are notoriously tricky; they rarely retain their color completely. White flowers yellow slowly. Reds and pinks tend to hold reasonably well. Know this before you plan a composition.
For botanical art arrangements, composition matters as much as the flowers themselves. Lay your pressed pieces on paper before gluing anything and experiment with placement. Asymmetric arrangements read as more natural and interesting than perfectly centered ones. Mix scales — large central flowers anchored by tiny fern fronds and individual small petals. Negative space (the empty paper around the arrangement) is part of the design, not wasted area.
Once framed under glass or sealed with a UV-resistant varnish, pressed flower art lasts for decades. People who started pressing flowers in the 1980s still have vibrant specimens — the key is avoiding direct sunlight and humidity. A simple clip frame with UV glass (not much more expensive than regular glass) makes a real difference to longevity. Given the time you put into collecting and pressing the flowers, protecting them properly is worth the extra few dollars.
Materials You'll Need
- Fresh flowers and foliage
- Heavy books or a flower press
- Absorbent paper (blotting paper, newspaper, or coffee filters)
- Tweezers
- Acid-free glue or Mod Podge
- Cardstock or glass frames
Step-by-Step
Harvesting the Best Flowers
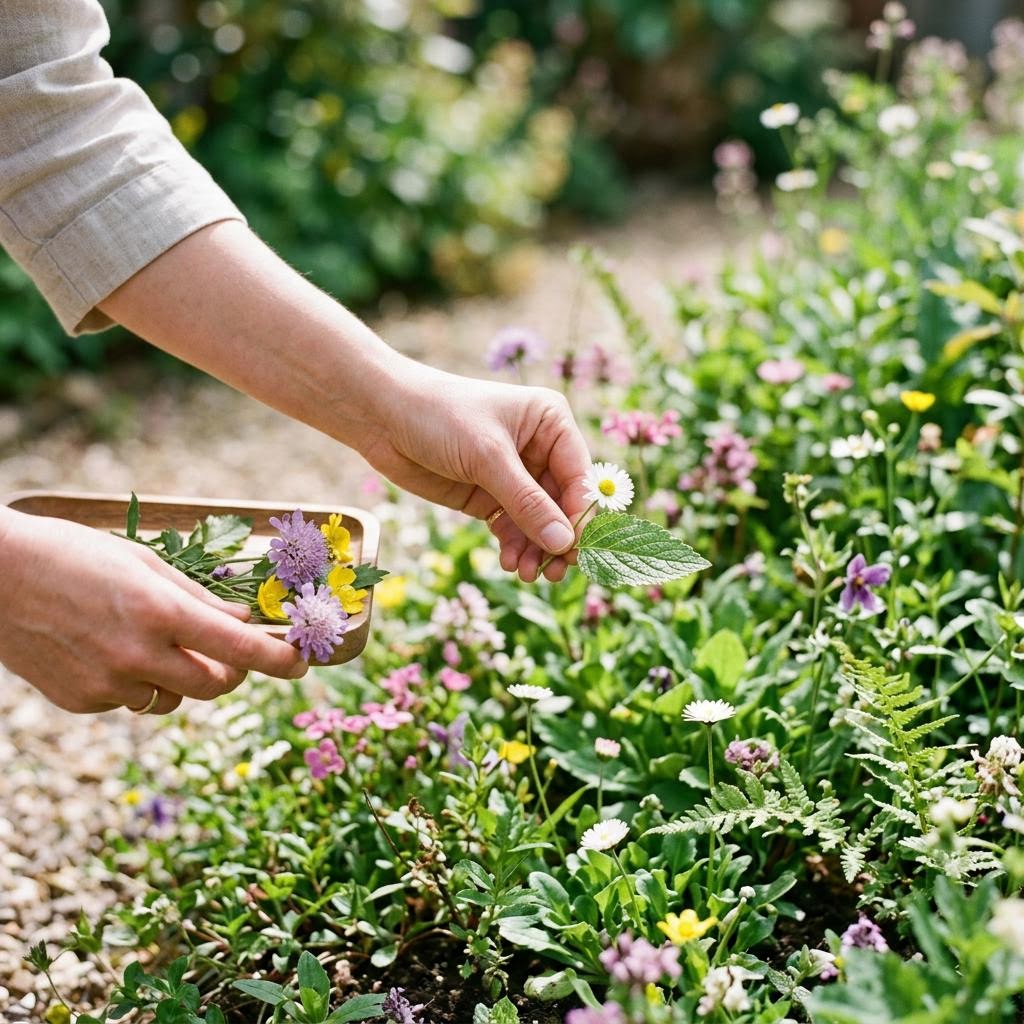
Pick flowers mid-morning on a dry day, after any dew has evaporated — wet flowers mold before they dry. Choose specimens at their peak or just slightly before; fully open flowers look beautiful pressed but lose petals easily during handling. Buds and half-open blooms often give the most interesting results. Bring scissors rather than pulling, and cut stems at an angle. Press within an hour of picking — wilted flowers press poorly and the cells start breaking down quickly. Carry flowers home in a sealed plastic bag with a slightly damp paper towel to keep them fresh without adding excess moisture. Sort through them immediately when you get back: discard any with bruised petals, bug damage, or signs of disease. Perfection in, perfection out. For bulky flowers like roses, remove petals individually and press them separately, then reassemble in your final composition. For flowers with thick centers (black-eyed Susans, sunflowers), carefully cut them in half with a sharp craft knife and press the cross-section face-down — you get a botanical illustration effect that looks deliberate and sophisticated.
The Pressing Process
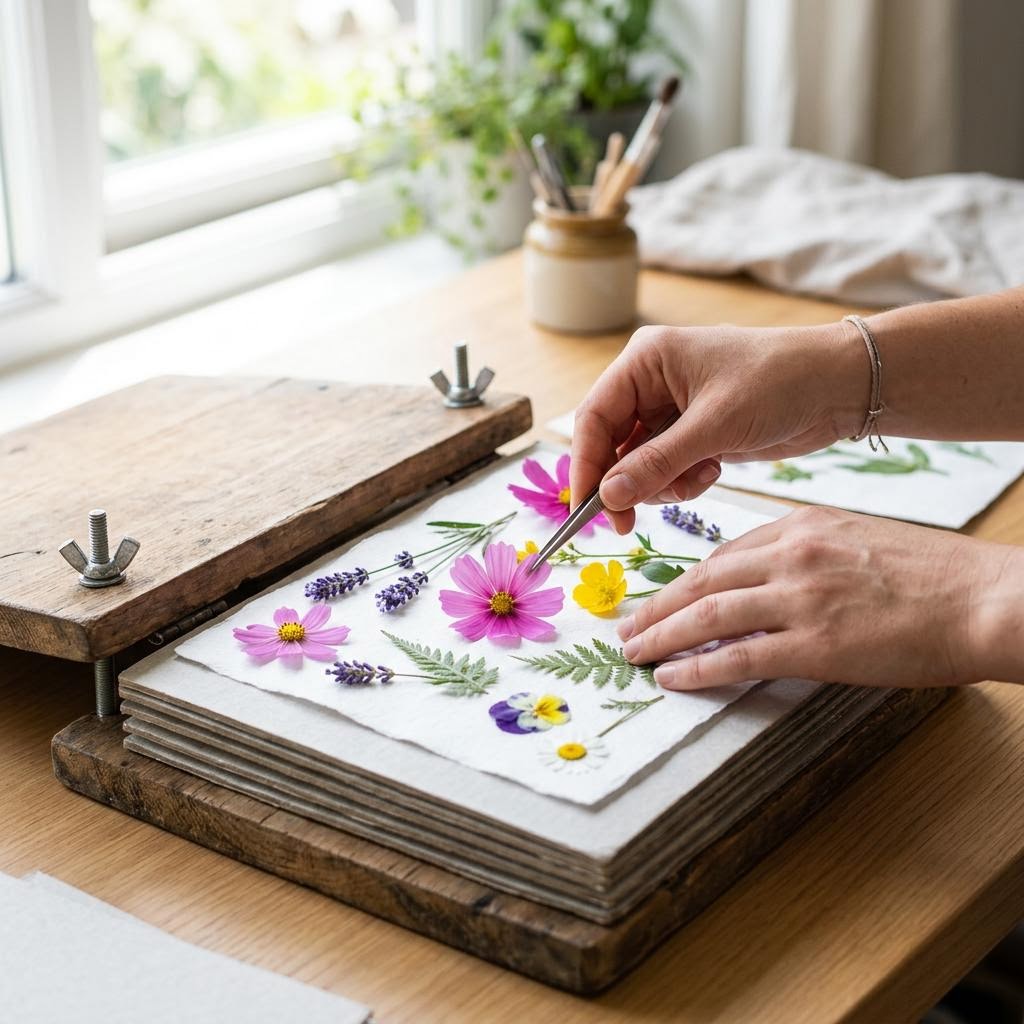
Layer your pressing setup: a sheet of blotting or absorbent paper on the bottom, your flowers arranged face-down with petals spread naturally (not overlapping), another sheet on top. Overlap damages the petals where they touch and leaves permanent marks. Use tweezers to position delicate specimens rather than your fingers. Place this sandwich inside a heavy book or a dedicated flower press — the press is better because the wing-nut screws let you add pressure evenly and tighten over time. For book pressing, stack 4-6 more heavy books on top. A dictionary plus a stack of art books is the traditional method and it genuinely works fine. The more weight, the flatter the result. Label each layer with the species name and date using a small card — you'll have multiple layers going at once and it's easy to lose track. Keep the whole setup in a warm, dry location (not a damp basement). A warm corner of a bookshelf, or on top of a refrigerator where heat escapes, are both good options.
Patience and Checking
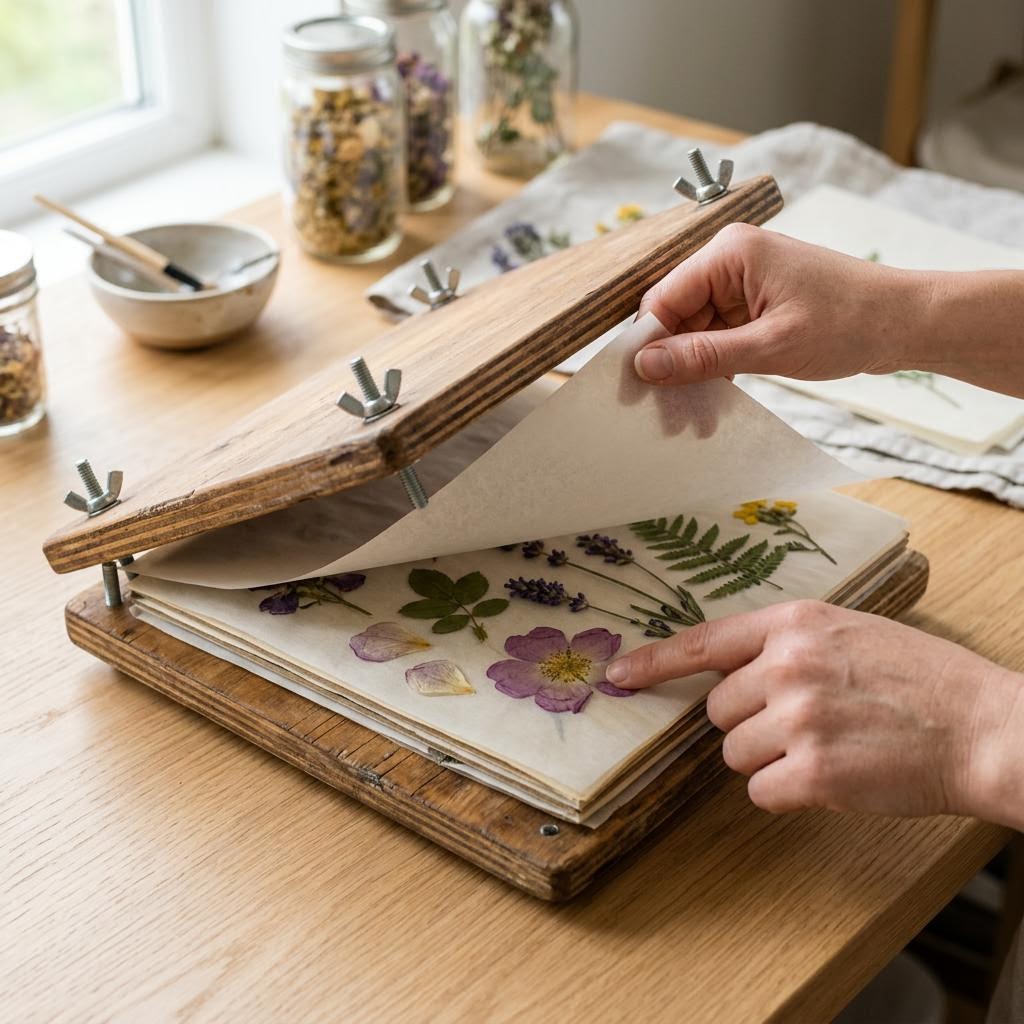
The temptation to open the press after a few days is strong — resist it. Every time you open the press you introduce humidity and risk the flowers shifting. For most flowers, wait a minimum of two weeks before checking. Thin flowers like violas and pansies can be done in ten days; thick specimens like hydrangea florets may take four weeks. If in doubt, wait longer rather than shorter. A flower that is not fully dry will be tacky, bend instead of staying flat, and will mold within days of being used in a composition. When you do check, gently lift one corner of the blotting paper. If the flower looks dry and papery, carefully try to lift it with tweezers. A fully pressed flower comes away cleanly from the paper. One that is not quite done will feel slightly soft and may leave a damp mark on the paper — return it to the press with fresh blotting paper and check again in a week. Pressed flowers are extremely fragile; they will shatter or tear if handled roughly. Always use tweezers, never fingers, for moving them once pressed.
Creating Your Botanical Art
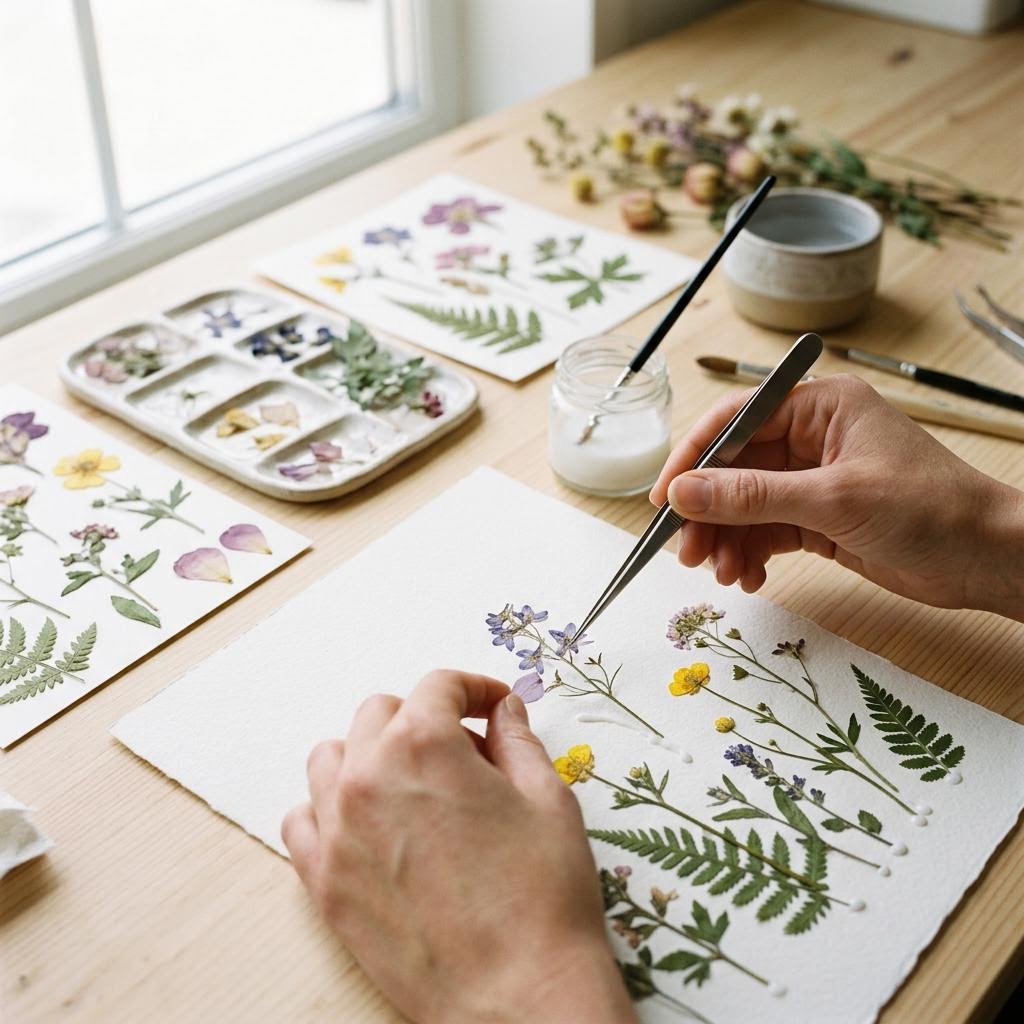
Plan your composition on paper before touching any flowers. Sketch the rough layout, decide which specimens go where, and consider framing — where will the mount cut off, and which flowers need to be closest to the center versus the edges. Arrange the dried flowers on the surface without gluing to try multiple arrangements. Photograph each arrangement so you can compare and choose before committing. Apply a tiny drop of white craft glue or PVA to the back of each specimen with a toothpick — not too much, as excess glue seeps through delicate petals and leaves stains. Press firmly for thirty seconds. Work from back to front: background elements first, overlapping ones last. Once glued, leave flat to dry for an hour before framing. Mount behind UV-protective glass to slow fading — pressed botanicals in direct sunlight will bleach out significantly within a year. Store any unused pressed flowers in a sealed container with silica gel packets to keep them dry and preserve their color.
Written by
Lily Andrews
Botanical & Nature Craft Artist
Lily forages, presses, and preserves the natural world. Her work bridges botanical science and handcraft, turning leaves, petals, and bark into lasting art.


